Are you struggling to find the right kinds of leads for your online business? Application funnels are a great way to qualify leads to make sure you’ve got the right clients lining up for your product.
That way, you aren’t wasting your clients’ time on services they won’t want. Plus, your unqualified leads won’t be wasting your time and resources, either.
In this article, we’re going to look at:
- What is an application funnel
- When is it necessary to qualify sales leads
- How to qualify leads with an application funnel
By the end of this post, you’ll know exactly how to create a simple 3-step funnel that doesn’t just generate new leads. It also generates the right kind of leads.
Let’s dive in!
What Is an Application Funnel?
An application funnel is when you have prospective clients fill out an application form to see if they qualify for a product or service before you make them an offer.
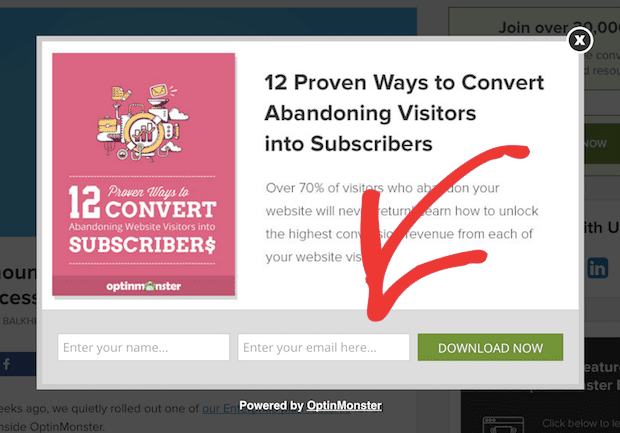
With most optin campaigns, the goal is to attract more leads and gain a piece of contact information from your incoming traffic. Usually, that means trying to get an email address so you can put new leads into your email marketing strategy:
But an application funnel isn’t as concerned with the number of leads you get as it is with the quality of the lead itself. In other words, the added application step weeds out all those leads that likely won’t make a great fit for a specific product.
The other added benefit is that you gain valuable, in-depth information about your potential client, so you can tailor your sales strategy as they get closer to the end of the funnel.
And one of the most common questions we get about application funnels isn’t just “how to qualify incoming leads,” but “why would anyone want to weed out potential leads in the first place?”
It’s a great question that’s worth exploring a little more deeply.
When Should You Qualify Incoming Leads?
Let’s face it, your online business probably isn’t for everyone. And that’s ok! There’s always plenty of quality clients to go around.
So your goal as a business owner isn’t to drive traffic and grow your email list just for the sake of watching those lists get longer. Those are what we call “vanity metrics.”
Instead, you want to drive traffic and grow your email list for a specific purpose: to increase your overall revenue and boost your lead-to-customer conversion rate.
But some products are simply more tailored to specific people than they are to others. This is particularly true as your price-point starts getting bigger. When you’re launching products that are considered “high-ticket” or “high-end,” you need to adjust your strategy.
Why? Because it’s a lot harder to get cold traffic to optin to a product that costs $10,000 than it is to find cold traffic that will buy a product that costs $10.
In some instances, though, it’s not so much the cost of the program that you’re worried about. For consultants or online coaches, the real problem is time. There’s only so much and, frankly, if you interviewed every lead without qualifying them, you’d never get anything else done!
That’s why application funnels are mainly suited for two scenarios:
- High-ticket offers of $1,000 and up (or, as you’ve likely seen, $997)
- Online consultants and coaches who want to spend their time actually consulting or coaching
But those are just two of the most common reasons business owners use application funnels. You can use them to qualify leads for any product or service that you think it’s best suited for.
All you need to know is how to build them.
How to Build an Application Funnel to Qualify Leads
There are 3-steps to creating your application funnel to qualify leads:
- A Reverse Squeeze Page: Hooks the reader in and redirects them to the application.
- An Application Form: A small questionnaire designed to weed out unqualified prospects. When it comes to how to qualify incoming leads, an application form is a great tool.
- A Thank You Page: A confirmation notice to your applicants letting them know how and when you’ll be in touch with the results of their application.
Let’s go through each of these in detail and show you how to create them with OptinMonster and WPForms.
Reverse Squeeze Page
If you’ve followed our blog in the past, you’re likely familiar with the term squeeze page. A squeeze page is a specific type of landing page that has one goal: getting your visitor’s email address so you can later send them your lead magnet or some type of valuable information.
A reverse squeeze page, on the other hand, doesn’t worry about the email address yet. Instead, you share your lead magnet upfront (usually in the form of a video) and then work toward getting their email address.
But for an application funnel, your reverse squeeze page leads to more than just an email address. It takes the visitors to an application form that will provide you with a lot more information about your potential client.
Now, let’s start building our reverse squeeze page in OptinMonster.
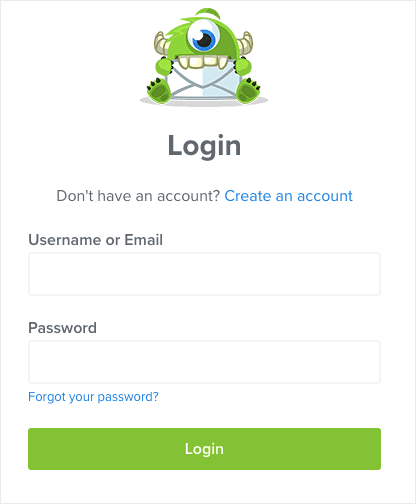
First, go to your account and log in:
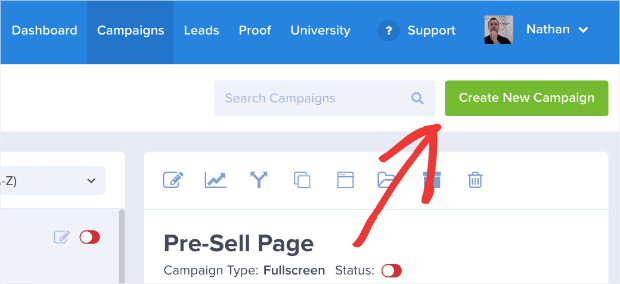
Next, you’ll want to click Create New Campaign in the top right-hand corner:
Choose your campaign type. We recommend using either a Popup or a Fullscreen campaign. For this demo, we’ll stick with a Popup:
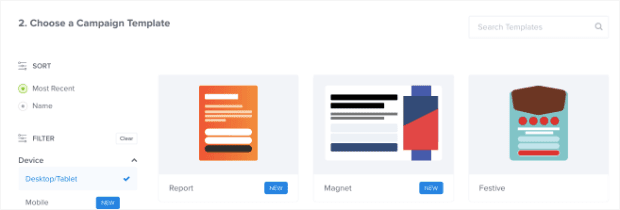
Then choose your campaign template:
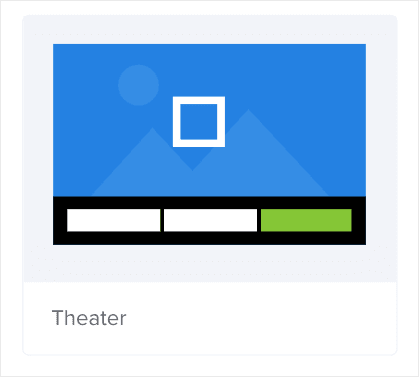
Remember, the most common type of reverse squeeze page has a video incorporated. While you can add a video to any OptinMonster template, you can simply use the template Theater which already has a place for video:
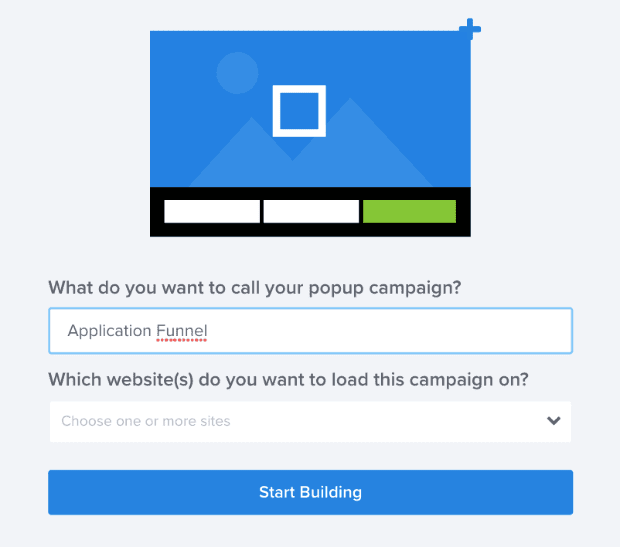
Name your campaign, assign it to a website, and click Start Building
The first thing you’ll want to do is decide whether or not to make your reverse squeeze page a single step, or part of a 2-step optin. We suggest using a 2-step optin because it relies on the power of the Zeigarnik effect.
The Zeigarnik effect is a psychology-based marketing technique that shows people who start a process are more likely to finish. So you offer them a Yes/No choice, and those who click Yes are more likely to go all the way through your funnel.
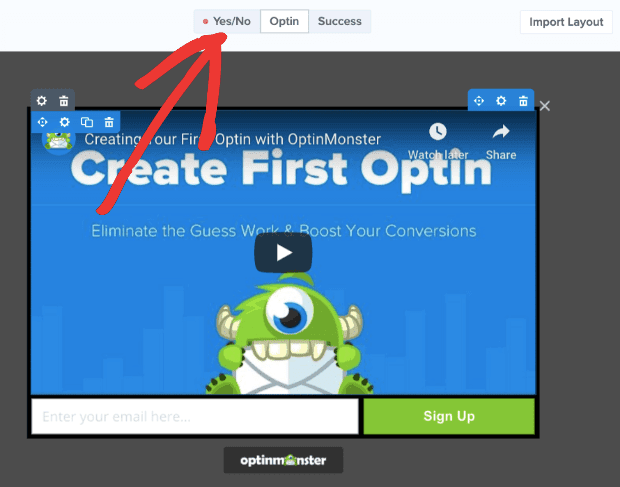
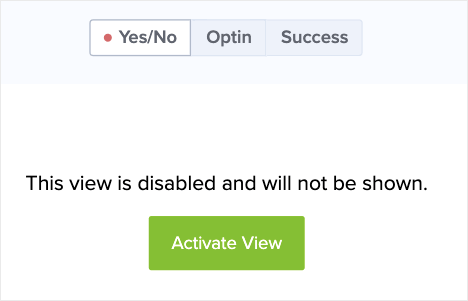
In today’s demo, we’ll be making a 2-step reverse squeeze page. Simply go to the top of your editor, and click on the Yes/No feature at the top:
Click Activate View:
And you’re ready to start building your reverse squeeze page.
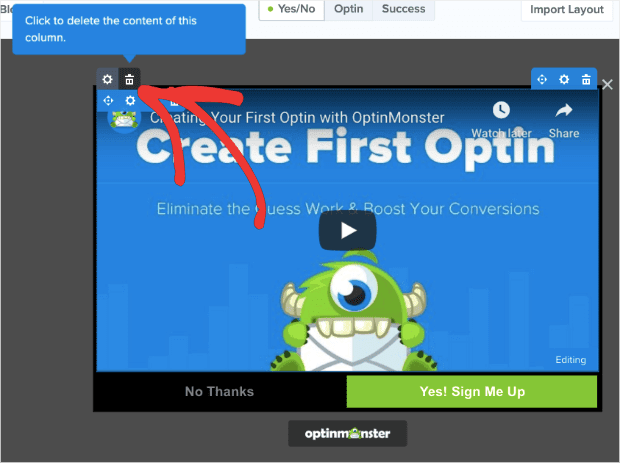
For the Yes/No part of your reverse squeeze page, you won’t need a video. Click on the video block and delete this section from by clicking the trash can symbol in the top left-hand corner of the block:
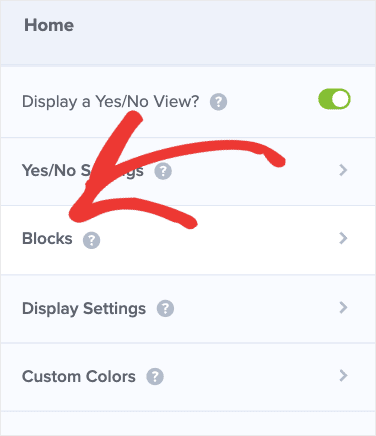
Now go to the left-hand side menu, and click Blocks:
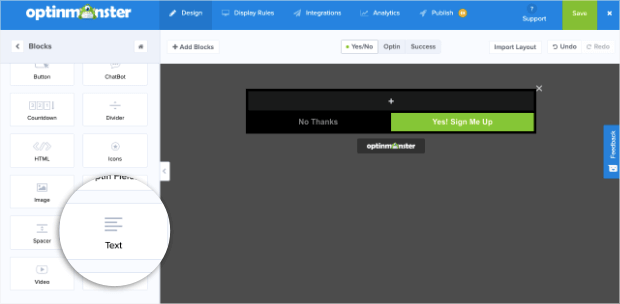
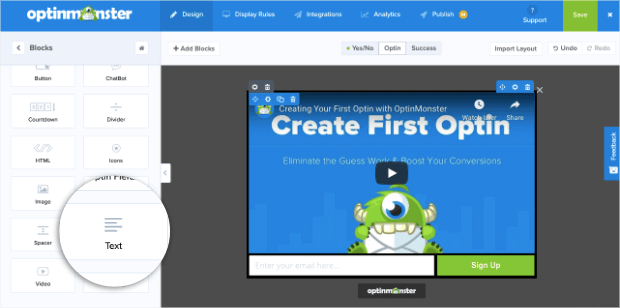
Scroll down until you find the Text block:
And drag it into the editor where the video used to be:
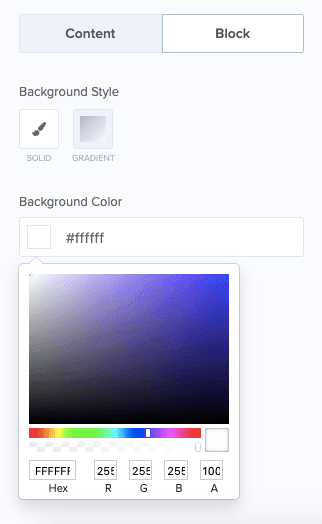
With this template, the background color needs to be changed because it’s black by default. To do this, click on the Block button in the left-hand side menu next to Content. This will allow you to customize the background color you’re working with:
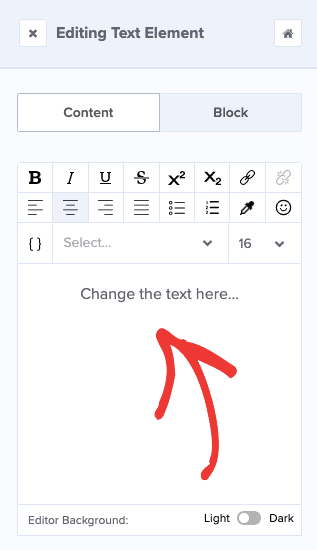
We’ll keep things simple and make the background white, though you may want to customize it for your brand and message. Go back to Content in the left-hand side menu to modify the text:
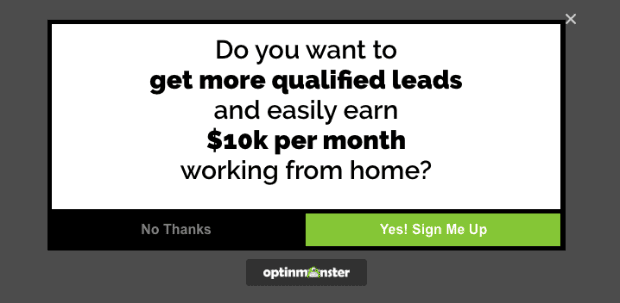
You want to write a strong heading that is short and to the point. Something that clearly states what your offer is going to be and focus on the tangible results your client can get if they were to purchase your product.
Don’t mention the price of your product yet. Just stick to the positive outcome that your services provide.
And you can change the size or font of your text to really stand out. We suggest making it big but keeping the message simple:
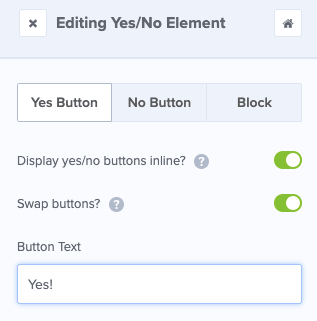
Now you just need to customize your Yes/No feature’s button text. You can personalize these buttons however you want, but no need to overthink it. A simple, “Yes” and “No” will work in most cases.
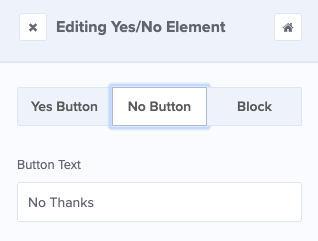
Simply click the Yes/No block. At the top of the left-hand side menu, you have three options: Yes Button, No Button, and Block. Click Yes button and change the Button Text:
Then click No Button and change the button text:
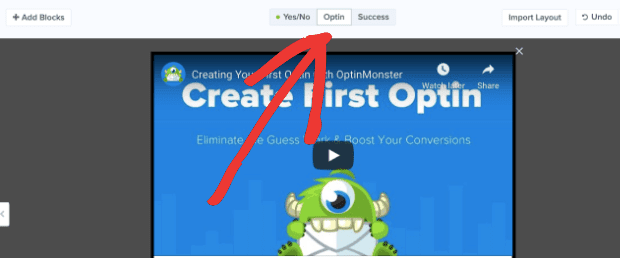
Once you’ve done that, you’re ready to move to the main part of your reverse squeeze page. Go to the top of your editor and click Optin above your campaign:
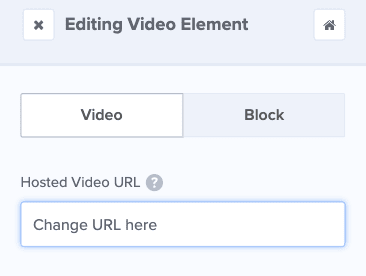
Click on the video block to pull up the editing settings in the left-hand side menu:
Change the URL of the video you’ll be using to inspire people to move to your application form. But first, a quick note when it comes to making this kind of content. Your application funnel video should have three parts to it:
- Pain
- Fear
- Hope
Through storytelling, you should address your client’s pain point head-on and outline why they’re hurting so much. Then you should emphasize why most other people get stuck there and can’t move forward. Finally, you offer hope by sharing a glimpse of the solution (whatever your product is).
Once you have your video, you can upload it to a platform like YouTube or Vimeo and put the URL in the Hosted Video URL field on the left-hand side menu of your editor:
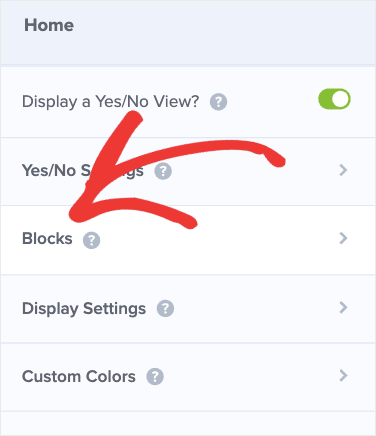
Then exit out of Editing Video Element and go back to Blocks like you did earlier:
Find the Text block and drag it into the editor under your video:
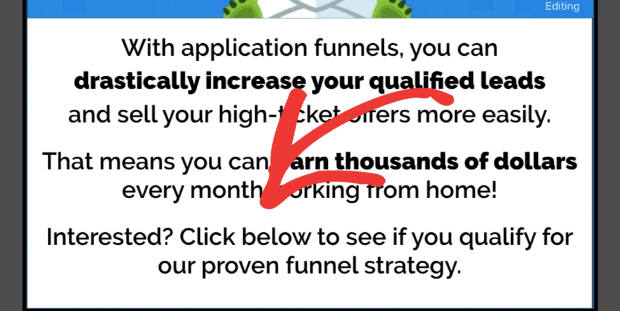
Then you’ll want to change the text to describe your product a little bit more without giving too much away. End with something that indicates the person should go fill out an application form.
You don’t need to be too creative for that last part. Something simple like, “Want to see if you qualify? Click below to fill out the application!” will work just fine:
Now you need to remove the Optin block at the bottom of your campaign that asks for an email address. Remember, you don’t want their email just yet. You’ll get that when they fill out their application for your product.
Click on the Optin block (asking for their email address), and delete it by clicking the little trashcan in the top left-hand corner:
Exit Editing Text Element and click Blocks again:
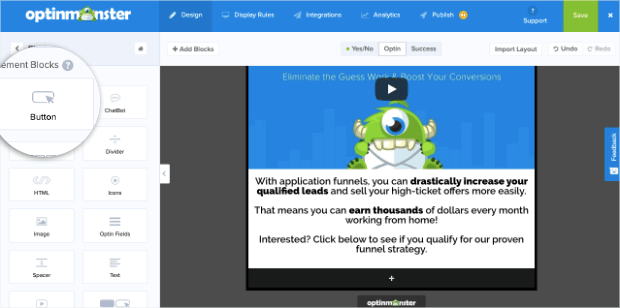
Scroll down to the Button block and add it to the bottom of your campaign:
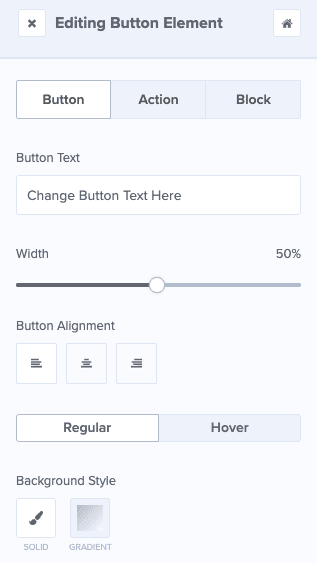
Change the button width, size, color, alignment, and text to suit your needs. Those can all be changed from the left-hand menu when you click on the Button block in your editor:
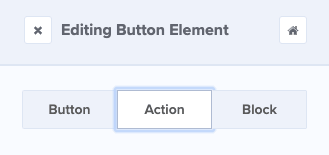
Then, on the top of the left-hand side menu, click Action (which is right next to Button):
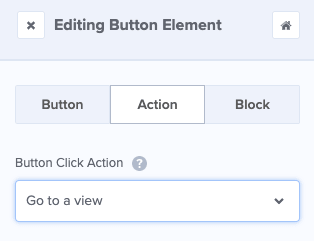
Your first option to edit is Button Click Action:
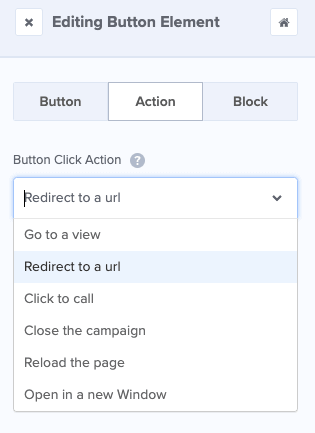
Change this to Redirect to a URL:
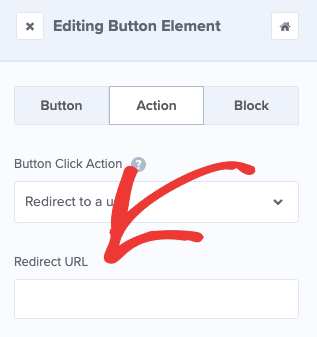
Then you need to enter the URL for your application form on your site:
If you don’t have one yet, no worries. We’ll be building one with WPForms in just a moment.
And that’s it! Well…almost.
Don’t forget to hit Save:
You now have a fully functional 2-step reverse squeeze page ready to publish. But first, you need to get your application page ready.
Application Page
Your application page is super important because this is where you’ll really start to qualify your leads.
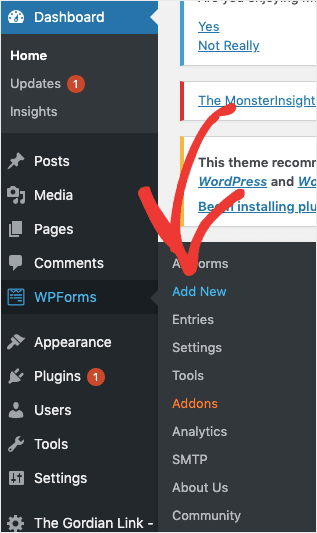
Go to your WordPress dashboard. In the left-hand side menu, locate and click WPForms » Add New:
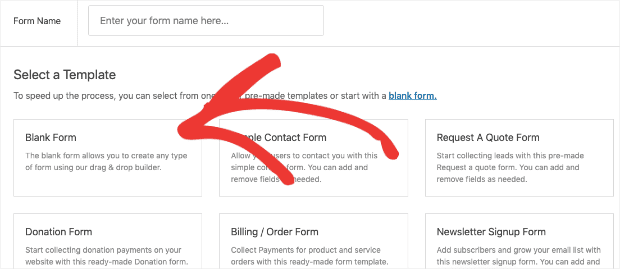
And choose Blank Form:
The tricky part is that only you will know how to build your application to qualify leads. No 2 applications will look the same because there may be specific information you need for the ideal client you’re looking for.
WPForms has already done an excellent job outlining how to create your forms. So we won’t take up more space with that right now. Here are a few guidelines, however, when creating your application form:
- Shoot for a 15-minute application process. If it’s too long, you may scare away good leads. If it’s too short, you may let too many unqualified leads slip in.
- Ask questions about their pain-points. Don’t be afraid to get personal.
- For high-ticket offers, you may want to ask about household income depending on the price point of your product.
- At a minimum, use this application to capture an email address so you can add each new applicant into an email marketing funnel.
But from there, the actual questions and application design is up to you!
While you can stick with a simple, straightforward form, you can also shake things up a bit. Conversational forms are a great way of reducing form abandonment and engaging the user throughout the entire application process.
You can also use conditional logic to pose follow-up questions to users who gave specific answers. Or, conditional logic can also send different confirmation messages to applicants whose responses indicate that they’re a definite Yes or a definite No for your product.
But for starters, feel free to keep it simple and get comfortable with the entire application funnel to qualify leads before customizing every aspect of it.
Finally, all that’s left is creating a thank you page and connect with your new leads.
Thank You Page
Once you’ve created your application, you can quickly set up a “thank you” message from WPForms.
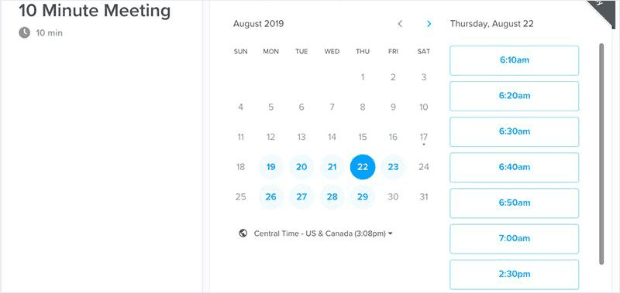
A lot of marketers suggest using the thank you message as a way of connecting with your new lead. They would add a link in the message to schedule an appointment with you (or a sales representative) online with a scheduling service like Calendly:
But this doesn’t seem like the most efficient way of qualifying leads. After all, not every single person who fills out your application will qualify for the next step.
If you’re inviting people to connect with you regardless of their responses on the application form, what would be the point of the application in the first place?
Instead, we recommend using your thank you message as a way of providing instructions to your applicants with what will come next and in what time-frame.
To do so, simply click Settings in the left-hand menu of WPForms:
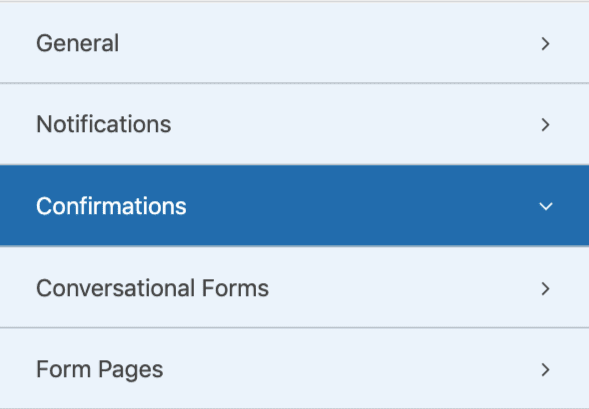
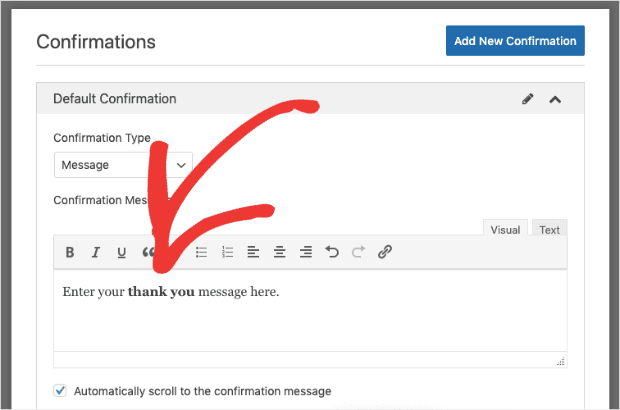
Then click Confirmations:
In the text box, write a small thank you message that lets users know you will reach out to them via email regarding their application:
You’ll also want to indicate when they can expect to hear from you, but typically you shouldn’t make them wait longer than a business day to reach back out.
Part of the application process also serves to get users excited about your product. You don’t want them to lose that anticipation before scheduling a call with you or making the purchase.
On the other hand, if you send out an email immediately after they fill out the application form, it makes the application itself look like a marketing trick. Again, if you’re not analyzing the responses of these forms, you’re not really qualifying leads.
Now that your form is made, all you need to do is embed it. Fortunately, that’s super simple. Check out this video if you need help embedding your form on a specific page.
Once you have and your application funnel is ready to go live, you can head back to your OptinMonster campaign, and hit Publish:
What Happens After the Application Funnel?
Now you’re ready to sit back and watch the applications come in. You can then sort out the applications based on their responses into three piles: Definitely Qualify, Likely Qualifies, Definitely Not Qualified.
From there, you’ll want to have an email ready to respond to the people in the Definitely Qualify and Likely Qualified categories. In the email, you should have two links:
- A link for people to purchase the product right away
- A link for people to schedule a call if they have any questions
Depending on your sales strategy, you may want to only provide a link for a sales call. High-ticket offers typically require some type of personal communication before customers make a purchase. But that is up to your discretion.
Then, for people in the Definitely Not Qualified category, you’ll want to write a short message that explains why they weren’t a good fit for the product you’re offering.
Spend extra time as you craft this email. You want to be tactful in the way you reject these applicants, so you don’t leave a bad taste in their mouths. You may find that in the future you have a new product they would be perfect for, so don’t burn any bridges.
One great way of doing this is adding a few free resources your applicants can use to start fixing the problem they’re having, or recommending another product.
Basically, what you want to say is, “I don’t think I’m the solution that would work best for you. However, let me point you in the right direction.”
Once you have those emails in place, you can simply sort out your new leads, connect with those who qualify and start watching the revenue pour in.
And once you do find success with your new application funnel, we want to hear about it!
Connect with us on Facebook or Twitter to let us know how you’re using applications to qualify leads. You can also check out more cool tutorials on our YouTube channel (just don’t forget to subscribe ?).
Interested in using OptinMonster to create a reverse squeeze page in a matter of minutes? Don’t wait. Join the OptinMonster family today!










Add a Comment