Are you missing out on revenue because people aren’t seeing your marketing campaigns at the right times?
If you’re not scheduling your marketing campaigns so they’re super relevant to your audience, you could be hurting your business with irrelevant marketing.
That’s because 61% of consumers prefer to see relevant offers. If they don’t think your marketing campaigns are relevant to them, they’ll check out your competitors instead.
That’s the last thing your business needs.
So how do you create engaging marketing campaigns you audience can’t ignore?
The answer is to get their attention – and keep it – by showing campaigns at the perfect time to maximize conversions and leads.
We’ll show you how.
Video Tutorial
If video tutorials aren’t your thing, or if you’d like more detailed instructions, just keep reading!
Benefits of Marketing Campaign Scheduling
Scheduling marketing campaigns lets you display time-specific offers, deals, and coupons, without having to be there to make sure they happen at the right time.
That “set it and forget it” feature is a big benefit of marketing campaign scheduling. If you’re in charge of marketing but are planning a big vacation, you can get all your campaigns ready in advance and set the timing so you don’t have to be on site personally. You can be tucking into your seasonal meal with your family and friends, relaxing while your site makes money for you.
Here’s another issue that’s a huge turnoff for visitors: clicking on a deal that turns out to be expired. You can avoid this on your own site by scheduling your marketing campaigns and switching off offers that aren’t relevant anymore.
Automating campaign sending also helps you keep your customers’ attention by providing an easy way to switch campaigns and minimize campaign blindness.
We’ve seen OptinMonster customers use campaign scheduling to deliver timely and relevant campaigns to their customers. For example, Cloudways has used this feature effectively to boost free trial signups by 120%.
In this guide, we’ll show you step by step how to schedule your marketing campaigns to improve conversions, leads and sales.
Which Marketing Campaign Tool Should You Use?
Before we get into how to schedule your marketing campaigns, let’s look at some of the key features to look for in a marketing campaign scheduling tool. One of the most important factors is that it must be super flexible to cope with different situations.
It’s not always enough to schedule marketing campaigns; sometimes you need to target them by:
- location
- demographics
- referral source
- previous interactions on your site
- …and more.
OptinMonster’s advanced targeting features let you focus campaigns on visitors to specific pages and from specific locations at specific times.
With OptinMonster, you can ensure that each visitor sees your marketing campaigns at the time they’re most likely to take action.
OptinMonster also includes a range of marketing campaign templates so you can easily schedule campaigns for mobile devices, campaigns that include video or social media, and more.
Ready to get started with scheduling your marketing campaigns? Here are the steps you need to follow.
Step 1. Create Your Campaign
In this tutorial, we’re going to create a summer-themed marketing campaign, with a discount offer that expires on June 30.
Start by logging into your OptinMonster dashboard and creating a new campaign.
Choose a campaign type. We’re using the Popup for this tutorial. This is one of our highest-converting campaign types.
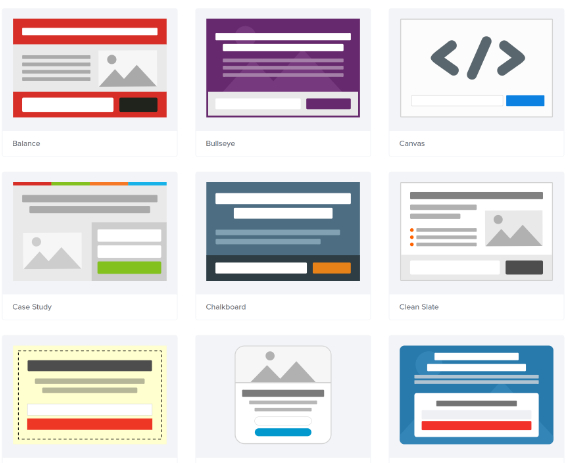
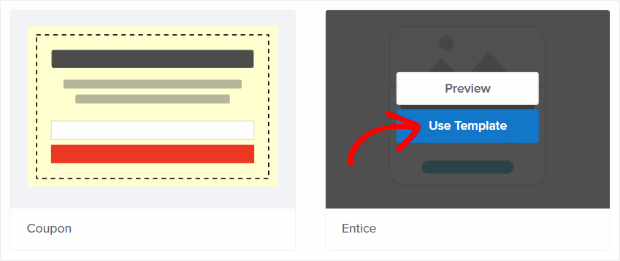
Choose a template for your popup. There are more than 30 templates to choose from, with various color schemes and layouts.
We’re going to use the Entice theme. Scroll through the available options in the search box, or type the name into the on-screen search box to find it fast.
(If you’d rather design your own marketing campaign, OptinMonster’s Canvas technology is the perfect way to do it.)
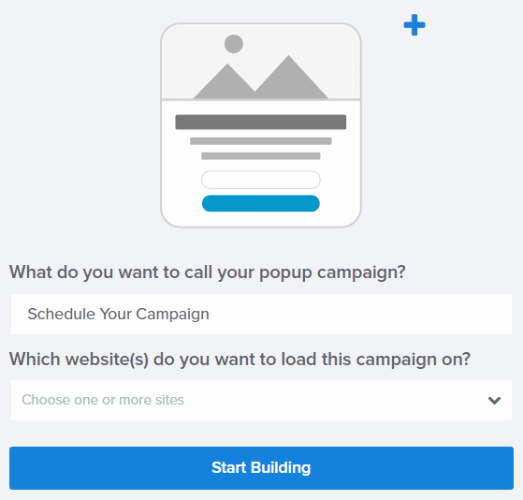
Name your campaign, and press the Start Building button. That’ll take you to the campaign setup window.
Step 2. Customize Your Campaign
The next step is to customize your chosen campaign so it meets your needs. You’ll be able to change the design, color scheme, and more.
Your marketing campaign template is pre-populated with text, but you can change everything to make it right for your business. Here’s how…
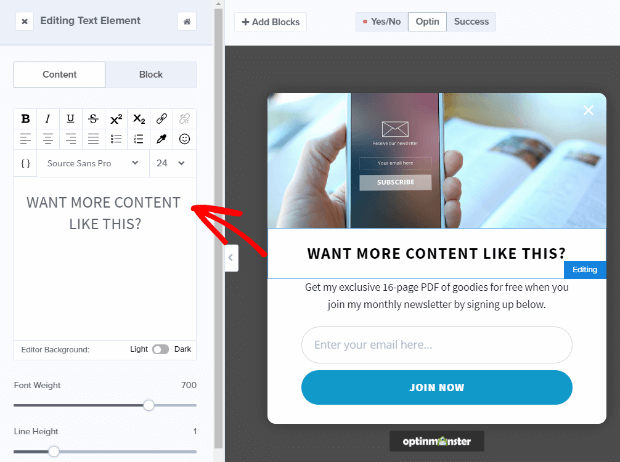
Let’s start with the headline, which is the main selling point for your offer. It must include the one big thing you most want people who see your campaign to know.
Click on the headline text in the live preview to bring up the editing tools on the lefthand side. Here you can make all the changes you want to the headline text.
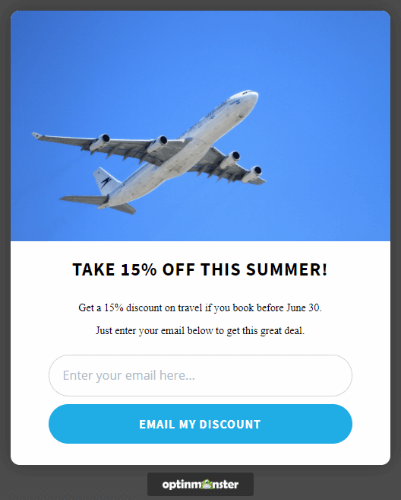
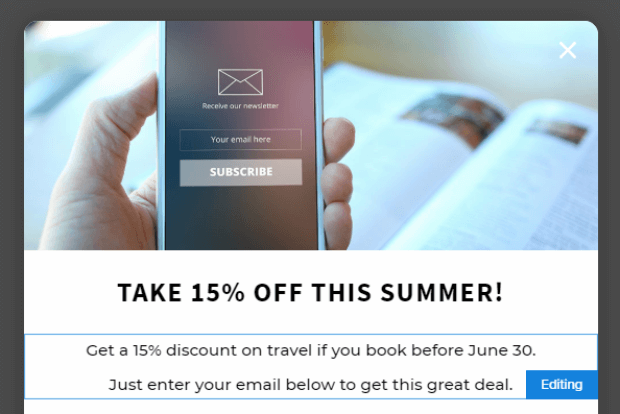
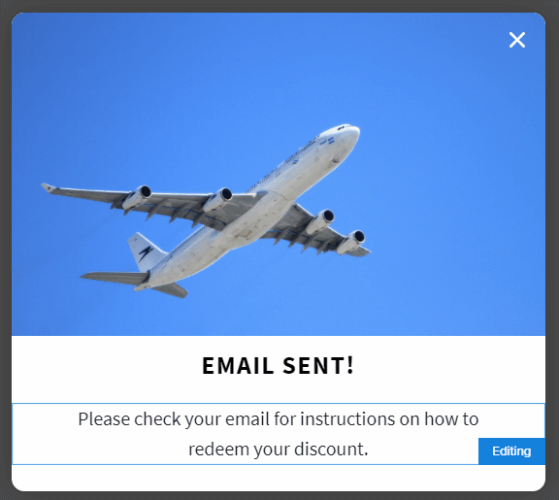
Edit the body copy in the same way. Be sure to include instructions for how people can take up your offer such as clicking a link or entering their email address. Here’s how our campaign looks after a bit of editing:
Next, you’ll want to change the default image to one that relates to your offer. If you don’t already have a great image, find one with our guide to 39 Places to Find Images for Better Conversions.
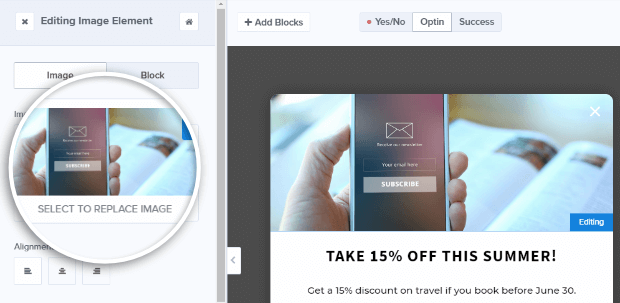
Click directly on the image in the live preview to bring up the Editing Image Element tools to the left. Then, click Select to Replace Image and choose an image from your image library or upload a new one from your computer.
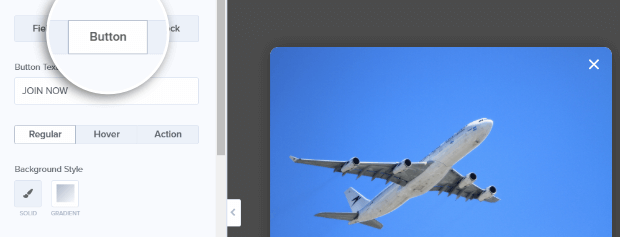
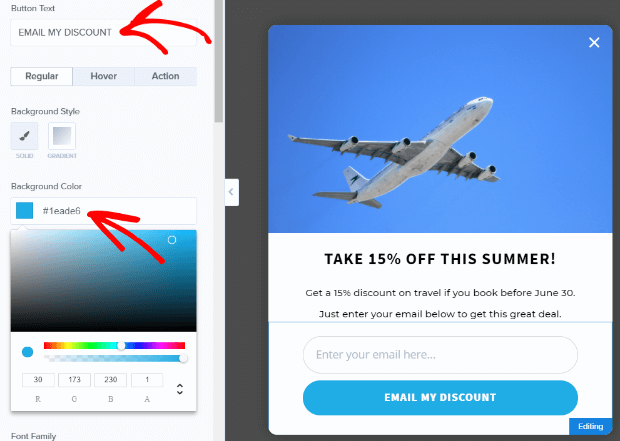
It’s important to get the call to action right since this will encourage visitors to opt in to your marketing campaign. To edit your button, click on the Button tab to bring up the button editing tools.
Type your new call to action in the Button Text field, then go ahead and make any other changes you’d like.
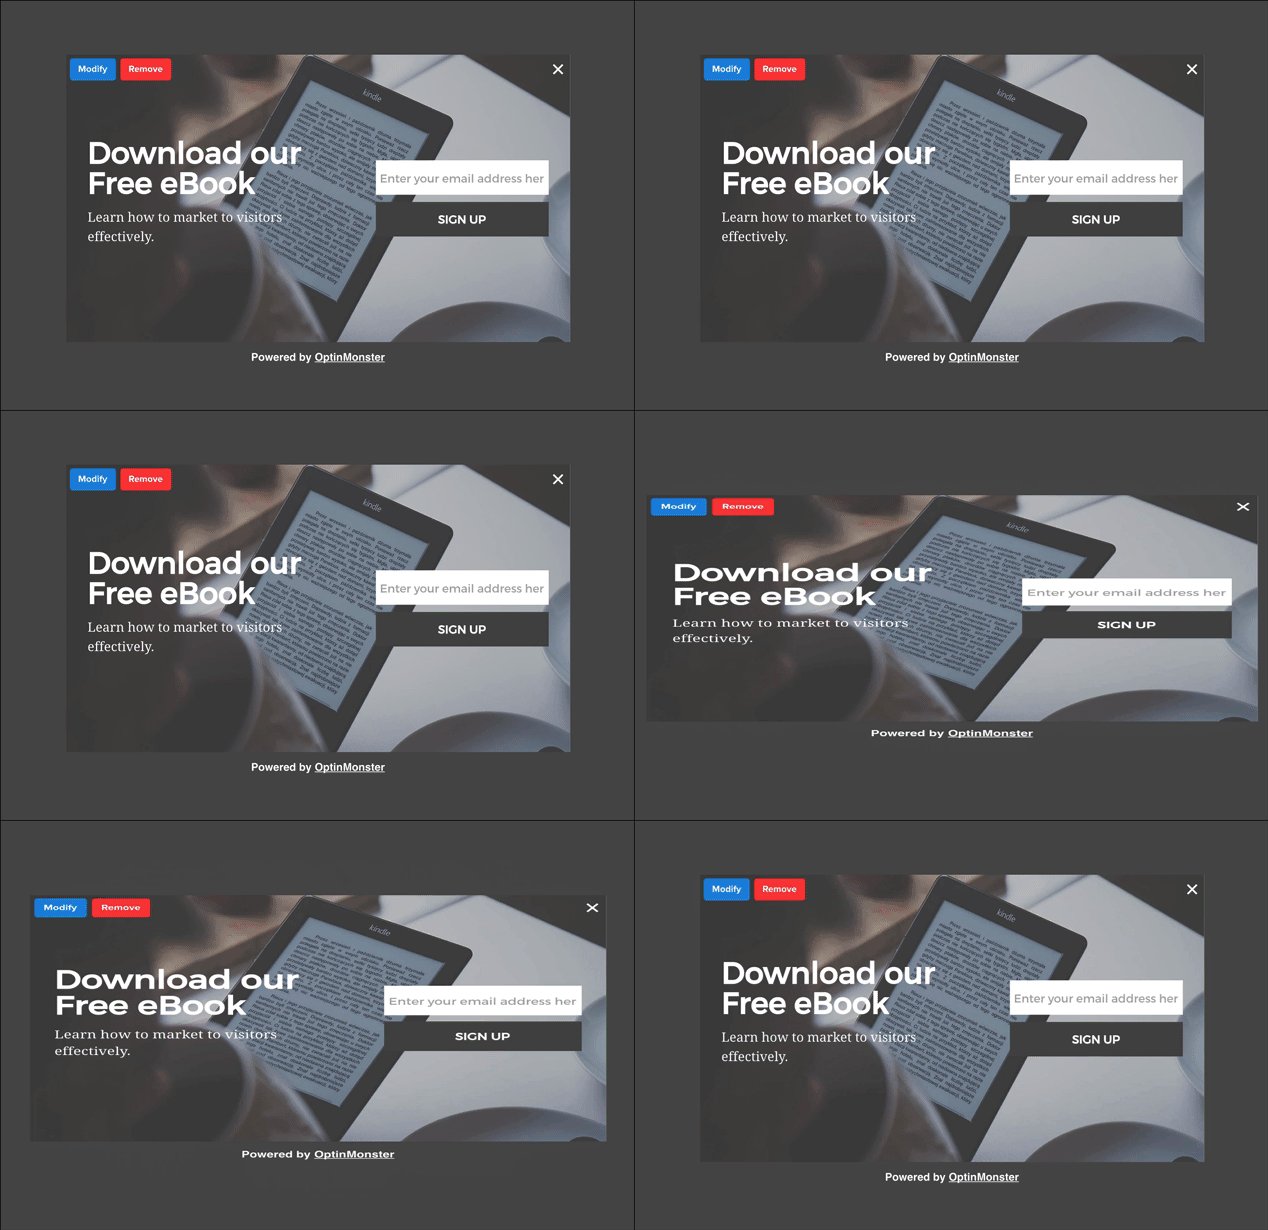
Another option for your marketing campaign is to use one of OptinMonster’s Display Effects to make it stand out even more.
For example, here’s how the Rubber Band effect looks with another campaign:
Step 3. Set Up your Success Rule
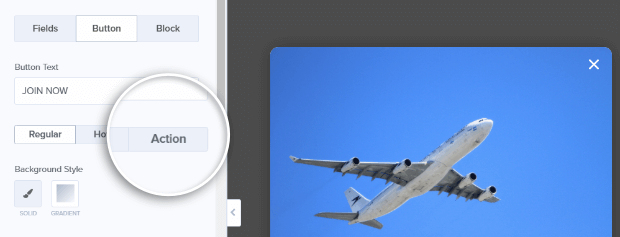
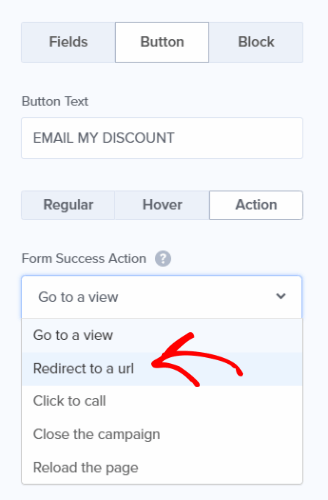
The third step is to determine what people will see after they enter their email address. You’ll need to customize the button’s action for this.
There are a few success actions to choose from. The default is to show a success message that gives visitors a “thanks for subscribing” message.
You can also choose a different success action. One popular option is to Redirect to a new page. This’ll let you keep customer interaction going after people have opted in by showing new campaigns, which you can also schedule.
For this tutorial, we’re sticking with the default option, but if you’re using the redirection option, enter the URL of the page you want them to visit next.
For more ideas and inspiration, see our guide on how to leverage success themes.
Step 4. Set Your Schedule
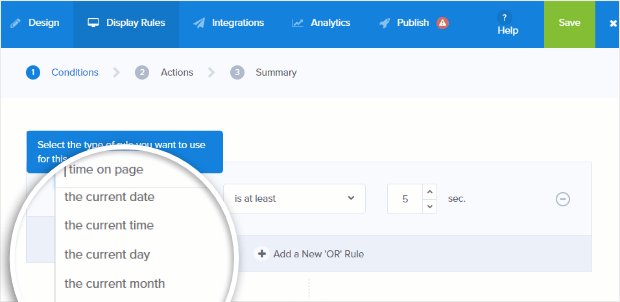
The next step is to schedule your marketing campaign. To determine when your campaign will appear, go to Display Rules and set a condition to show your campaign based on the current date, time, day, or month.
For this tutorial, let’s set the campaign to run when the current month is June.
You can also combine multiple display rules to further fine tune the display of your marketing campaign. For instance, you can target your scheduled marketing campaigns according to:
- Whether visitors are new or returning
- What devices they are using (Device-based targeting)
- What campaigns they’ve seen before
- What pages they have visited on your site (Onsite Retargeting)
- Where they’re located (Geo-Location Targeting)
One of the best and highest-converting options to use with a lightbox campaign is OptinMonster’s Exit-Intent Technology. This entices visitors with a compelling offer just as they are about to leave your site. A well-timed exit-intent offer can stop visitors from leaving and get them more engaged with your site, which is why this technology is so powerful.
You can enable this functionality by setting a condition to show if exit detected.
Step 5. Publish Your Campaign
The last step is to save your changes and publish your campaign. Click on the Publish tab and set the Status to Live.
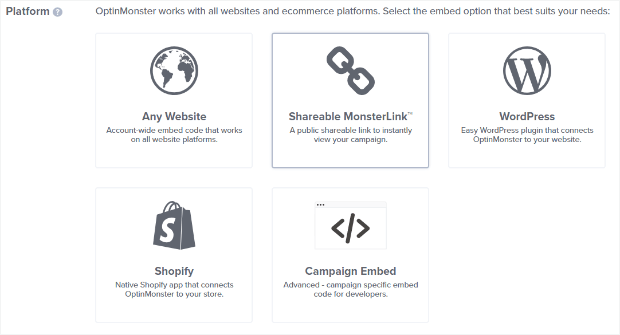
To get your marketing campaign on a WordPress site, you’ll need to install our WordPress plugin, and make your campaign live.
Another option is to use our sitewide embed code, which you can grab by clicking on a button in the campaign builder. Install it by following this guide, or give it to your web developer for installation.
Finally, you can embed your new marketing campaign with a campaign-specific embed code, or use a shareable MonsterLink.
Scheduled Campaign Examples
Here are a few examples of scheduled marketing campaigns for your inspiration.
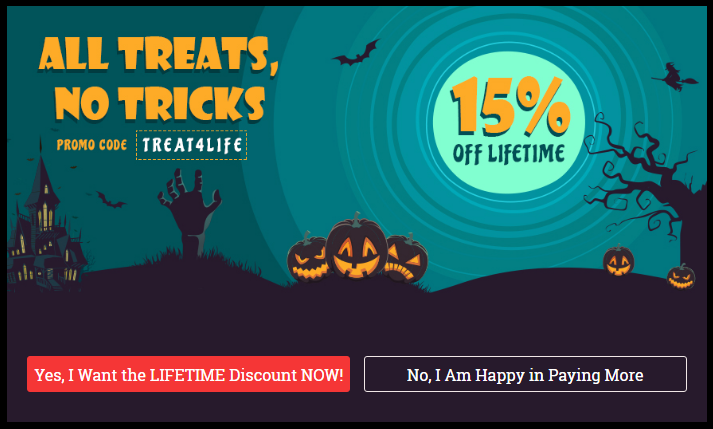
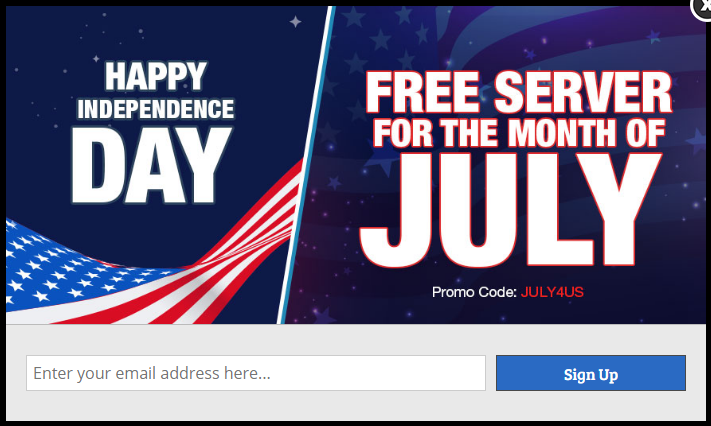
Cloudways increased free trials by 120% with scheduled marketing campaigns which combined exit-intent with a holiday theme. Most campaigns had conversion rates of between 2% and 4%, and one had a conversion rate of over 10%!
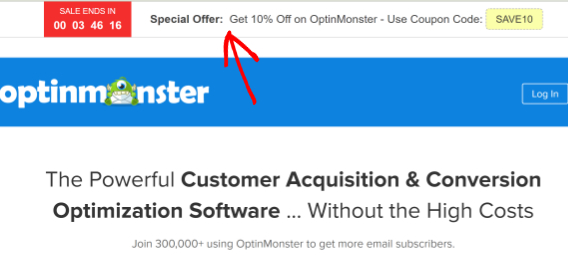
On OptinMonster, we run scheduled marketing campaigns with our Countdown Timer theme, and have achieved amazing results.
Here’s a guide to creating a holiday sales timer that’ll help you to do the same.
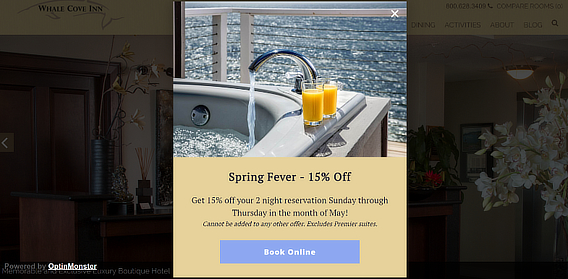
Whale Cove Inn varies its messaging to provide discounts at different times of the year, so its offers are always appropriate. Here’s a Lightbox campaign with Exit Intent from May:
If you enjoyed this tutorial, check out our guide on how to create a popup coupon that boosts sales and learn more about connecting with your customers in our email marketing guide.
Not using OptinMonster yet? Get started today and start converting more visitors into subscribers and customers!








Add a Comment