Looking for a way to integrate Stripe into your WordPress website?
Accepting payments for your online business should be easy. For a WordPress website, the only thing you need is to find a Stripe plugin and install it on your site.
In this article, we’ll show you how to easily integrate the Stripe payment gateway using the WP Simple Pay plugin.
What Is WP Simple Pay?
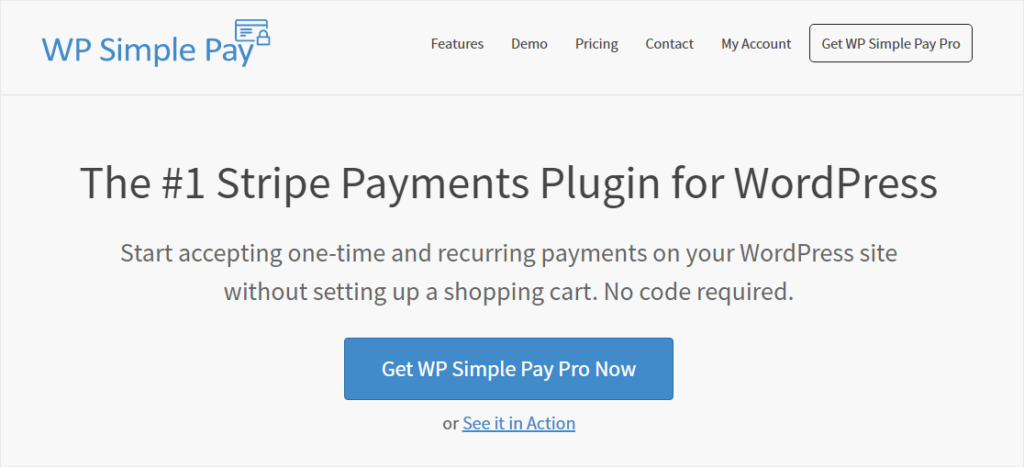
WP Simple Pay is the #1 Stripe payments plugin for WordPress. The plugin justifies the name and offers an easy to use interface for accepting payments.
It eliminates the need to install extra addons. A WordPress website and a Stripe account are all you need for accepting one-time or recurring payments.
Now, let’s get started with the WP Simple Pay plugin.
Configuring WP Simple Pay with Stripe
The first thing you need to do is install and activate the WP Simple Pay plugin on your website. You can follow this beginner guide on how to install a WordPress plugin.
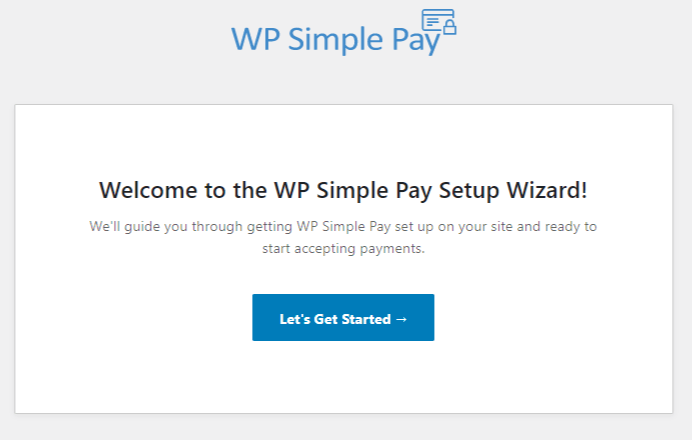
Once you activated the plugin, a new setup wizard should appear.
Click on the Let’s Get Started button
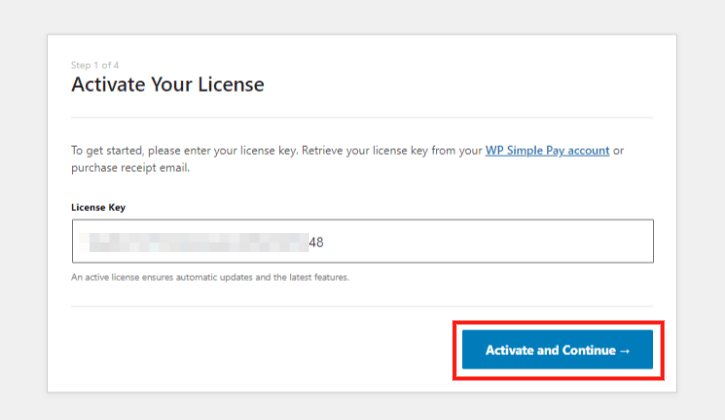
If you’re using the premium version, you can activate the plugin by entering the license key.
In the next step, you’ll be asked to connect with your Stripe account. Click on the Connect with Stripe button.
If you don’t have an active Stripe account, enter the email address, and on the next step, you’ll be able to create a new account.
After completing all the Stripe account steps, you’ll be redirected to the setup wizard.
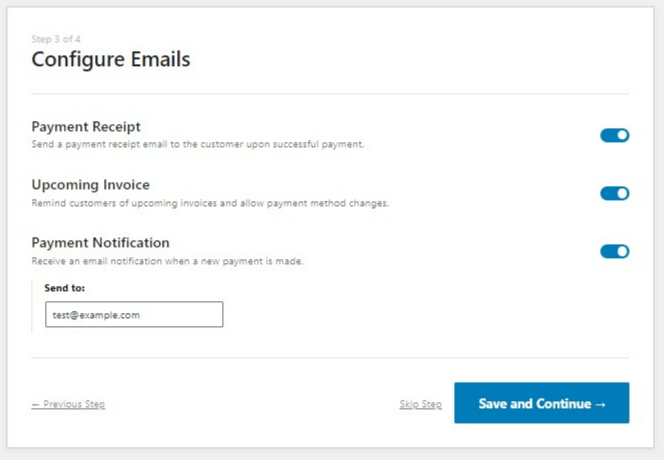
Next, you’ll find the settings for managing various emails. You may choose the emails that you’d like to receive.
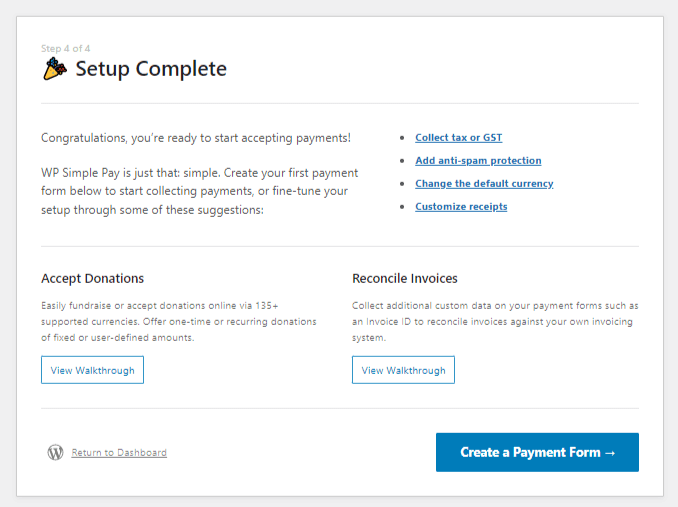
This brings us to the final step of the setup wizard.
You’ve successfully set up the Stripe account, and now you can start creating your first payment form.
Creating a Stripe Payment Form
WP Simple Pay plugin allows users to complete the payment using a simple form. Looking at the options available, you can choose from:
- an embedded form
- an overlay form or
- a simple Stripe checkout form
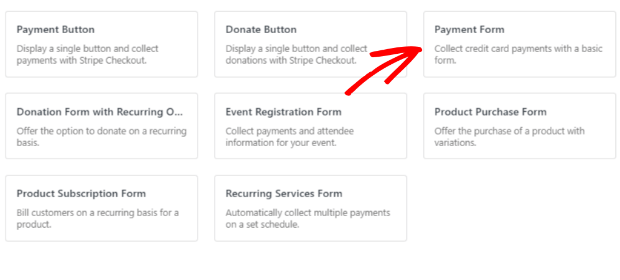
To create your first payment form, head over to WP Simple Pay » Add New.
Select the template and click on Use Template.
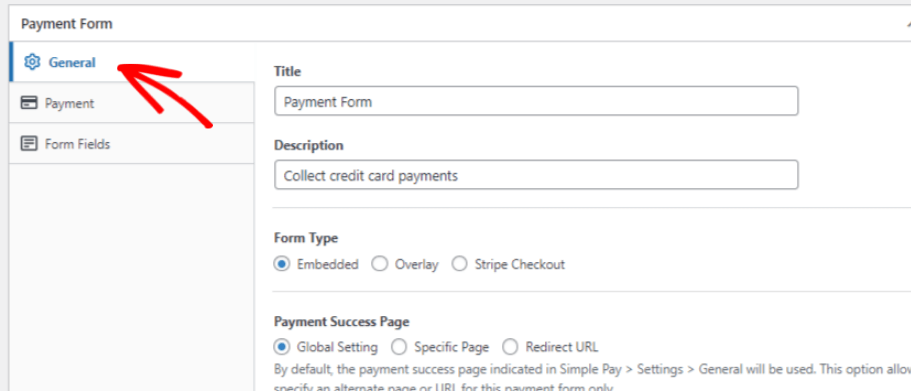
There are three simple tabs provided to customize your payment form.
You can set the title, description, form type, and payment success message in the General tab.
The next step is the Payment tab.
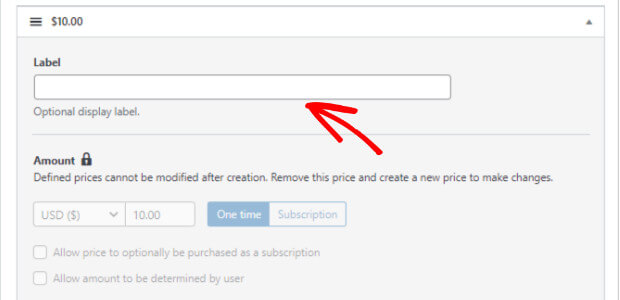
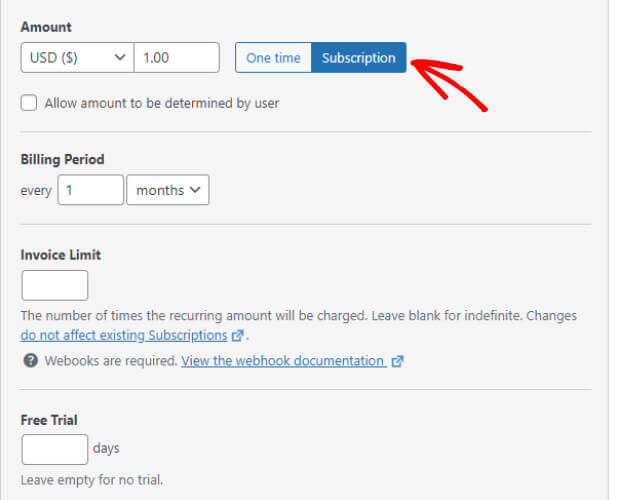
You can set the payment mode, amount, and payment type. There is an optional label field for adding the name of the purchased item.
Next, you can set the desired amount for your item.
After adding the amount, you can set it as a one-time amount or sell the item as a subscription-based model.
The subscription type will provide the necessary fields like frequency of payment, free trial period, and invoice limit.
Additionally, there are two checkboxes provided for users. These allow the users to make payments with the subscription model and select a minimum payable amount.
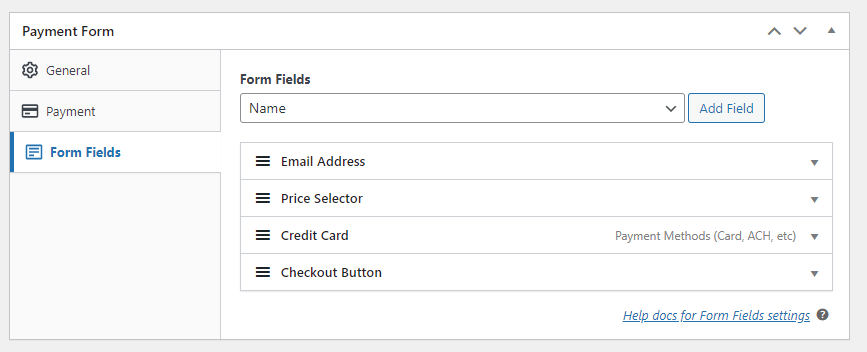
Now, you can move on to customizing the form fields.
By default, you’ll see 4 fields added:
- Email address
- Price selector
- Credit card
- Checkout button
You can select the field from the dropdown and click on Add Field to add a new field.
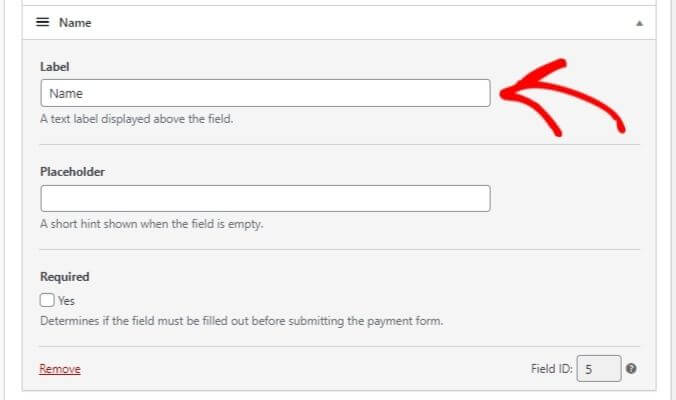
Once the field is added, click on the dropdown arrow to customize the newly added field.
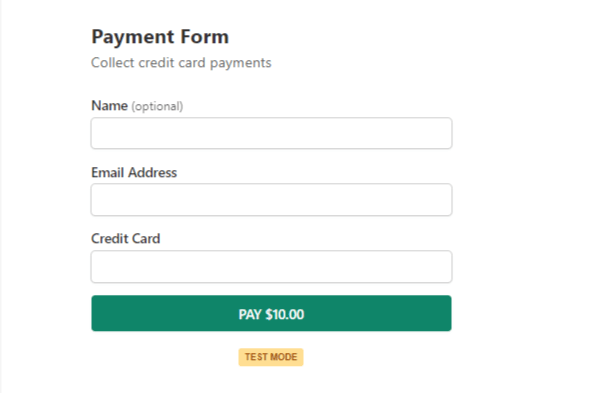
Save this as a draft, so you can preview the payment form. Here is the preview of the form created:
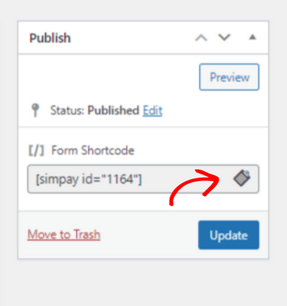
If no changes are needed, you can publish the form and copy the shortcode available above the publish button.
Adding a Stripe Payment Form to Your Website
If you’re using the classic editor, simply paste the shortcode where you want to insert the form.
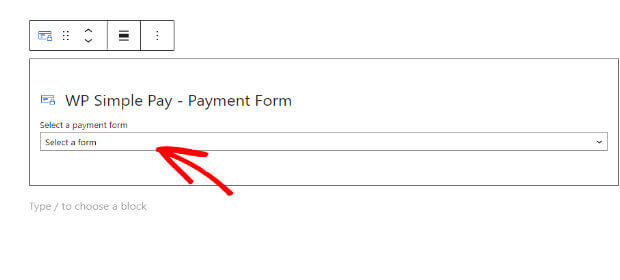
In the case of block editor, search for Pay, and you should see the WP Simple Pay form block.
Click on the form, and you should see the form inserted on the page/post.
The last step is to test the payment from the form created.
Making a Payment
By now, you are ready to make a test payment.
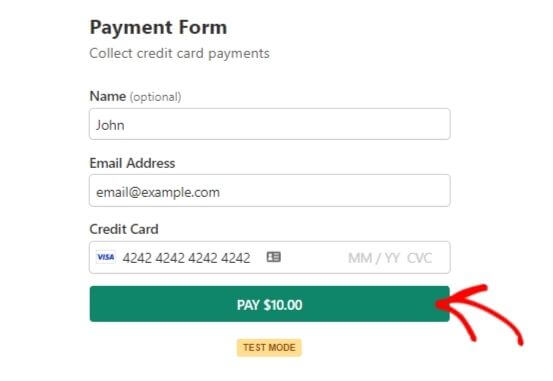
Stripe provides testing credit card numbers to check if there are any errors while completing the payment.
Once you make a payment, Stripe will process the test payment, and you will see a payment confirmation page.
And you’ve successfully integrated Stripe payments into your website in just four steps with WP Simple Pay.
You can even set up custom amount payments and customize your subscription options. Don’t forget to explore the features for adding Google Pay and Apple Pay buttons with customized discount coupons and more.
We hope this article helped you learn how to integrate Stripe into your WordPress website with the WP Simple Pay plugin. You might also like our other articles that cover payment gateways in detail:
- 8 Best WordPress Stripe Payment Plugins
- How to Make a WooCommerce Stripe Popup (2 Methods)
- WP Simple Pay Review: Is It the Right Stripe Payment Plugin?
What are you waiting for? Get started with the WP Simple Pay plugin today!
If you liked this tutorial, please follow us on Facebook and Twitter for more free WordPress tutorials.







Add a Comment