Are you trying to display the last modified date in WordPress?
Showing when your content was last updated can build trust with readers and help you climb the search engine rankings.
In this tutorial, you’ll learn how to easily display and change the last modified date of your posts in WordPress.
Table of Contents:
- How to Display Last Modified WordPress Date
- How to Change the Last Modified Date
- Should You Put Dates on Blog Posts?
- Can You Change the Date on a Blog Post?
How to Display Last Modified WordPress Date
By default, WordPress only shows when a post was first published. To update the publish date, you’d have to unpublish a post and then publish it again. What a hassle!
Search engines prioritize new and updated content. If visitors see a publish date that’s years old, they’re more likely to bounce off your website. Sure, you can recover some of those with exit-intent popups, but why not keep them on your site longer in the first place?
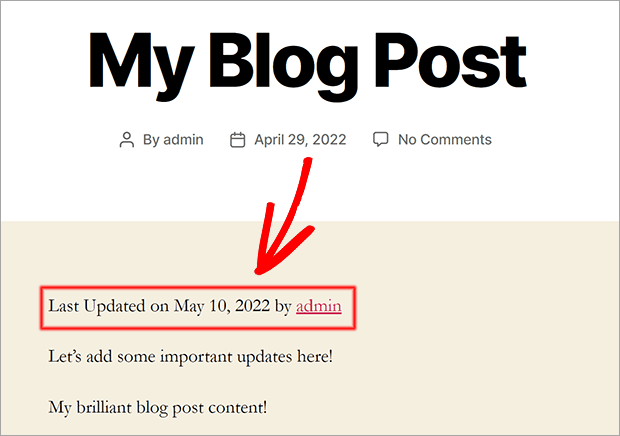
One way to do this is to display the last modified date in addition to the publish date. Visitors will see that the content is updated and therefore more reliable.
We’ll show you 2 methods to display the last modified date in WordPress:
- Method 1: Show Last Modified Date Using Code
- Method 2: Show Last Modified Date With WP Last Modified Info Plugin
You don’t have to write the code for Method 1 yourself, but you should be comfortable following technical instructions. The benefit is that you’re not dependent on a third-party plugin.
If you’d rather not mess with any code at all, Method 2 is an easy solution. You’ll just need to keep an eye on whether the plugin is compatible with your version of WordPress and any theme or plugins you use on your website.
Method 1: Show Last Modified Date Using Code
The first method is to add a snippet of code to a site-specific plugin.
You can also add this code to your theme’s functions.php file. But if you update your theme or change to a different theme, you will lose the added code. So we like to use a site-specific plugin.
If you already know how to create a site specific plugin, here’s the code you need to add:
function wpb_last_updated_date( $content ) {
$u_time = get_the_time('U');
$u_modified_time = get_the_modified_time('U');
if ($u_modified_time >= $u_time + 86400) {
$updated_date = get_the_modified_time('F jS, Y');
$updated_time = get_the_modified_time('h:i a');
$custom_content .= '<p class="last-updated">Last updated on '. $updated_date . ' at '. $updated_time .'</p>';
}

    $custom_content .= $content;
    return $custom_content;
}
add_filter( 'the_content', 'wpb_last_updated_date' );
If you’re not sure how to use a site-specific plugin, follow this great step-by-step guide. We promise it’s easier than it sounds!
Method 2: Show Last Modified Date With WP Last Modified Info Plugin
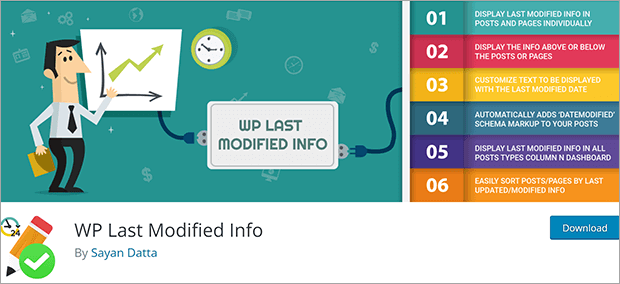
You can also use a premade plugin to show the last modified date. We recommend WP Last Modified Info. It’s free to use and highly rated.
Here’s how to set it up.
Step 1: Install and Activate the Plugin
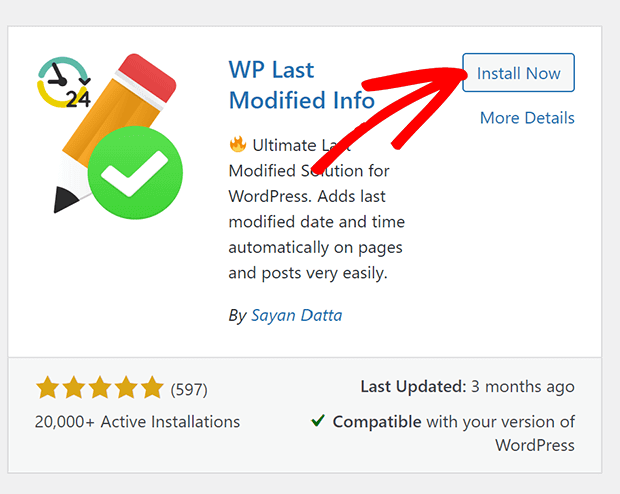
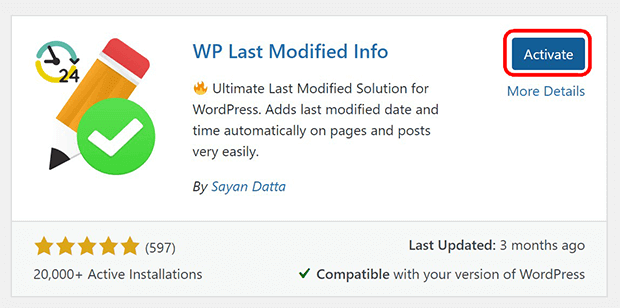
WP Last Modified Info is available from the WordPress plugin repository. Go to Plugins » Add New.
Search for WP Last Modified Info and click on Install Now.
The button will change to say Activate after installation. Click on Activate.
Step 2: Configure the Last Modified Date
From the WordPress dashboard, go to Settings » WP Last Modified Info.
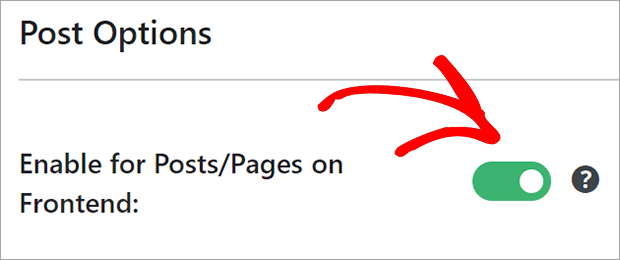
Toggle the Enable for Posts/Pages on Frontend switch to start displaying the last modified date.
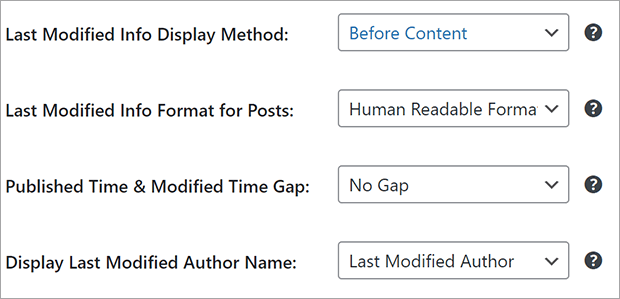
Customize the display settings as you wish.
- Display Method: You can place the last modified date before or after the content, replace the published date, or insert manually with a shortcode
- Format: You can choose traditional (shows the date) or human readable (shows how long ago)
Depending on whether you choose the traditional or human readable format, different settings will appear for you to configure.
You’ll also want to customize the HTML template accordingly. This will help make sure that the text makes sense.
For example, the HTML template for traditional format might look something like:
<p class="post-modified-info">Last Updated <strong>on</strong> %post_modified% by <a href="%author_url%" target="_blank" class="last-modified-author">%author_name%</a></p>
On the other hand, the HTML template for human readable format could look like this:
<p class="post-modified-info">Last updated %post_modified% <strong>ago</strong> by <a href="%author_url%" target="_blank" class="last-modified-author">%author_name%</a></p>
Make sure to click Save Settings when you’re done.
Now you will see the last modified date on all of your posts!
How to Change the Last Modified Date
If you use either of the methods outlined above, your posts will automatically show the last modified date.
But sometimes you may not want to show every single update, such as small proofreading corrections. Or perhaps you add a new category to your site and need to recategorize older posts. You wouldn’t necessarily need to show that all of those posts were “updated” just because the category changed.
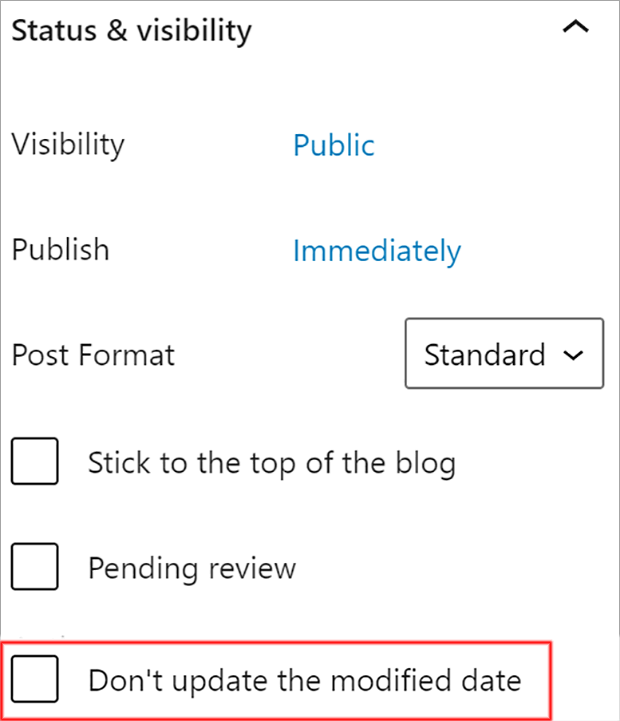
Fortunately, it’s also easy to “freeze” the last modified date when making small updates or minor tweaks.
When you use the best SEO plugin AIOSEO to manage your site’s search rankings, you get an added bonus! You can easily keep the post modified date the same.
Read our full AIOSEO review and learn how to get started optimizing your content for search.
Should You Put Dates on Blog Posts?
Yes, we believe you should always have dates on your blog posts. Even if your content is “evergreen” and not linked to a specific event or promotion, it’s still best practice to display dates. Information changes quickly, and recently updated content is often deemed more trustworthy.
Can You Change the Date on a Blog Post?
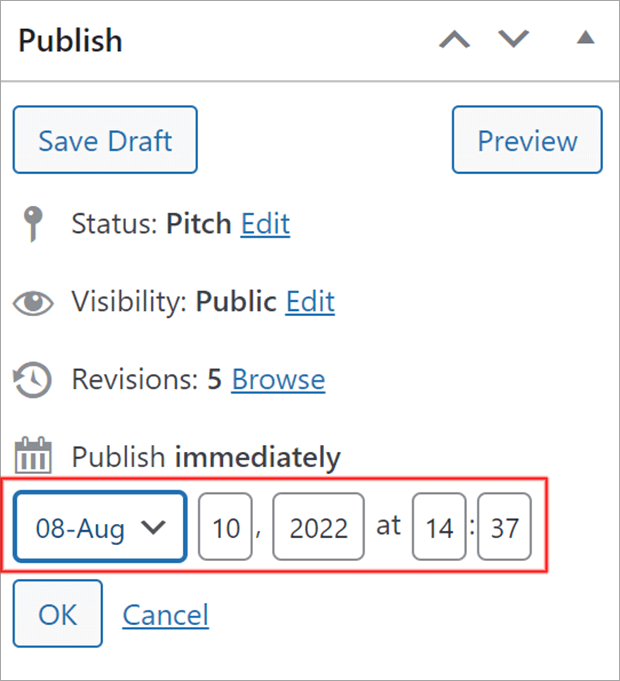
Yes. In addition to displaying the last modified date, you change the actual publish dates on a blog post in WordPress. You can backdate posts or schedule posts to publish in the future. This can be helpful if you need to change the post’s position in your archive pages.
Now you know how to display and change the last modified date in WordPress.
If you want to get even more traffic to your blog, check out how to optimize your content for featured snippets.
Did you like this article? If so, please follow us on Facebook and Twitter for more free WordPress tips.





Add a Comment