Are you trying to add the Infusionsoft (Keap) form to your website?
Keap, formerly known as Infusionsoft, is a popular email marketing service provider. It lets you create email optin forms for collecting email addresses so you can build a relationship with them via emails.
Keap lets you maintain email conversations in an organized way. However, building and embedding a form on your WordPress site is not really easy with Keap.
In this tutorial, we’ll show you an easier way to add an Infusionsoft form with the help of a WordPress plugin.
Creating Infusionsoft (Keap) Forms in WordPress
We’ll use the OptinMonster inline forms to create an Infusionsoft form in this tutorial.
OptinMonster is a premium WordPress plugin actively used by more than 1 million websites to create high converting lead generation campaigns.
You might have a question, “Why OptinMonster?”
And the answer is simple.
OptinMonster makes it easy to set up any form and create successful email campaigns. But that’s not the only reason.
Here are some of the reasons why OptinMonster is best for Infusionsoft integration:
- Templates: OptinMonster offers free templates optimized for high conversion rates. These templates are designed by professionals and require little to zero editing before going live on your website.
- Form types: You can create a variety of forms like inline forms, floating bars, popups, content locking forms, and gamified wheels.
- Triggers: OptinMonster provides basic to advance level targeting. You can trigger popups on user activity, page level targeting, and when someone leaves your site (Exit Intent).
- Analytics: You can check the performance of campaigns and make the changes to optimize conversions.
And many more!
Still thinking of getting started with OptinMonster? Check out how Trading Strategy Guides grow their subscriber list by 11,000 using one inline optin form.
Why the OptinMonster Plugin Over Other Plugins?
While there are too many plugins out there that let you create and embed a form on your WordPress site, OptinMonster stands out from the rest for a few reasons:
- Automatic embedding: OptinMonster provides automatic embedding settings that insert inline forms on all your posts and pages based on your needs.
- Widgets: You can add OptinMonster forms to your website sidebars, footers, or any widgetized area.
- WordPress-specific targeting: With the help of advanced targeting rules and triggers, you can show forms based on WordPress categories, tags, post types, and even product pages.
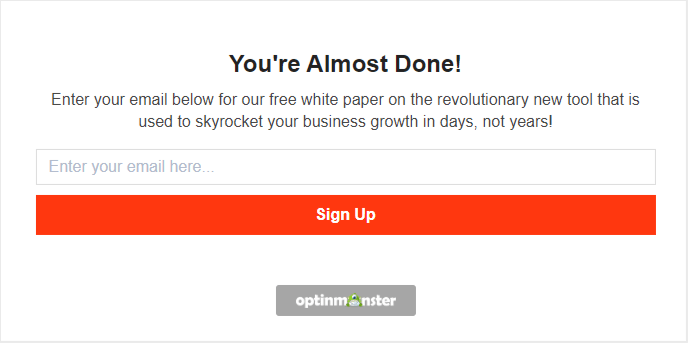
Here’s how our form will look once the campaign goes live.
It’s time to dive into this step-by-step guide for adding an Infusionsoft form with the OptinMonster plugin.
Step 1: Install and Activate the OptinMonster Plugin
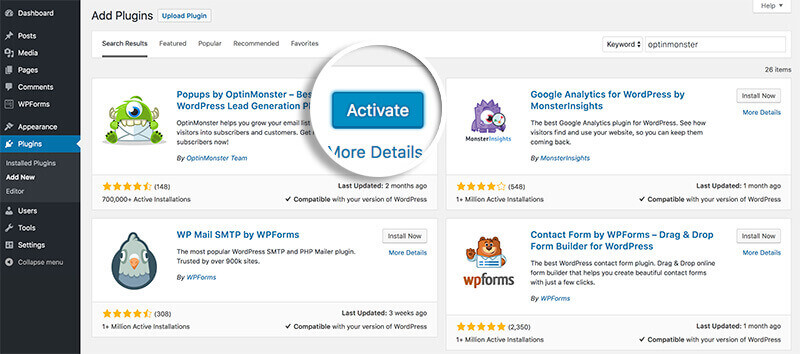
The first thing you’ll need to do is install the OptinMonster plugin. Download it from the WordPress repository.
After the plugin is activated, you’ll see a setup wizard for connecting your account.
Click on Connect Your Existing Account.
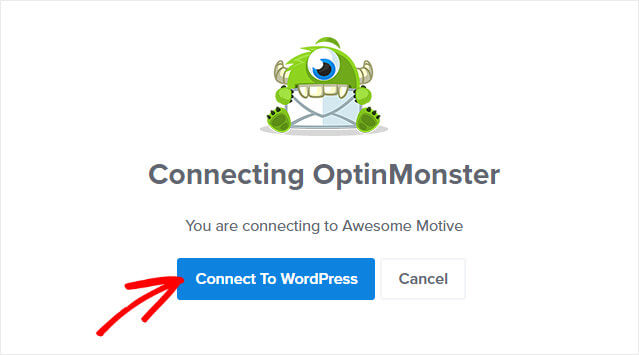
In the next step, you’ll be able to connect your account with WordPress. You can subscribe to an OptinMonster plan from here.
That’s it! In just a single step, you’ve connected OptinMonster to your website.
Now, it’s time to move on to the next step.
Step 2: Create a Campaign
Creating a new campaign is simple in OptinMonster.
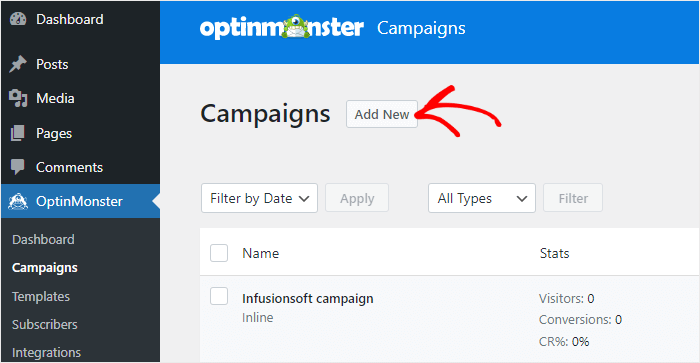
From your WordPress admin dashboard, go to OptinMonster » Campaigns.
Click on Add New.
We’ll select the inline form from the campaign type.
OptinMonster offers more than 75 pre-built templates that make creating a campaign form stress-free. You can hover on the templates and click on the preview template to check their design.
For this tutorial, we’re selecting the Action template.
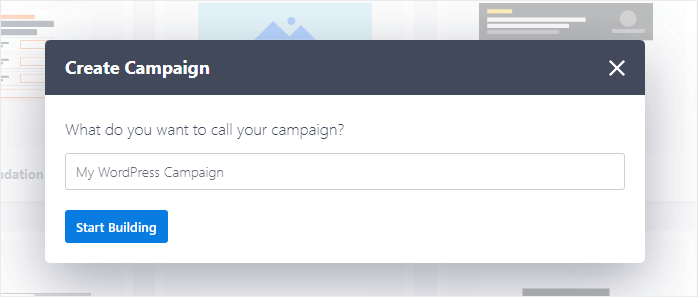
Enter a name for your campaign and click on the Start Building button.
We recommend checking out this article to help you create your first campaign effortlessly.
Next, we need to customize our inline form.
Step 3: Customize Your Form
OptinMonster’s drag and drop builder makes it easy to customize the form to match your requirements.
You get blocks on the left hand side that must be dragged and dropped onto your form.
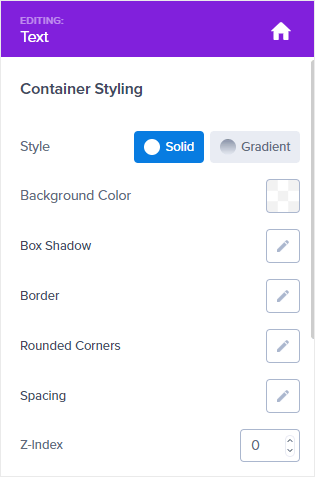
Clicking on the block will open up the styling settings, and you can make the required changes.
OptinMonster also allows you to set dedicated settings for the inline forms.
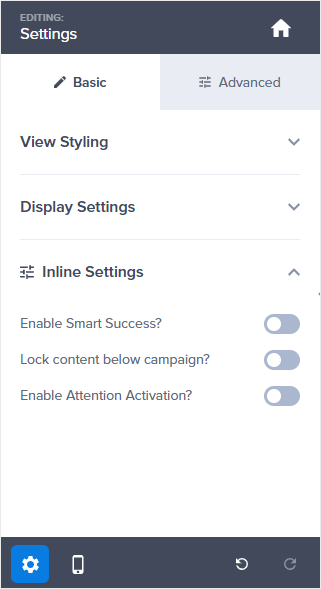
Click on the settings icon on the dashboard’s left-hand side corner and navigate to the inline settings.
There are 3 options:
- Enable smart success: This setting ensures that visitors won’t see repeated campaigns if they’ve already subscribed through another campaign.
- Lock Content Below Campaign: It blurs the content below the inline form.
- Enable Attention Activation: This setting fades the entire page and highlights the form.
These features will help you to convert more visitors into subscribers. For example, the content locking feature makes it necessary for users to provide the email details before navigating the content further.
Check out how the content locking feature works in OptinMonster.
Save the settings before we move on to the display rules step.
Step 4: Integrate the Form with Infusionsoft (Keap)
Now, we’ve reached an important step: integration with Infusionsoft.
OptinMonster makes it easy to connect with Infusionsoft (Keap) in just a few clicks.
Go to the Integrations tab.
Click on the Add New Integration button.
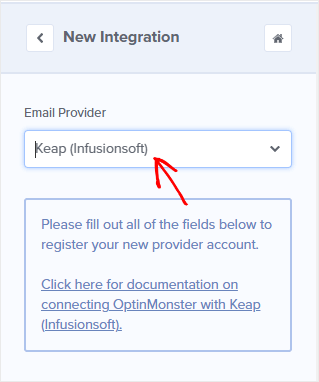
Select Keap(Infusionsoft) from the list of email providers.
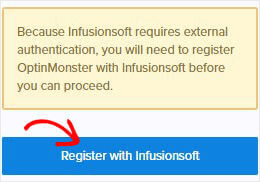
Click on the Register with InfusionSoft button to start the authorization process.
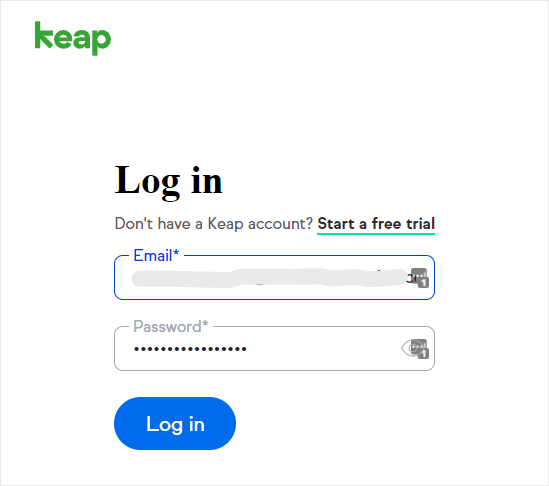
You’ll need to login into your Infusionsoft account on the next step.
Now, you’ll be prompt to allow OptinMonster to connect with Infusionsoft.
Click on Allow.
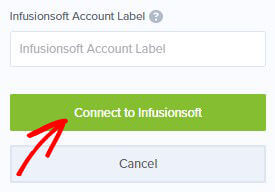
You’ll be redirected to the OptinMonster dashboard, where you can add a label for the account. This keeps your campaigns organized.
Click on Connect to Infusionsoft to complete the integration process.
And that’s it.
With this step, you’ve successfully integrated Infusionsoft with OptinMonster.
Step 5: Publish Your Infusionsoft Form in WordPress
The last step is to publish your campaign.
Click on the Publish tab, and proceed to the Publish button.
Scroll down on the same page to get the inline form code.
Embedding the code is simple, and you need to paste it into the post or page.
If using the block editor, search for OptinMonster block and select the campaign from the dropdown.
We’ve a detailed documentation on how to add an inline campaign.
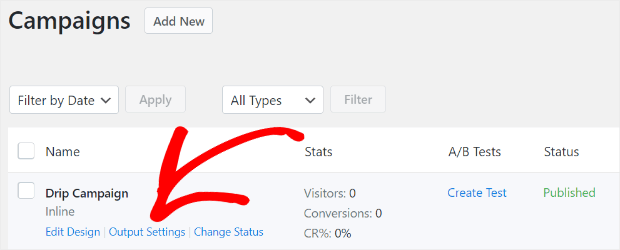
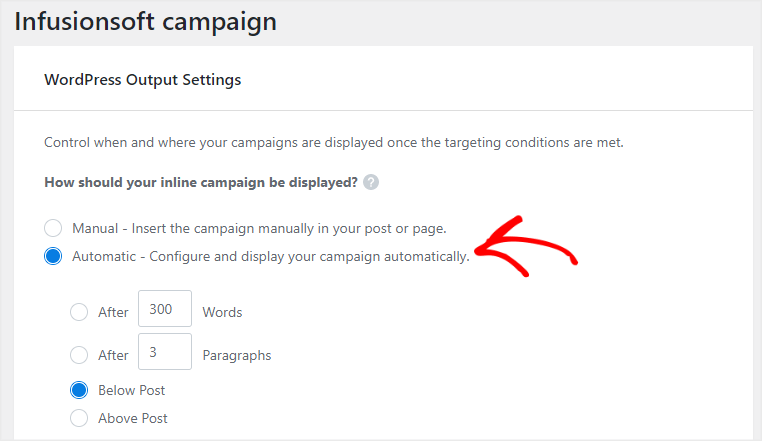
You can also use OptinMonster’s campaign output settings for automatic form embedding.
Navigate to the Campaigns tab and click on Output Settings.
You can set the options to automatically display inline form on your site on the next screen.
Check the Automatic option and set the required configurations.
Set the status to Published from the right-hand side settings and click on the Save Changes button.
Once the post is published, visitors can see and subscribe through this form.
Here’s how our final form looks in the front end.
This brings us to the end of this tutorial.
In just a few steps, you’ve successfully added an Infusionsoft form using OptinMonster.
If you found this tutorial helpful, consider checking out these articles for creating similar email campaigns:
- Email Popup Best Practices
- 40 Exit Popup Hacks and Examples to Grow Your Email List
- 35 Best Lead Generation Software & Tools for Targeted Leads
These articles will help you further understand the ideation process of creating a high converting popup.
Don’t wait anymore! Get started with OptinMonster Now.













Add a Comment