Do you want to create a WordPress notification bar to share important updates and promotions with your site visitors?
Store owners and publishers use notification bars to grow their subscribers and sales. That’s because it’s the easiest way to bring your visitors’ attention to the news and offers you want them to know about.
Today, we’ll look at how to add a WordPress Notification bar to your site in minutes.
Why Create a WordPress Notification Bar
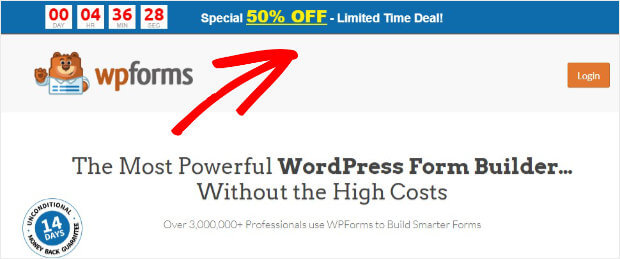
A WordPress Notification Bar, or floating bar, is a banner that’s displayed on your site. Typically, it’s shown prominently right across the top of your web page.
Whether you’re a blogger or eCommerce owner, you can use these alerts to boost your conversions. If you have content or deals you want your site visitors to know about, you should use floating bars.
Online stores use notifications bars to boost sales by:
- Showing seasonal offers
- Sharing time-sensitive deals
- Announcing promotions
Cosmetic Capital used a floating bar to increase leads by 300%.
Content publishers use notification bars to:
- Increase subscribers by asking people to sign up
- Drive traffic to popular content
- Share content upgrades on popular posts
Fortunately, it’s incredibly easy to display a notification bar on your WordPress site. And the good news is you don’t need any coding or design skills.
How to Create a WordPress Notification Bar
Today, we’ll be using OptinMonster to create our WordPress Notification bar. OptinMonster lets you design stunning notification bars in a drag and drop builder and connects easily with WordPress.
With OptinMonster‘s floating bar templates, you can run campaigns such as:
- Showing a free shipping offer
- Announcing a limited time discount
- Sharing important news, like changing support hours
Active Campaign added 800 trials every month with OptinMonster’s floating bar campaigns.
And it’s incredibly easy to use.
Today, we’ll create this WordPress notification bar in under 20 minutes:
Don’t have an account yet? Get OptinMonster today by clicking the link below.
Let’s begin.
Step 1: Create a Campaign
We understand that not everyone learns the same way. That’s why we also made this helpful video tutorial for our visual learners:
But for a totally in-depth guide, we recommend going through these written instructions. Let’s get started.
First, you’ll need to log into your OptinMonster account.
Click Create New Campaign.
Next, you will need to choose your campaign type.
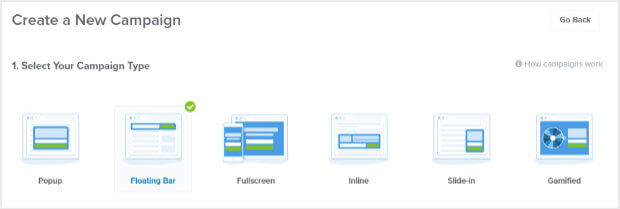
You’ll see OptinMonster offers multiple campaign types:
- Popup
- Fullscreen
- Inline
- Slide-in
- Gamified
For this tutorial, we’ll go with Floating Bar.
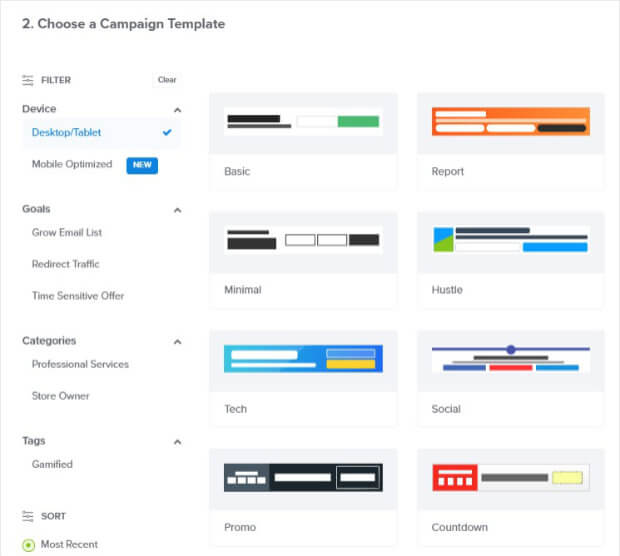
Now, you will need to select your template. All are professionally designed to increase conversions and work across all devices.
Today, we’ll go with countdown.
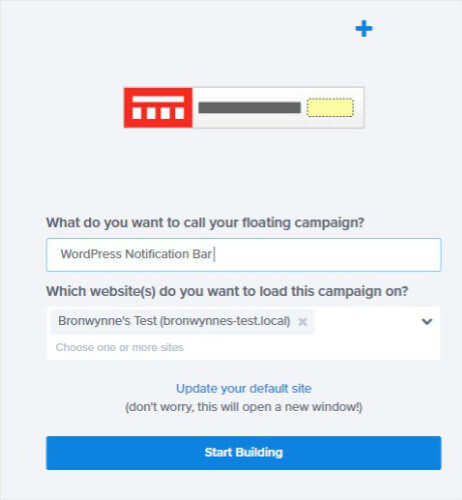
Now, you will need to name your campaign.
Click Start Building to enter the builder.
Step 2: Design Your WordPress Notification Bar
In this step, you will customize your WordPress notification bar inside OptinMonster’s drag and drop builder.
From here, you’ll be able to change the color, font, copy, and link.
To start, we will change the location of the notification bar so it loads at the top of the page.
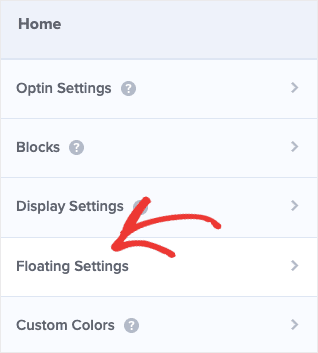
Click on Floating Settings.
Then, toggle the switch to position your bar at the top of the page.
Now, let’s take a closer look at the editing tools.
If you want to edit the text, click on it.
You’ll be able to change the copy, color, font, and more.
Similarly, to customize the button, click on it.
You might want to pay attention to the call to action you include in the campaign button.
Brian Tracy increased their floating bar conversion rate by 472% just by changing the button copy.
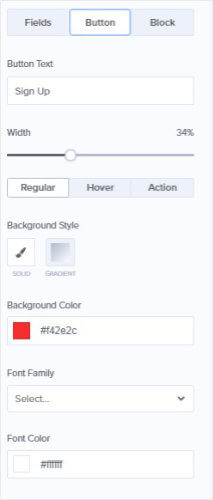
Clicking on the button will pull up the editing tools on the left.
From here, you can change the button:
- Copy
- Color
- Font alignment
Next, we’ll change the background color of our WordPress Notification Bar.
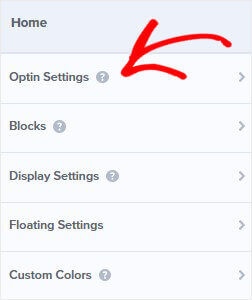
Click Optin Settings.
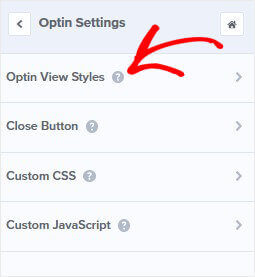
Next, select Optin View Styles
Now, we’ve covered the design of your notification bar. But what happens when someone clicks on it? You will be able to control that by clicking on the button.
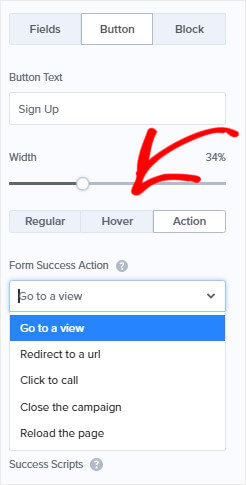
Head over to Action.
Go ahead and choose Success Action.
By default, your visitors will be sent to a web page.
For more on creating an effective floating bar campaign, check out this article: 6 Simple Floating Bar Hacks to Boost Conversions (Without Annoying Visitors)
The next step is to determine how your WordPress notification bar is displayed.
Step 3: Display Notification Bar in WordPress
Head over to the Display Rules tab to select where and when your notification bar will be shown.
Click Display Rules.
By default, your campaign will show on every page after your site visitor has spent 5 minutes on the page.
Go ahead and change this to immediate. Now, your notification bar will appear the moment your visitor lands on the page.
We’ll stick with this targeting rule today. But there’s many more to choose from.
One of the best things about OptinMonster is its advanced targeting.
You can choose to show your notification bar based on:
- Which page your site visitor is viewing
- Whether they’re new or returning visitors
- Your visitor’s physical location
Now, you’ll need to connect your email service provider.
Step 4: Integrating With an Email Marketing Service
Click on Integrations at the top of your editor.
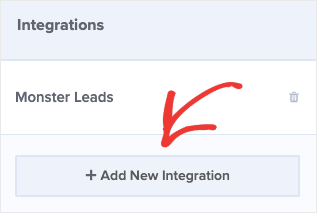
Select Add New Integration.
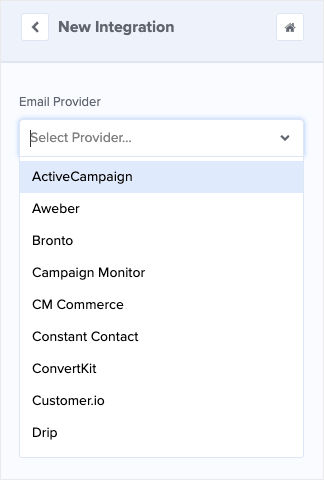
Select your email service provider from the dropdown.
Once you’ve set up email integration, you’re ready to publish your notification bar in WordPress.
Step 5: Publish Your Notification Bar in WordPress
The final step is to connect OptinMonster with WordPress. This is a quick process and won’t take longer than 5 minutes. All you need to do is install and activate the OptinMonster plugin.
Click Publish at the top of your editor.
Switch your campaign to Live.
Now, head over to your WordPress dashboard.
Now, you’ll need to install the OptinMonster plugin. Need help? Here’s a quick guide for quickly installing and activating a plugin.
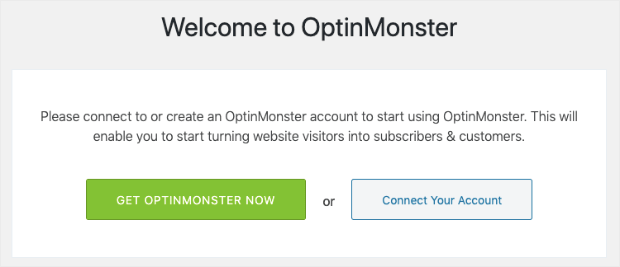
Once you’ve activated the plugin, you’ll need to connect your OptinMonster account.
Select Connect Your Account.
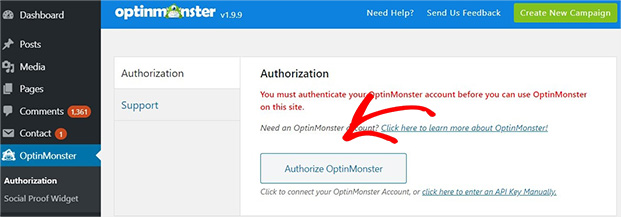
Next, select Authorize OptinMonster.
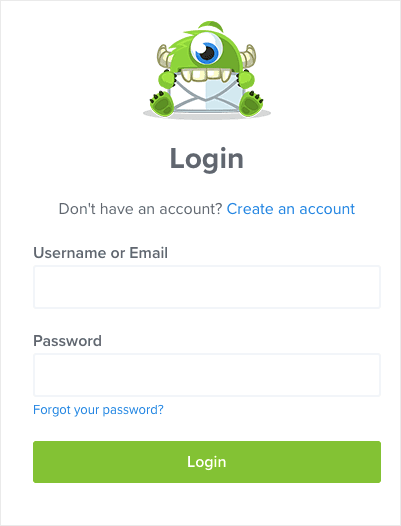
Next, you’ll be taken to the OptinMonster login page. Enter your details and click Login.
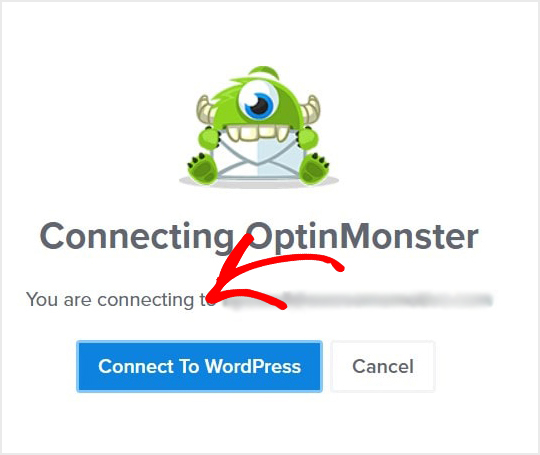
Finally, select Connect to WordPress.
That’s it. Your notification bar will be live on your site.
Notification bars are one way to grow your subscribers and sales.
If you’re looking for more useful resources for growing online, check out these articles:
- 40 Exit Popup Hacks That Will Grow Your Subscribers and Revenue
- 36 Best Lead Generation Tools to Get More Targeted Leads
- 9 Best WordPress Notification Bar Plugins
Ready to turn your WordPress site visitors into subscribers? Get started with OptinMonster today.










Add a Comment