Do you want to create a FeedBlitz popup to grow your email list?
FeedBlitz is one of the most affordable email marketing services out there. Out of the box, FeedBlitz doesn’t let you create high-converting popup forms to grow your email list.
Fortunately, you can easily integrate FeedBlitz to OptinMonster, the best lead generation tool, to create a stunning popup.
In this tutorial, you’ll learn how to create a FeedBlitz popup to grow your email list.
What is a FeedBlitz Popup?
FeedBlitz is an email marketing service provider that makes it easy for you to send personalized emails in bulk.
With FeedBlitz, you can:
- Segment subscribers to send targeted emails
- Automate email sequences, like welcome campaigns or eCommerce follow-ups
- Track real time data to check which subject lines and offers get the best results
But how do you collect your users’ email addresses in the first place?
The easiest way is to use a popup.
A FeedBlitz popup is a lead capture form that dims your site content to grab your visitor’s attention to your form. Using a popup form’s proven to grow an email list… exponentially!
But, only the right kind of popup is effective in growing your list.
And that’s where OptinMonster comes in.
OptinMonster is the best lead generation tool for you because it converts casual site visitors into email subscribers. It comes with everything you’ll need to create an eye-catching popup, including an easy-to-use drag and drop popup builder and 50+ built-in templates.
One million websites use OptinMonster to increase their leads.
OptinMonster uses powerful targeting features and eye-catching optin forms to fill your list with engaged subscribers. Those are the subscribers who are more likely to turn into paying customers.
And that’s when your email list becomes a powerful source of revenue for your business.
Danny Rusteen of OptimizeMyAirbnb increased the size of his email list 650% using OptinMonster. And after he built an engaged email list, he was able to launch a new product with confidence.
Here’s how OptinMonster turns your website into a lead generation machine:
- Prebuilt templates: stunning templates that work across desktop, tablet, and mobile
- Campaign types: popups, fullscreen mats, inline campaigns, and more
- Targeting: control exactly who sees your popup (like first-time visitors, customers, repeat visitors) and when they see it (like after 30 seconds, after X pageviews)
- Triggers: display campaigns based on your site visitor’s behavior, such as Exit Intent, inactivity for a long time, and more.
And none of this is difficult or time-consuming.
One of the advantages of OptinMonster is you don’t need any coding or design skills to create attractive popups that convert.
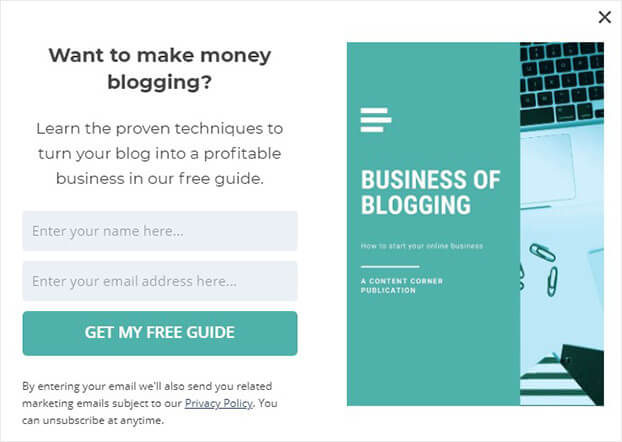
Today, we’ll create this popup in less than 10 minutes:
Ready?
Let’s get started.
How to Create a FeedBlitz Popup
Before we begin, you’ll need an OptinMonster account.
Step 1: Create OptinMonster Campaign
First, you need to log into your OptinMonster account.
From your dashboard, click Create New Campaign.
Now, you’ll need to choose a campaign type:
- Fullscreen: covers your site visitor’s screen and is ideal for presenting a targeted offer
- Slide-in scroll box: slides in from the bottom right corner of the page as the visitor scrolls down and gets great results for things like highlighting related products
- Floating bar: a sticky header or footer that remains visible as your visitor scrolls and can be used to promote time-sensitive offers or sales
And so much more.
For this tutorial, we’ll go with Popup.
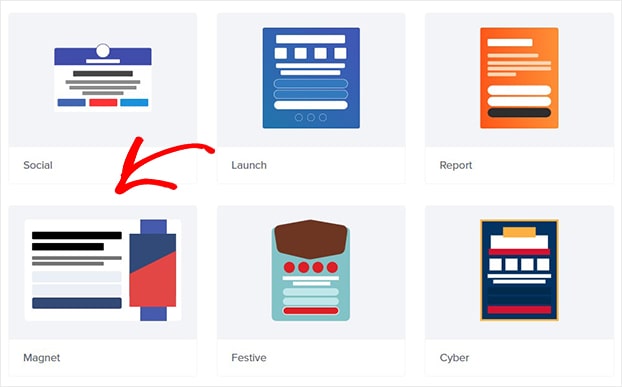
Next, we’ll choose a template.
All templates work well across desktop, phone, and tablet.
Plus, you can filter template by your campaign goal:
- Grow email list
- Redirect traffic
- Target abandoning visitors
- Time-sensitive offer
Today, we’ll go with Magnet, because it’s perfect for creating a popup that offers subscribers an incentive in exchange for their email addresses.
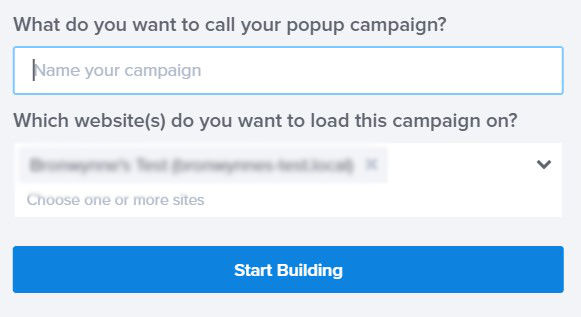
Now, it’s time to name your campaign and select Start Building.
You’re ready to design your FeedBlitz popup in the editor.
Step 2: Design FeedBlitz Popup
OptinMonster’s drag and drop editor makes it easy to create beautiful campaigns.
You can quickly customize everything about the template:
- Colors
- Fonts
- Layout
- Copy
That way you can build a popup that’s exactly matching your brand and business website.
To grow your list exponentially, you can also offer a lead magnet in your popup. A lead magnet is an incentive marketers offer people in exchange for their email addresses.
Typically, it’s a piece of downloadable content, like a checklist or ebook. You can find 69 effective lead magnet ideas to grow your list in this article.
Let’s start customizing our popup.
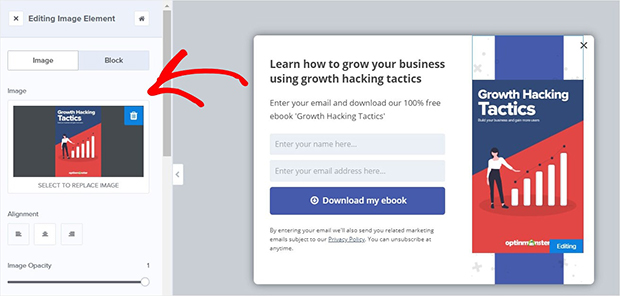
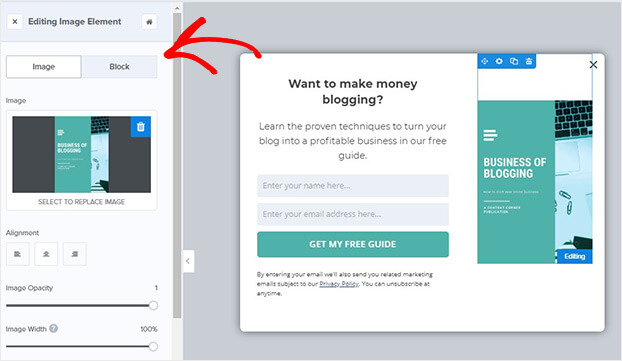
First, we’ll add an image of the free guide we’re offering.
Simply click on the image to pull up the editing tools on the left.
Next, we’ll edit the text.
We’ll include a strong headline and a clear description.
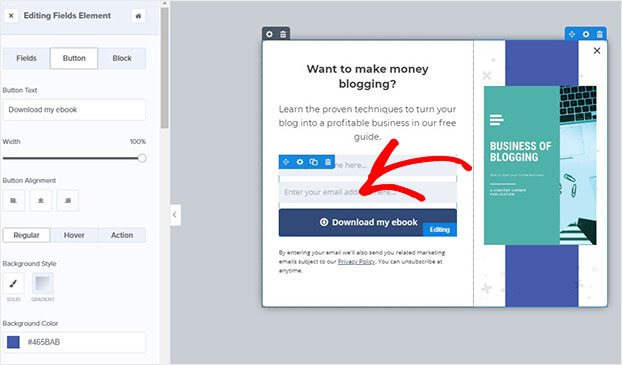
Next, we’ll customize the button to create a clear call to action.
Click the button on your optin form.
Now, you can edit using the tools on the left.
From here, you can change the call to action, button color, font, and alignment.
And it’s just as easy to delete blocks.
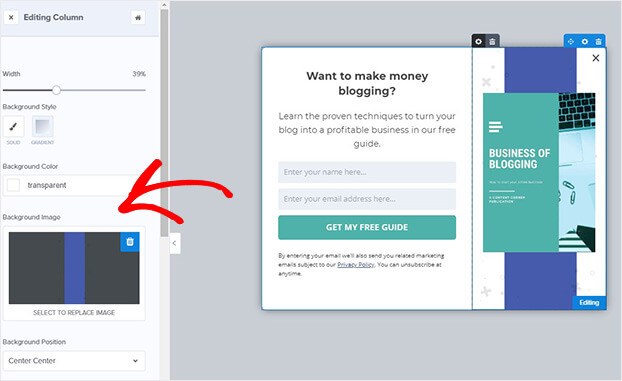
Let’s delete the purple strip on the optin form.
We’ll click on it and make our changes in the editing panel on the left.
Now, you might want to tweak the layout.
You can click on any block to change its margin and padding.
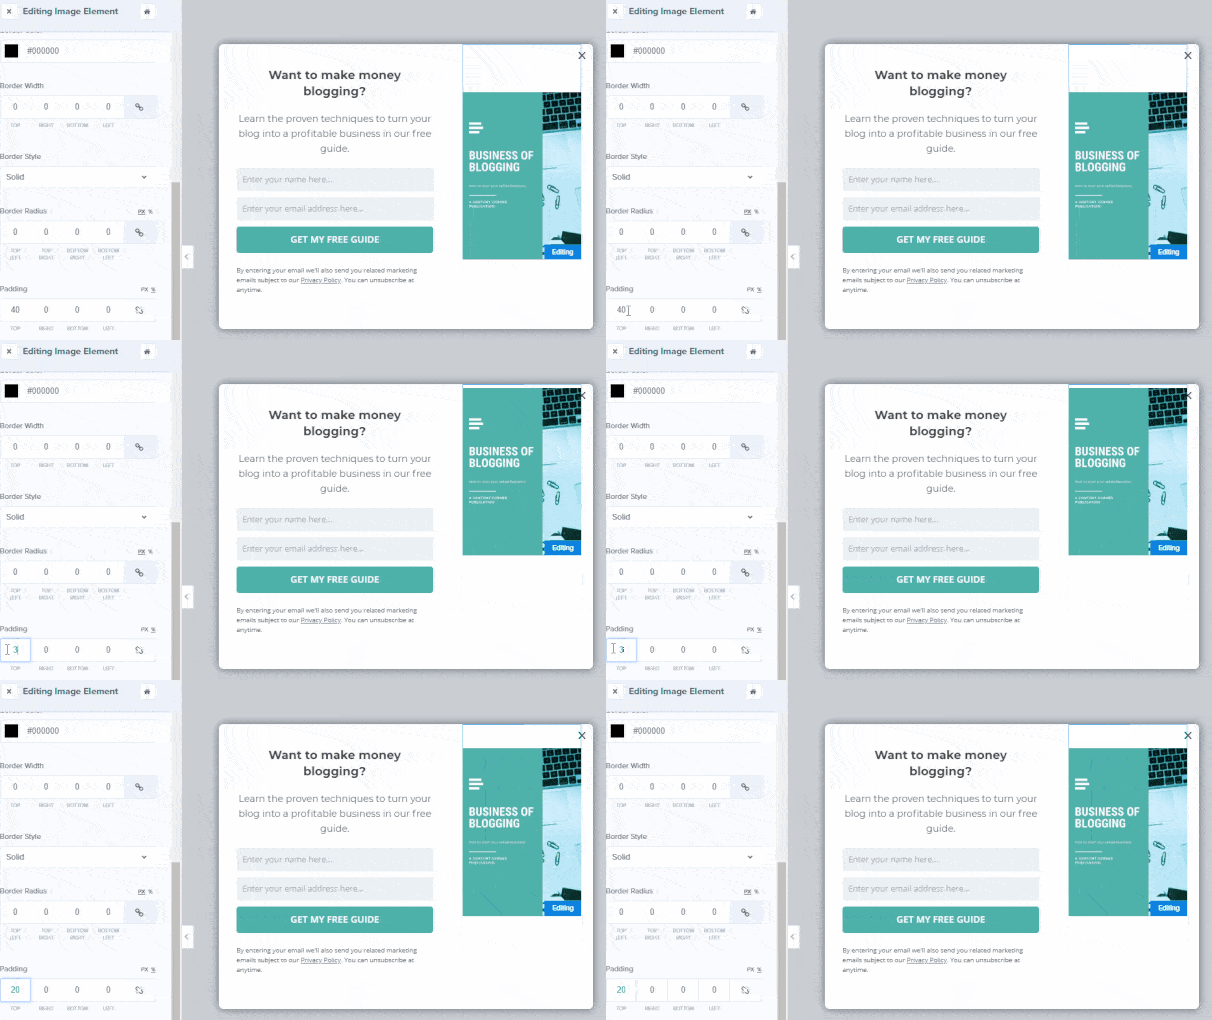
Let’s reduce the space above our image.
Click on the image block to pull up the editing tools.
Under the Block tab, scroll down to padding and margin.
You’re also able to add anything to your popup.
Simply click Add Blocks at the top of the editor.
From there, you can add:
- Additional optin fields
- Text
- Video
- HTML
We’ll stop there for this tutorial:
For more details, check out this checklist for creating the ultimate optin form.
Now, it’s time to customize the display rules for your FeedBlitz popup.
Step 3: Customize Display Rules for FeedBlitz Popup
OptinMonster lets you show your popups to the right people at exactly the right time using targeting and trigger options.
Here’s how it works.
Triggers
Triggers show popups based on your visitor’s behavior:
- Scroll trigger: only show campaigns after a user has scrolled a certain percentage of the page
- Monsterlinks™: turn any image or link into a two-step optin with a link you can add to your site
- InactivitySensor ™: target inactive visitors and turn them into subscribers with targeted offers
Targeting
Targeting lets you control who sees your popup campaigns:
- Geo-location: show campaigns based on visitor’s physical location
- OnSite Retargeting®: create special offers for returning visitors
- Device-based targeting: create specific campaigns for desktop, mobile, and tablet
Today, we’ll focus on two powerful display rules:
- Time on site
- Exit Intent ®
Time on Site
Worried about annoying your site visitors with poorly timed popups?
Poorly timed popups interrupt your site visitor with irrelevant offers.
The solution is to show your popup campaign right when your visitor is most engaged.
OptinMonster makes it easy to do that with Timed Display Control.
Time display triggers let you show your campaigns at the perfect moment after your visitor has browsed your site but just before they leave.
To set up a time triggered popup, head over to Display Rules.
Choose Time on Site.
Refine by adding a time.
Looking for more ways to use timed popups? Check out this article for ways to capture email leads without disturbing your visitors.
Exit intent
More than 70% of site visitors who abandon your site will never come back.
An exit popup gives you one last chance to get their email address with a targeted offer.
Exit intent shows a popup as the visitor moves their mouse towards the browser bar on desktop. On mobile, it’s triggered when the visitor scrolls up or hits the back button.
Customers who use exit popups increase conversions between 2 to 4%.
Neil Strauss used exit intent to grow his email list and increase conversions by 125%.
Under the Display Rules tab, select Exit Intent.
Check out this article for exit popup hacks to grow your subscribers and revenue.
Step 4: Integrate FeedBlitz With OptinMonster
Now, it’s time to sync FeedBlitz with OptinMonster.
First, head over to Integrations at the top of the editor.
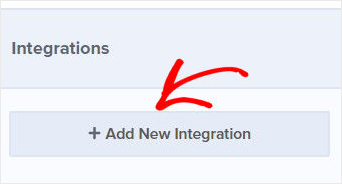
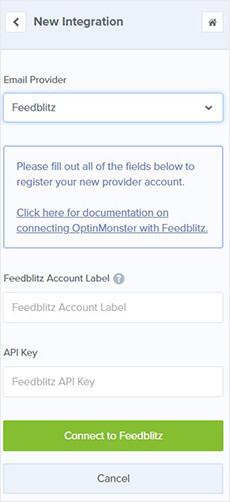
Click Add New Integration.
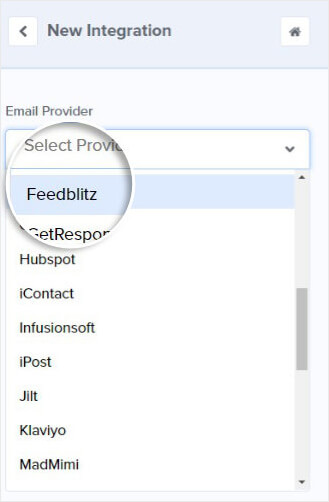
Select FeedBlitz from the Email Provider dropdown.
Now, you’ll need to add two things:
- FeedBlitz Account label
- API key
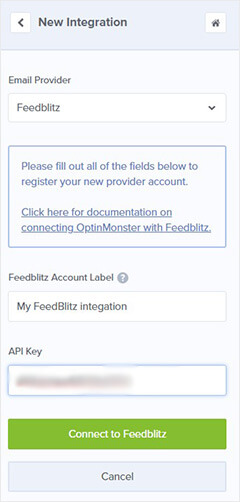
Choose a simple label to help you keep track of your integrations.
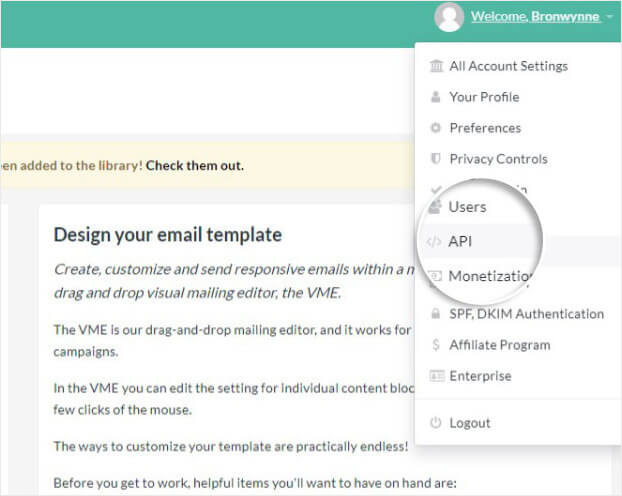
You’ll need to find your API key in your FeedBlitz account.
Go ahead and log into your FeedBlitz account to get your API key.
From your account dashboard, click Integrations on the left menu.
On the next screen, select Generate New Key.
Copy the API key.
Return to OptinMonster and paste the API key into the corresponding field.
Click Connect to FeedBlitz.
That’s it.
All that’s left is to publish your campaign.
We hope you enjoyed this article.
You’ve taken the first step towards building an engaged email list.
Over time, as you share compelling content and offers with your subscribers, they’ll become paying customers.
Here are a few more resources that will help you run successful email marketing campaigns:
- Email Marketing Made Simple: A Step by Step Guide [+ Examples]
- 15 Email Popup Best Practices To Skyrocket Your List
Ready to turn your site visitors into subscribers? Get OptinMonster today.









Add a Comment