Do you want to add a welcome popup to your WordPress site?
When done right, a welcome popup grabs your visitor’s attention from the moment they get to your site.
And there are plenty of ways you can use welcome popups to boost your subscribers and sales:
- Present a targeted coupon
- Welcome visitors from your guest articles with referrer detection
- Let visitors know what to expect from the site
In this tutorial, we’ll show you how to easily add a welcome popup to your WordPress site to increase your conversions.
Why Add a Welcome Popup to WordPress
Welcome popups appear when people land on your site, so it’s a great way to grab visitors’ attention and make them engage with your offers.
But, it’s important to do it the right way or you risk annoying people.
Welcome popups are most effective when they’re targeted.
With OptinMonster, it’s easy to create a targeted welcome popup that appears at the right time in the right place to the right user.
OptinMonster is the world’s best conversion optimization tool for small businesses.
It offers powerful features, like:
- 50+ Beautiful ready-made templates that help you create stunning campaigns
- Campaigns triggers to show the right popup to the right person, such as Exit Intent, 2- step optins, and so on
- Targeting based on geographical location, cookie retargeting, and more
Before we get started, let’s take a look at a few welcome popup examples you can build with OptinMonster.
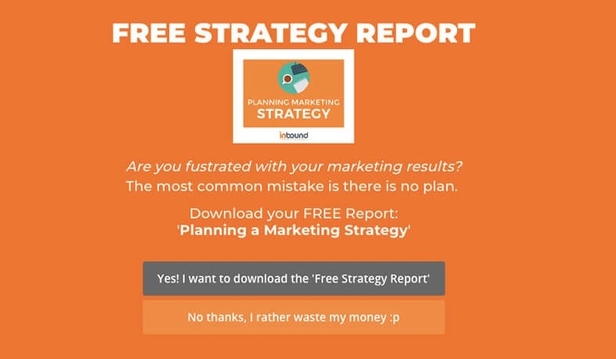
Inbound Marketing increased conversions using a welcome popup that offers visitors a free strategy report. They use a fullscreen welcome mat hiding the content behind it, focusing the visitor’s attention on one call to action.
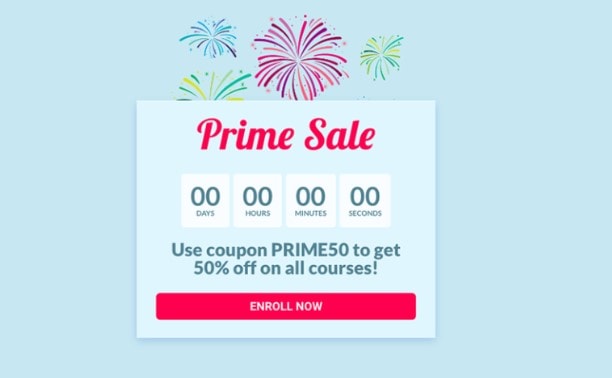
Cracku used this welcome mat popup to convert 3.5% of visitors into customers.
Now that we’ve looked at different examples, let’s dive in and start creating the welcome popup for WordPress in around 5 minutes.
How to Add a Welcome Popup to WordPress
We know that everyone learns a bit differently. That’s why we also made this helpful video tutorial for visual learners:
Otherwise, feel free to continue with our in-depth guide.
And to follow along with this tutorial, you can sign up for a risk-free OptinMonster account today with our 14-day money-back guarantee.
Step 1: Create Your OptinMonster Campaign
First, log into your OptinMonster account dashboard.
Click Create New Campaign.
Now, it’s time to choose your campaign type.
OptinMonster offers different campaign types:
- Popup
- Floating bar
- Fullscreen
- Inline
- Slide-in
- Gamified
Today, we’ll choose Fullscreen, because it’s perfect for encouraging our reader to focus on a single action.
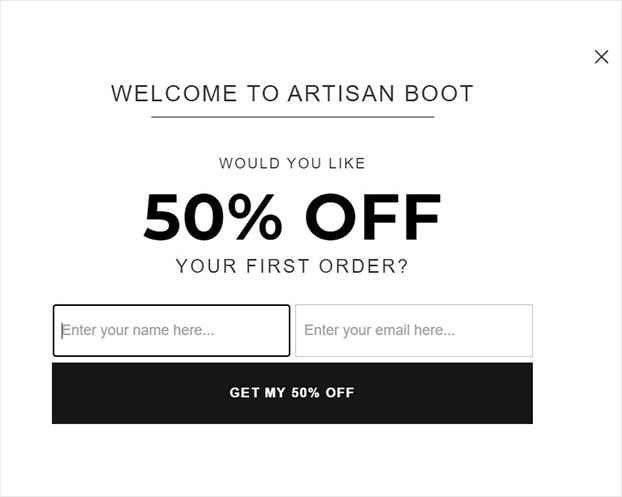
In this tutorial, we’ll show a 50% discount offer to new site visitors.
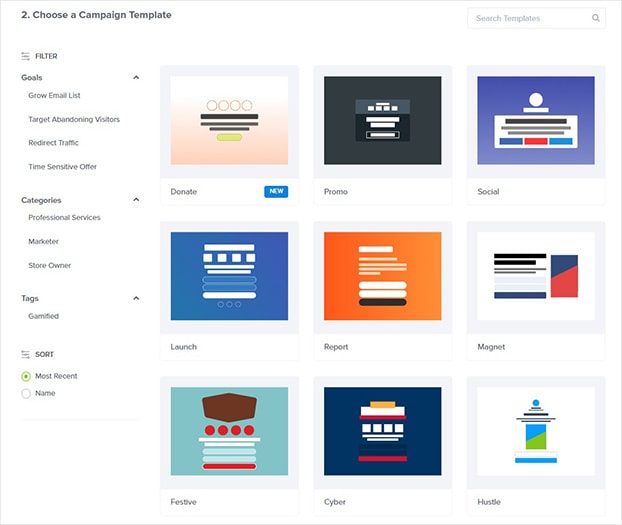
Next, you’ll need to select a template.
OptinMonster comes with 50+ templates that work on desktop, mobile, and tablet.
You can filter campaign templates by these goals:
- Grow email list
- Target abandoning visitors
- Redirect traffic
- Time sensitive offer
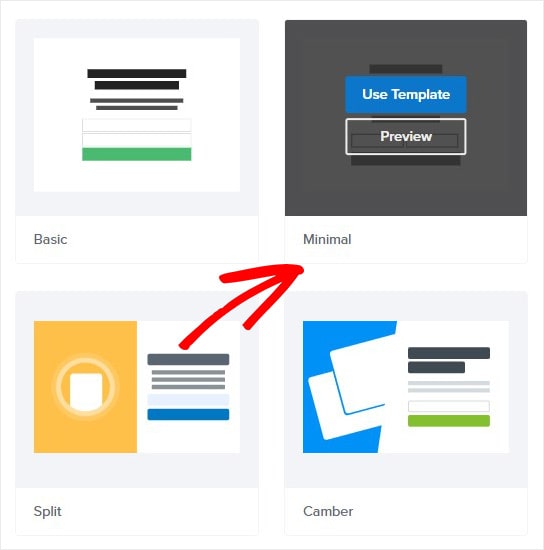
Today, we’ll go with Minimal because it’s clean and simple. A minimalist interface is ideal for keeping the focus on our offer.
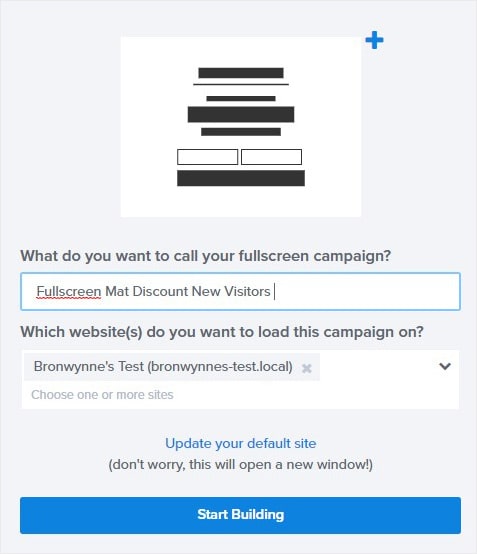
Now, name your campaign and click Start Building.
The next step is to customize your welcome popup.
Step 2: Design Your Welcome Popup
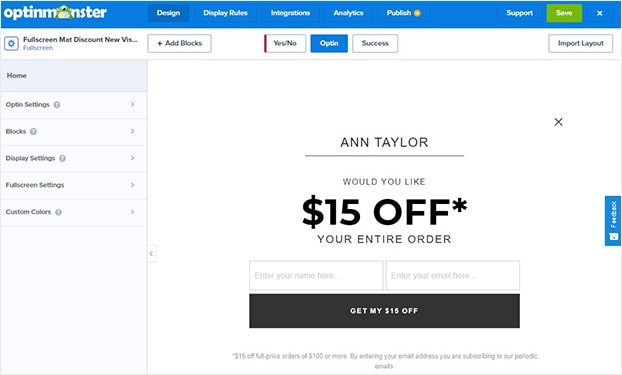
Now, you’ll be in the OptinMonster campaign editor.
Editing is easy with OptinMonster’s drag and drop builder.
To change anything about your popup, you either:
- Drag and drop an element onto your optin form
- Click on an element and use the editing tools on the left
Let’s see how this works.
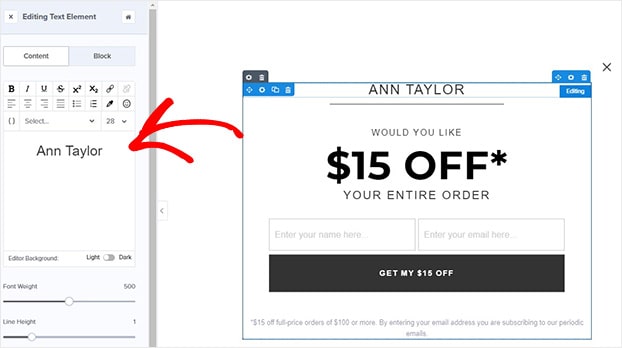
We’ll start with editing the text. So, we simply click on the element. The editing tools appear on the left.
Once you’re happy with the copy, you’re ready to change other sections of your welcome popup.
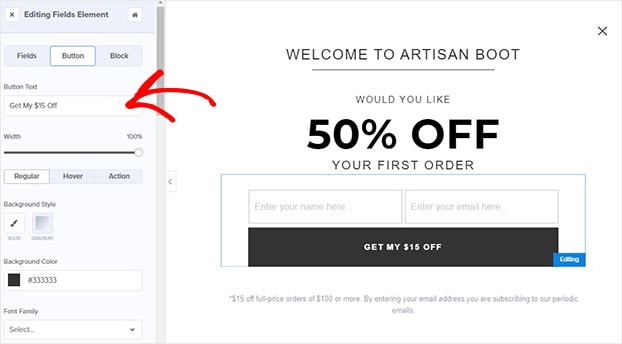
Now, we’ll change the text on our button. Click on the button and that will pull up the editing tools.
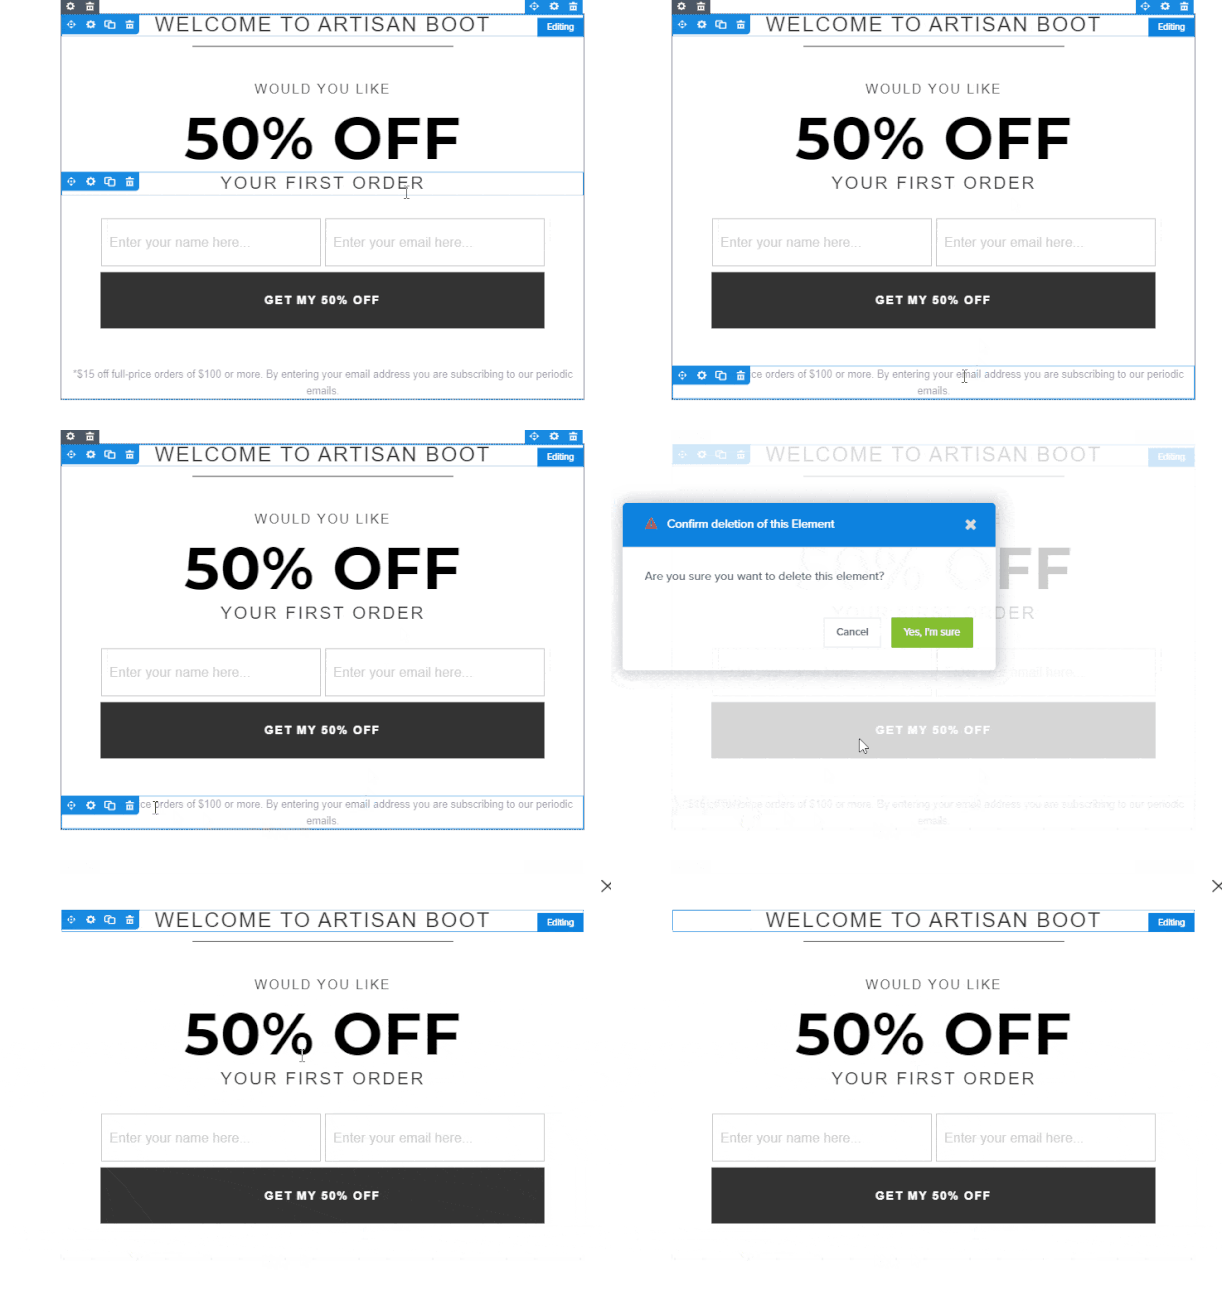
Deleting an element it easy, too. To delete an element, click on it and hit the delete button. In this case, the fine print doesn’t apply to our discount offer.
We’ll stop there for this tutorial. But know that you can modify anything about your welcome popup. For more details, check out our guide on creating your first OptinMonster campaign.
Want to include custom images, logos, or video?
Add elements to your popup by clicking Add Blocks at the top of your editor.
From there, you’ll be able to add elements like:
- Additional optin fields
- Video
- Custom HTML
- Images
And more.
When you’re happy with the design of your popup, you’re ready to display your welcome popup.
Step 3: Display Your Welcome Popup
For today’s tutorial, we want to make our popup appear as soon as a new visitor lands on our site.
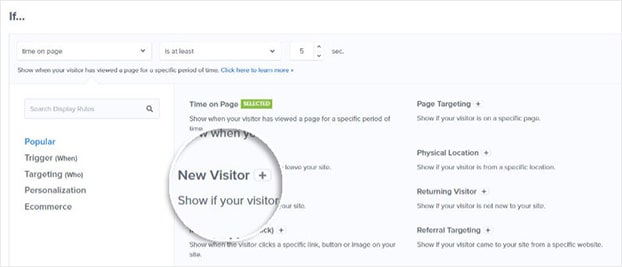
You’ll need to head over to Display Rules at the top of your editor.
Find and select New Visitor.
Now, we’ll add another rule to refine our targeting even more.
OptinMonster has so many ways to make sure the right people see your campaign, such as:
- Exit-Intent®: display as your visitor leaves the site
- Scroll trigger: show after the visitor has scrolled a certain percentage of the page
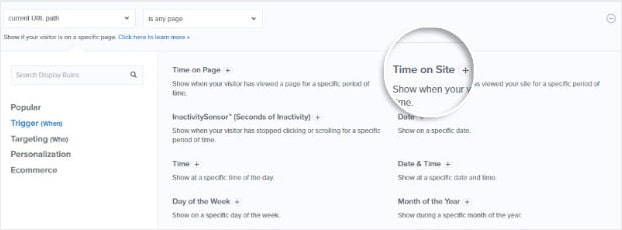
Today, we will focus on Time on Site. This rule lets you control when your popup is displayed.
For example, you might want to show the popup only after a reader has spent 20 seconds on your site. This might suggest they’re already more engaged and interested in what you have to offer.
For this tutorial, though, we’ll make our welcome popup appear as soon as our reader lands on the site.
So, pick is immediate.
You can save your campaign at anytime by clicking Save at the top of your editor.
Now, we’re ready to add our popup to our WordPress site.
Step 4: Add Your Welcome Popup to WordPress
The final step is to publish our campaign.
Click Publish at the top of your editor.
If this is your first campaign, your WordPress site might not be connected to OptinMonster.
Don’t worry.
Adding OptinMonster to WordPress doesn’t get any easier.
All you need to do is head over to WordPress to install and activate the OptinMonster plugin.
Never installed a plugin before? Here’s a simple guide for quickly installing and activating a plugin.
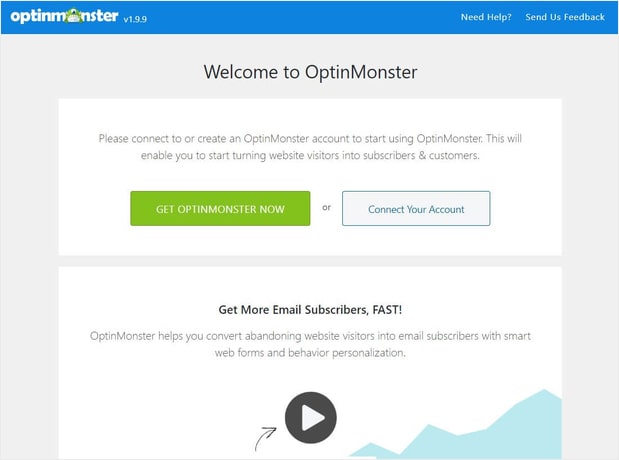
Once you’ve activated the plugin, you’ll need to connect your OptinMonster account to your WordPress site.
Select Connect Your Account.
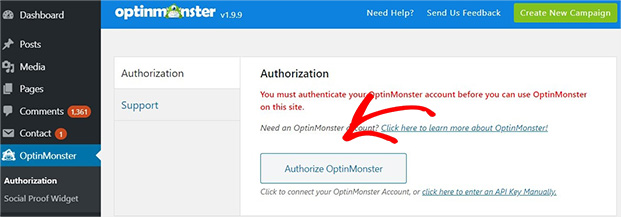
Next, click Authorize OptinMonster.
You might be taken to the OptinMonster login page. Enter your details and click Login.
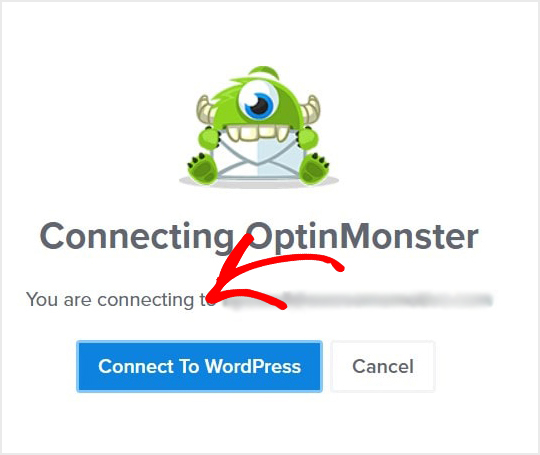
Finally, select Connect to WordPress.
That’s it. Your welcome popup is now added to your WordPress site.
Welcome popups are just one tool for increasing conversions on your site.
For more resources on generating leads on your WordPress site, check out these articles:
- Exit Popup Hacks That Will Grow Your Subscribers And Revenue
- 30 Easy Ways to Make Money With OptinMonster
- 11 Best Website Welcome Examples to Greet Your Users
Want to get started? Sign up for OptinMonster today.








Add a Comment