Are you looking for an easy way to add GDPR consent to your email optin forms and popups?
As a business owner, you need to comply with GDPR, the law that regulates data protection and privacy for the European Union (EU) citizens, to avoid heavy fines and penalties.
But it can be tricky to figure out exactly how these regulations affect your email marketing strategy.
Luckily, there’s a simple method for keeping your emails on the right side of GDPR laws.
By the end of this article, you’ll know exactly how to add GDPR consent to your optin forms and popups.
Why Add GDPR Consent in Email Optin Forms
If you use email marketing, chances are you’ve heard about GDPR (General Data Protection Regulation).
But, the GDPR document is more than 200 pages long.
So, it’s no surprise if you’re wondering, “What does GDPR mean for emails?”
The most important element to consider here is GDPR consent, as defined by the regulation:
“Any freely given, specific, informed and unambiguous indication of the data subject’s wishes by which he or she, by a statement or by a clear affirmative action, signifies agreement to the processing of personal data relating to him or her.”
All this means is you need to get explicit consent to send people your emails.
Don’t live in the EU? If you’re doing business online, there’s a good chance EU citizens will land on your site at some stage.
By adding GDPR consent to your email optin forms, you’re protecting your business against penalties.
And the good news is it doesn’t need to be difficult to meet GDPR requirements thanks to OptinMonster.
OptinMonster offers the following GDPR tools to obtain consent:
- Customizable privacy checkbox to obtain explicit consent
- Geo-targeting to display GDPR consent only to site visitors in the EU
- Data processing agreement that provides contractual terms that meet all GDPR requirements
- GDPR audit concierge to help if you are being audited
But OptinMonster does more than just help you avoid fines.
It’s the best conversion-optimized optin form and popup builder in the world.
You’ll instantly start generating more leads from your website with little effort.
Using OptinMonster, Reliablesoft.net increased conversions by 300% by using one of our pre-built conversion-optimized templates!
Here’s why OptinMonster is the top tool for lead generation:
- 50+ attractive pre-built templates designed to catch your site visitor’s eye
- Tons of Triggers, such as Exit Intent, MonsterLinks, and Scroll Trigger that use your site visitor’s behavior to show campaigns at the right time
- Tons of targeting rules, including location targeting and device-based targeting to show your campaign to the right people in the right place
Below, we will walk through how to design a GDPR consent email optin form using OptinMonster.
How to Add GDPR Consent in Email Optin Forms
OptinMonster makes it ridiculously easy to add GDPR consent in your email optin forms.
In this tutorial, we’ll be looking at two approaches:
But, before we begin, you need an OptinMonster account.
Don’t have one yet?
Let’s get started.
Method 1: Add GDPR Consent Using a Checkbox
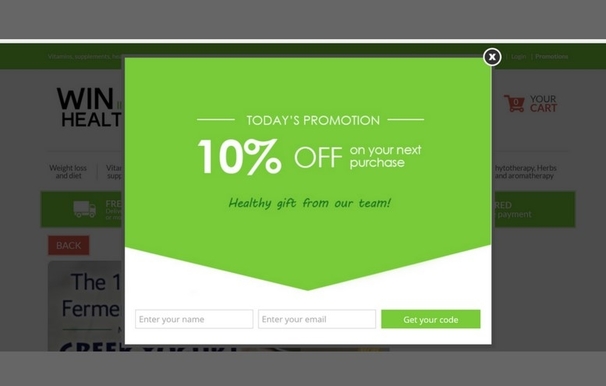
Creating a popup in OptinMonster is simple.
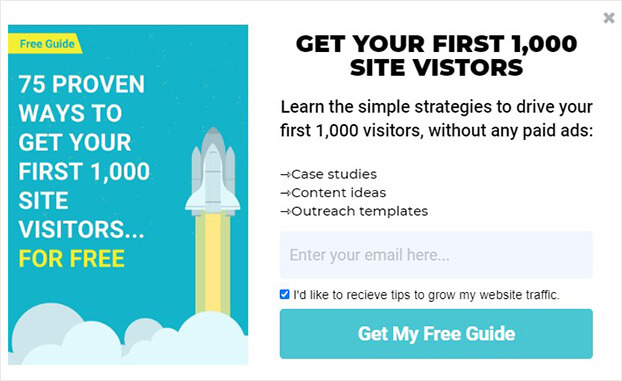
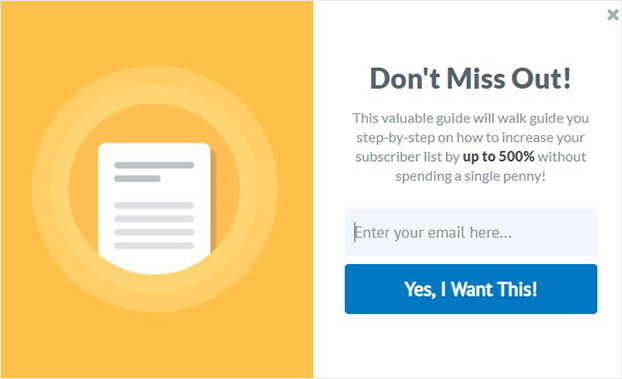
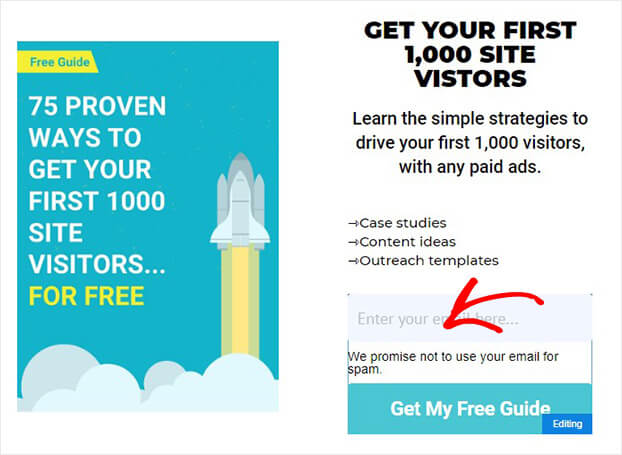
You can design and publish a GDPR consent email optin form like this in under 10 minutes:
Let’s see how simple it is to create this popup with OptinMonster.
Step 1: Create Campaign
First, you’ll need to head over to your OptinMonster dashboard and create a campaign.
Click Create New Campaign in the top right corner of your dashboard.
Next, choose your campaign type.
Today, we’ll select Popup.
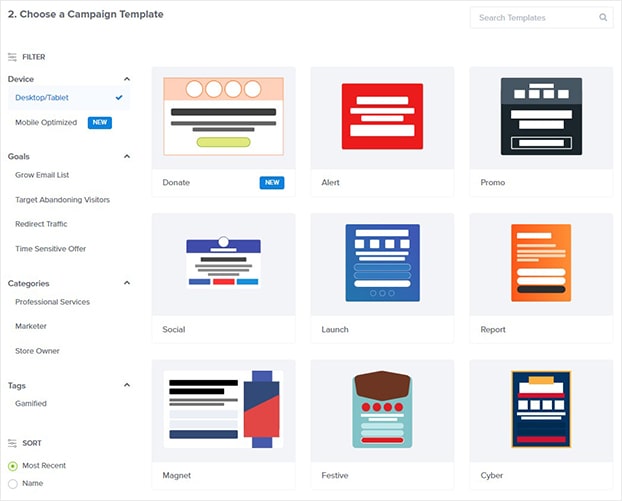
Now, we’ll find the right template for our campaign.
OptinMonster has 50 templates you can choose from. All the templates work perfectly across desktop, mobile, and tablet.
You can filter templates by your campaign goal, like:
- Grow email list
- Redirect traffic to another page
- Target abandoning site visitors
There’s a template for any kind of campaign:
- Limited time discounts
- Content upgrades
- Donation drives
And more.
Using these filters helps you find the perfect template for the campaign you’re creating.
Today, we’ll go with the Split template because it has the elements we need to create an eye-catching popup to display our lead magnet.
A lead magnet is an incentive you can offer to site visitors in exchange for their email addresses.
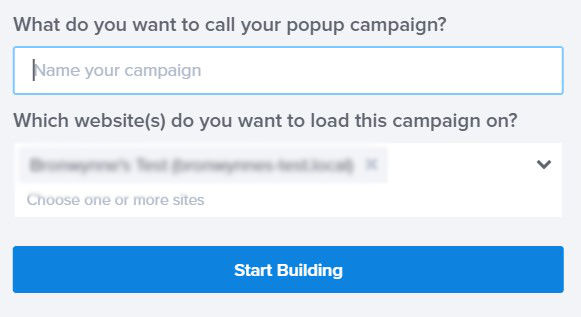
On the next screen, you’ll name your campaign and assign it to your site.
Click Start Building to customize your popup.
Now, we’re ready to design our popup.
Step 2: Design GDPR Consent Email Optin Form
OptinMonster comes with a drag and drop builder which allows you to easily create beautiful popups.
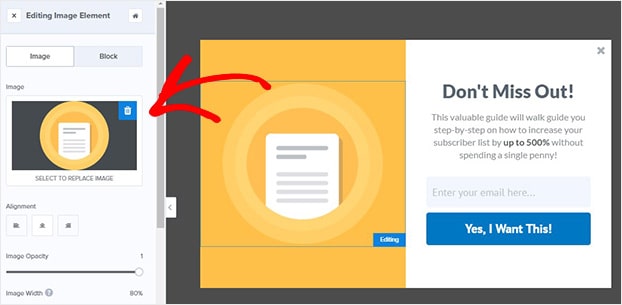
All you need to do is click on the element you want to change and the editing tools will appear on the left-hand side.
Let’s see how that works.
To change the default image, click on the image.
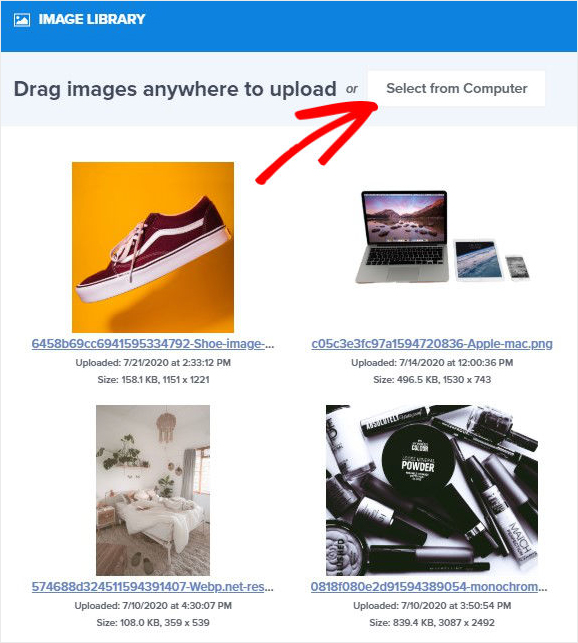
Now, you’ll see the image library. From there, you’ll choose your image.
Next, we’ll customize to our popup to remove the yellow background.
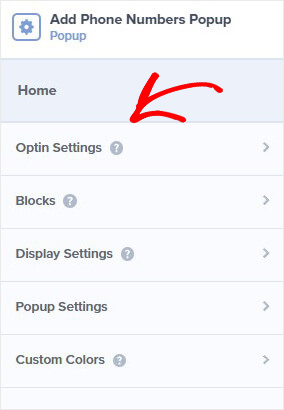
So, head over to the left panel in the editor and click Optin Settings.
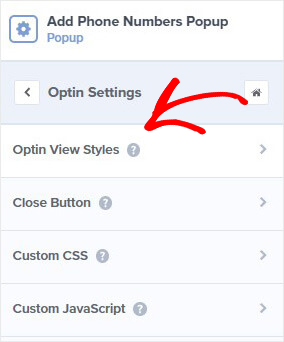
Next, select Optin View Styles.
From here, you can edit the background color of your optin form. Now, we’ll need to edit our text.
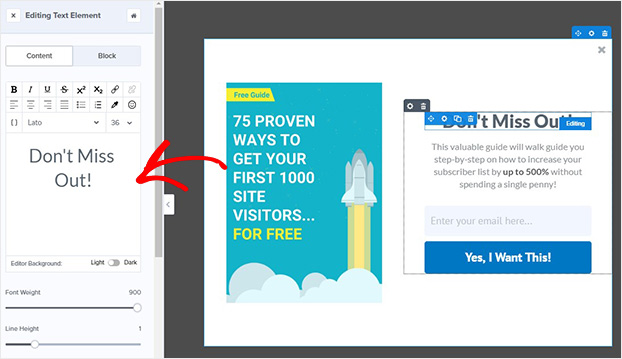
Go ahead and click on the text block to pull up the editing tools on the left.
From here, you can change everything about the text:
- Font
- Size
- Alignment
What if you’d like to add a block to your popup?
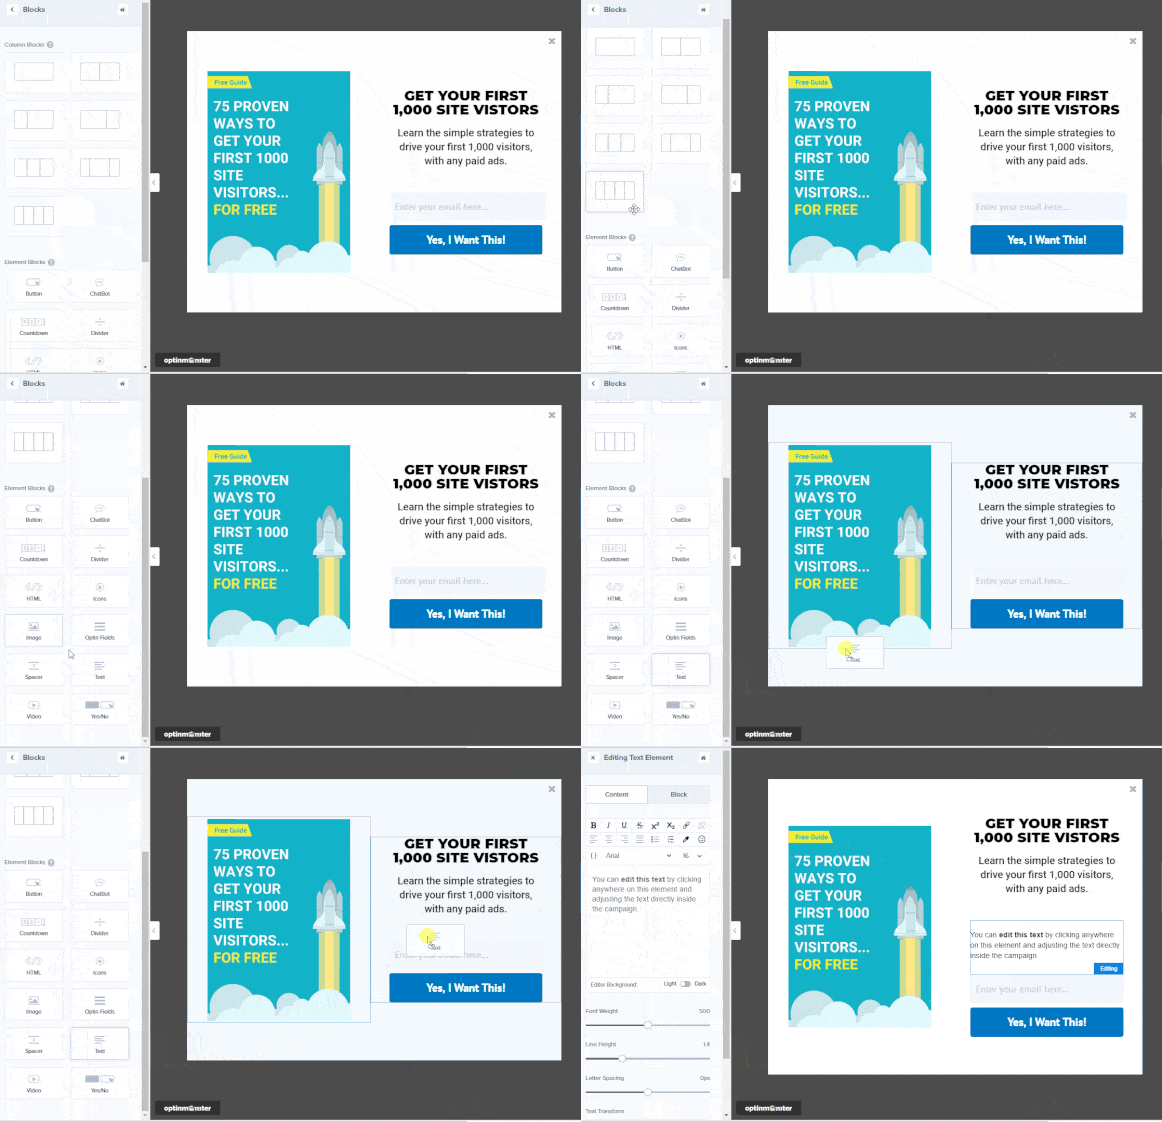
When you head over to Add Blocks at the top of your editor, you’ll be able to choose from these elements:
- HTML
- Countdown timer
- Image
- Video
- Additional optin fields
Let’s choose a text block. That’s as simple as dragging it onto your popup.
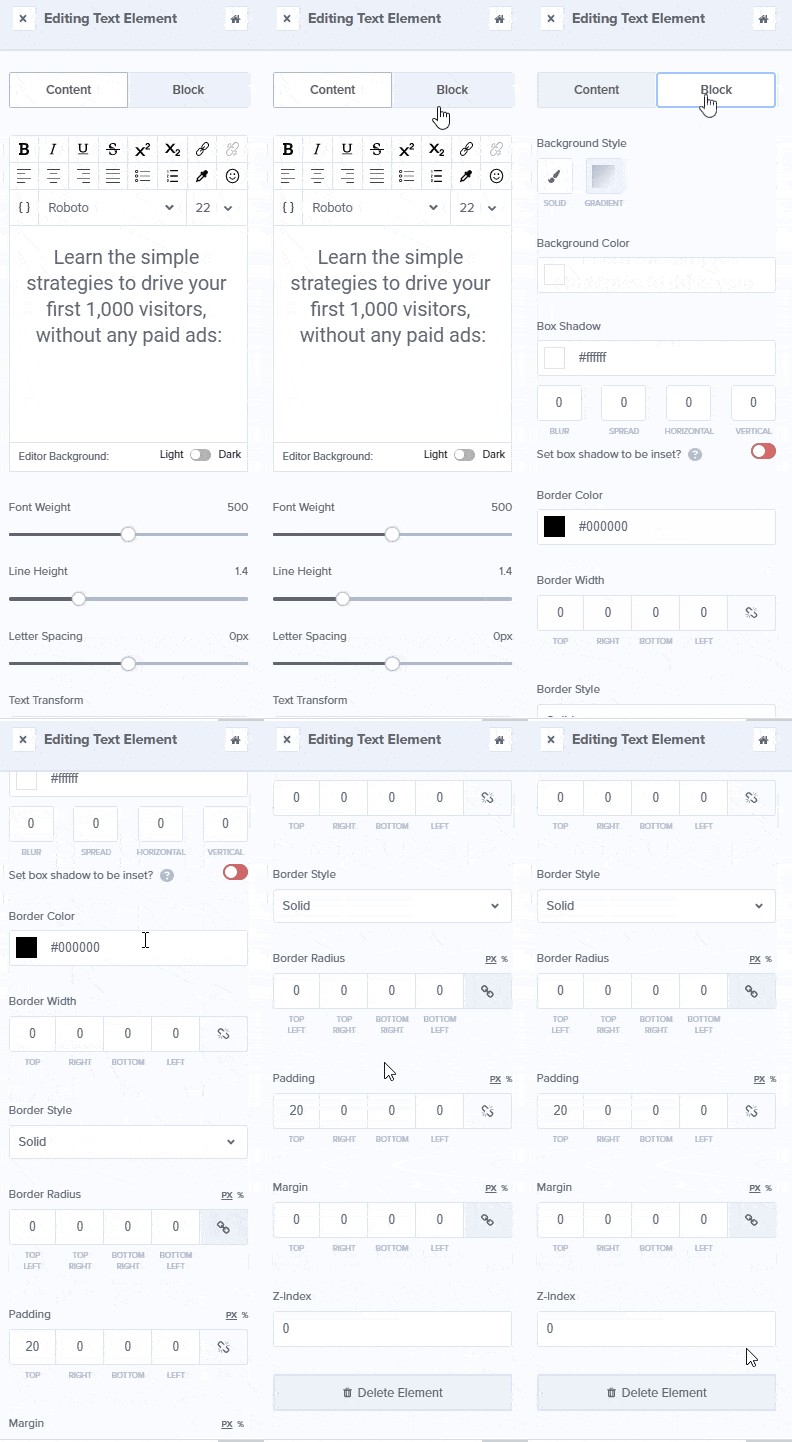
At this stage, you might want to tweak the spacing of the blocks.
All you need to do is click on an element. From the left, click Block and scroll down to padding.
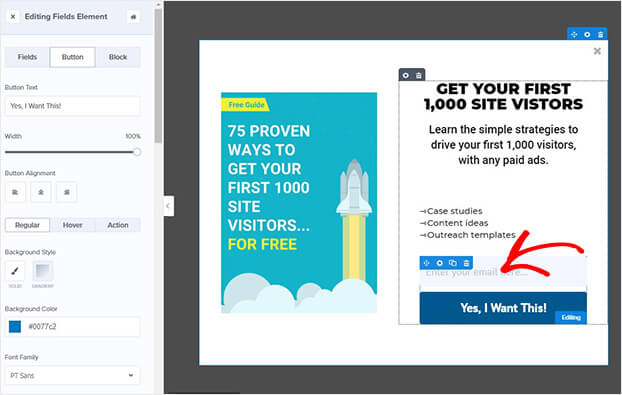
We will also change the color of the button to match our brand.
Again, you’ll click on the button and edit it on the left.
We’ll stop there today.
But, there are several more editing options. For more details, check out our guide on creating your first OptinMonster campaign.
So, how do you add GDPR consent?
We’ll do this by simply adding a privacy field.
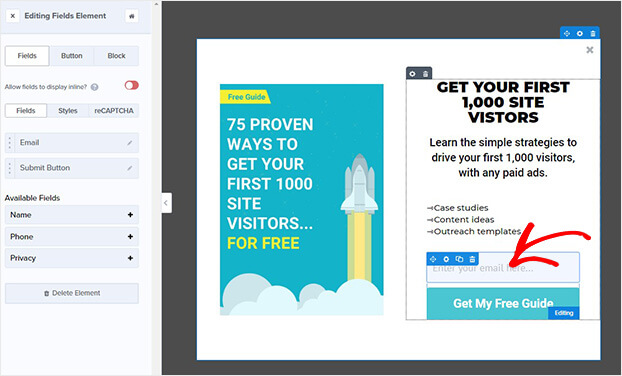
Click the optin field on your form. That’s the box where your subscribers add their email addresses.
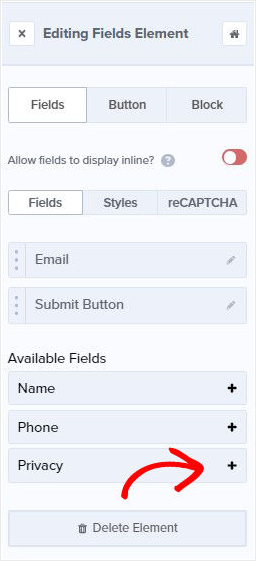
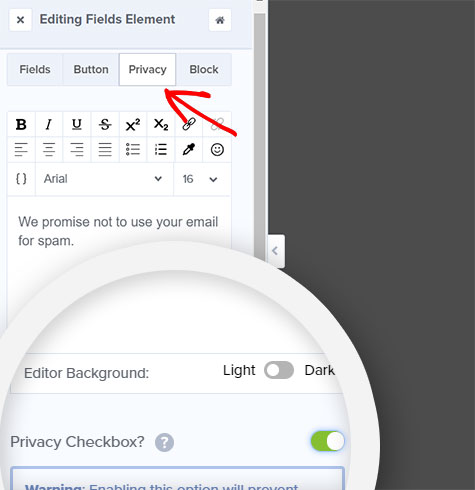
Then, the Editing Fields Element panel will appear on the left.
Go ahead and click on the + sign next to Privacy.
Now, the default privacy statement will be added to your form.
Click on the Privacy button to edit your statement and enable Privacy Checkbox. Once you enable the Privacy Checkbox, visitors will need to click on it before they can complete your form.
You can use OptinMonster’s privacy checkbox for general terms and services or for explicit consent.
To meet GDPR requirements, our checkbox:
- Provides an explanation of what we’ll do with the email addresses
- Includes a link to our privacy policy
That’s it. Now you’re ready to collect GDPR consent in your email optin form:
Once you’re satisfied with the design and text of your popup, the next step is to display your campaign.
Step 3: Display Your GDPR Compliant Popup
OptinMonster gives you plenty of ways to display your campaigns.
Targeted campaigns deliver better results because you’re showing your popups to visitors right when they’re most engaged.
With OptinMonster, you get more conversions with triggers like:
- Campaign scheduling: run time-sensitive campaigns for specific dates
- Scroll trigger: only show after a visitors has scrolled a certain percentage of the page
Today, we’re going to focus on one of the most powerful campaign triggers, Exit Intent ®.
Exit intent popups appear right as your visitors are about to leave your site for good. Using exit intent, you can convert an additional 2 – 4% of visitors into subscribers.
Bonjour Lisbonne doubled their email subscribers with exit intent!
To enable Exit Intent, go the top of the editor and click Display Rules.
Find and select Exit Intent.
Head over to the top of the editor and click Save.
Now, your popup will be displayed as your visitors scroll towards the browser bar if they’re on desktop. On mobile, exit intent is triggered by scrolling up or hitting the back button.
Step 5: Publish Your GDPR Consent Optin Form
Once you’re happy with your campaign, you can publish your popup.
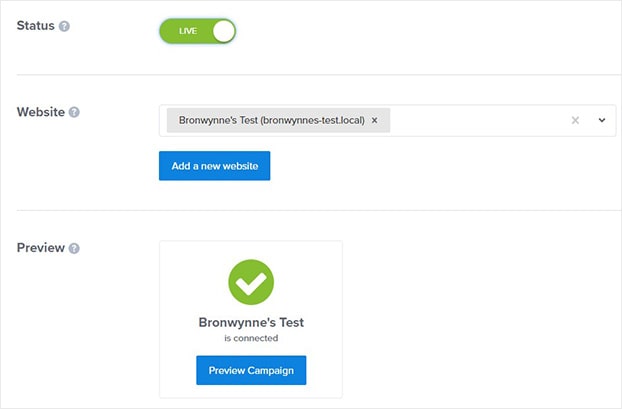
Head over to Publish.
On the next screen, switch your campaign’s status to Live.
You’re set to start capturing GDPR consent on your email optin forms.
Method 2: GDPR Consent With Geo-Location Targeting
The second method will be using geo-location targeting, so we’ll only show our GDPR consent email optin to site visitors from the EU.
To create your popup simply follow Step 1. Move to Step 2 to design your email optin form.
Again, customizing your popup to reflect your brand.
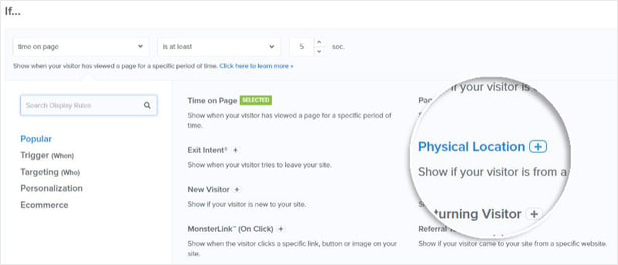
Then, head over to Display Rules.
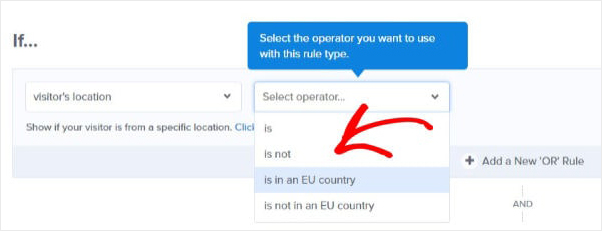
Select Physical Location.
Choose is in an EU country.
Now, your optin form will only be shown to site visitors in the EU. Make sure you save the form before you leave.
So, you’ll be able to design email optin forms to obtain GDPR consent for those visitors.
If you’re interested in adding GDPR consent to your email optin forms, you want to grow your email list the right way.
For more email list building best practices, check out these articles:
And if you want to grow your email list with less effort, sign up for OptinMonster today.








Add a Comment