Do you want to use a HubSpot popup on your site to grow your mailing list?
Your email list is a valuable asset to your business. With an email list, you can build a long-lasting relationship with your subscribers.
But growing an email list can be challenging. Fortunately, the right popup makes it easy to grab your website visitors’ attention and convert them into leads and customers.
By the end of this tutorial, you will know exactly how to create a HubSpot popup that will increase your email list.
What is a Hubspot Popup?
A HubSpot popup is an email optin form that’s displayed on top of your content. It’s designed to attract your reader’s attention and collect their email addresses.
It’s connected to your HubSpot account, so when people add their email addresses, their details are stored in your HubSpot database.
Using OptinMonster is the best way to grow your list with HubSpot. With OptinMonster, you can easily create eye-catching popups thanks to its easy-to-use drag and drop builder 50+ stunning templates.
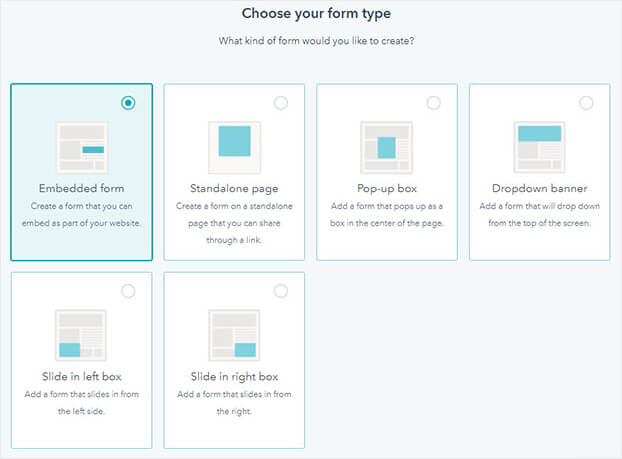
Though HubSpot does offer popups, OptinMonster popups are specifically built to increase conversions on your site.
HubSpot only comes with a limited number of form types and targeting features.
OptinMonster, on the other hand, offers a wider range of campaigns, targeting, and triggering rules, meaning you can show popup to the right people at the right time. That means rather than annoying your visitors with the same popups, you can convert them into subscribers with laser-targeted optin campaigns.
Using OptinMonster’s different targeting rules, Kampanjjakt, a discount voucher site increased their subscribers by 800%. OptinMonster makes it easy to set up campaigns that achieve these results.
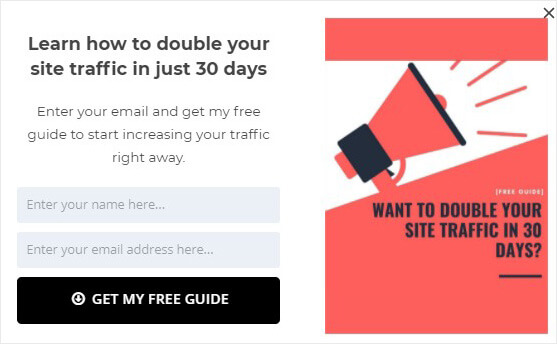
In this tutorial, we’ll show you how to create a popup like this in under 5 minutes:
Let’s get started.
How to Add a HubSpot Popup to Your Site
To start, you’ll need an OptinMonster account.
You can sign up easily by clicking on the button below.
Step 1: Create a Campaign
First, you need to log into your OptinMonster account and go to Campaigns and select Create New Campaign.
Now, choose Campaign Type.
OptinMonster offers plenty of campaign types:
- Popup
- Fullscreen
- Inline
- Floating bar
- Slide-in
- Gamified
Today, we will choose Popup.
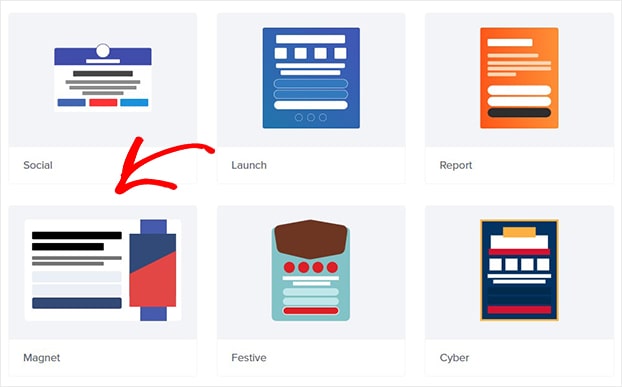
Now, select your template.
OptinMonster gives you the ability to filter your templates by goal:
- Grow email list
- Target abandoning visits
- Redirect traffic
- Time sensitive offer
Today, we’ll go with a template called Magnet because it’s ideal for promoting our offer, a free guide.
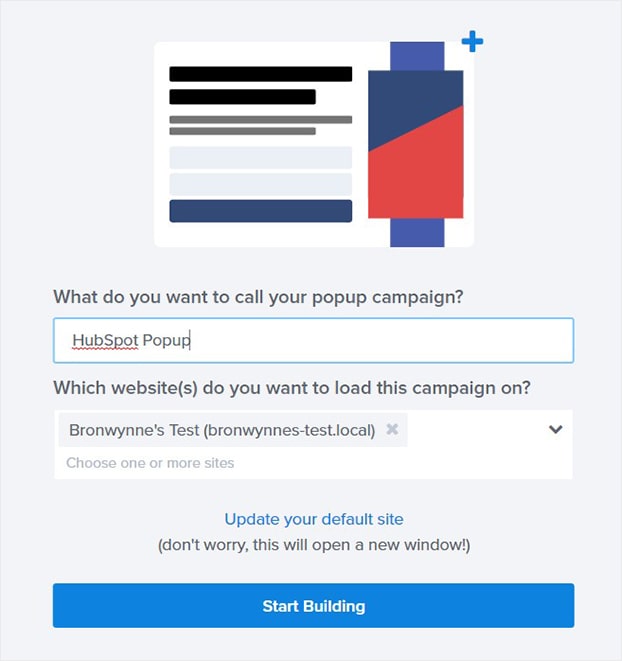
Next, name your campaign and click Start Building.
Next, it’s time to design your HubSpot popup.
Step 2: Design Your HubSpot Popup
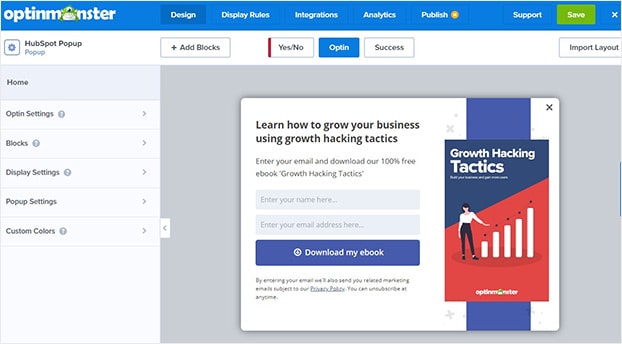
Now, you can see the campaign editor.
Here, we’ll design our HubSpot popup.
You can change anything about your popup. All you need to do is click on an element and the editing tools appear on the left.
Let’s see how this works.
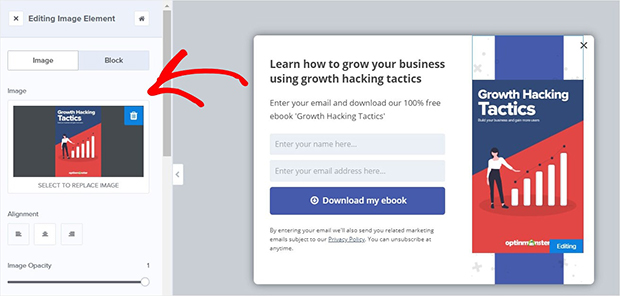
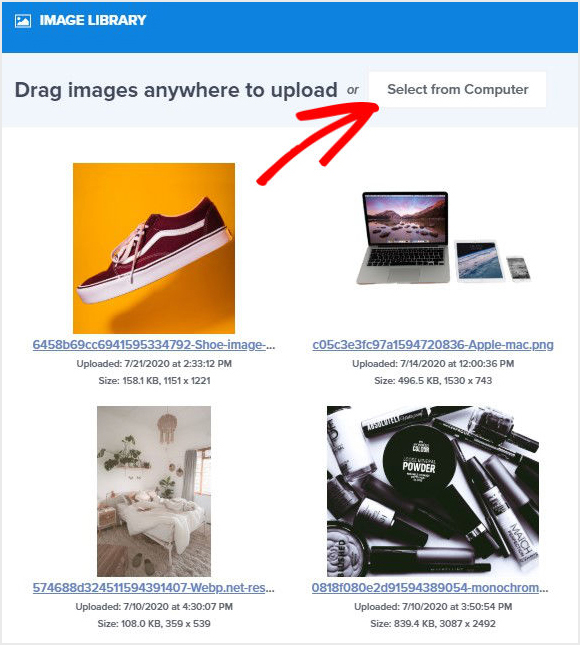
First, we’ll click on our image. Now, you can view the editing tools on the left.
You’ll be able to select an image from your image library. Or, you can upload one from your computer.
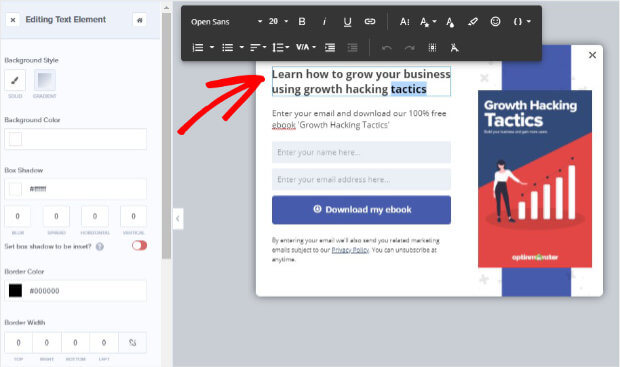
Next, let’s edit the text.
We want to write compelling copy that will clearly show the benefits of our free guide.
Our optin form will contain:
- Strong headline
- Clear call to action
Want to learn about creating pops that convert? Check out this checklist for creating the ultimate optin form.
To change our copy, simply click on the text and start customizing it.
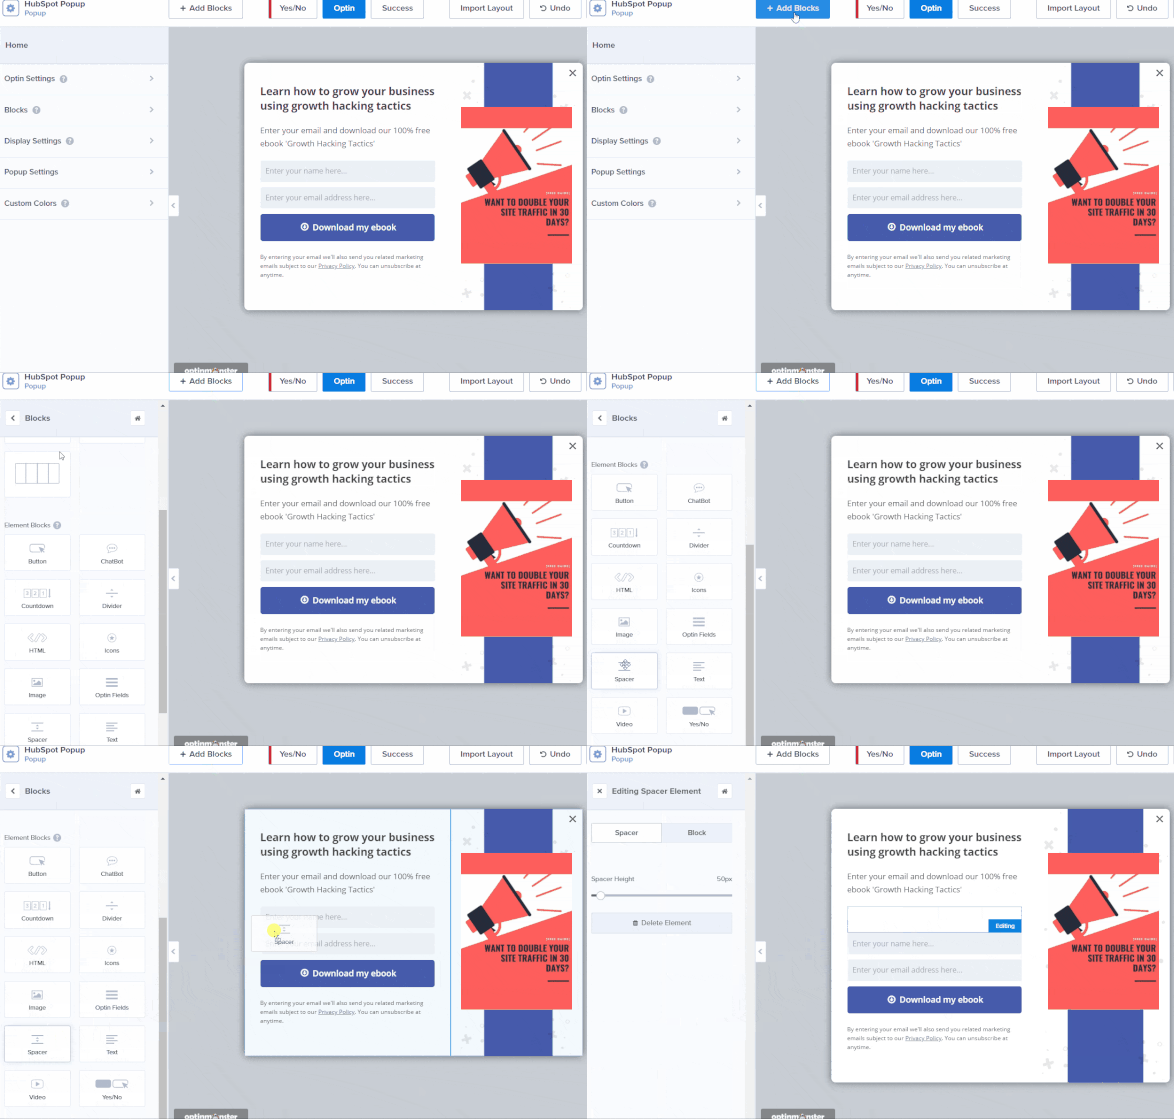
To add anything to your popup, all you need to do is click on Add Blocks. Then drag a block from the left-hand side of the builder and drop it on to your optin form.
You can add elements like:
- HTML
- Video
- Image
- Text
How about deleting elements?
All you need to do is click on the element you want to delete.
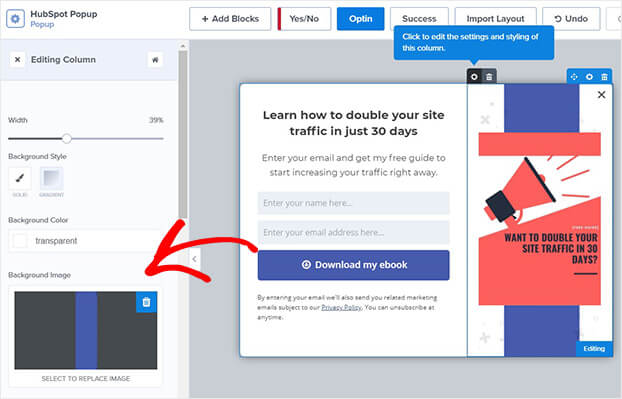
Let’s try that with the purple strip on our form.
Simply click on the element and head over to the editing tools on the left.
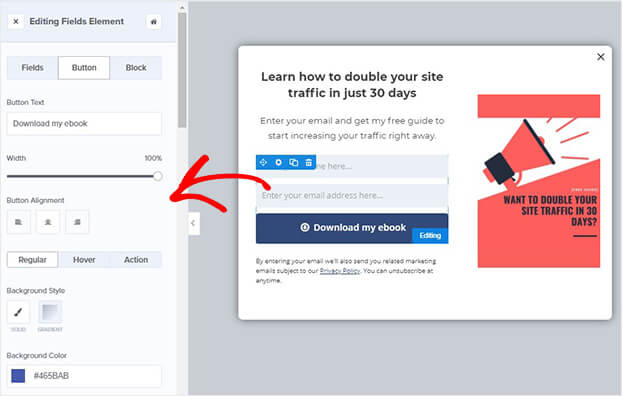
Next, we’ll change the color of the submit button to match the rest of our HubSpot popup.
Again, click on the button to customize it.
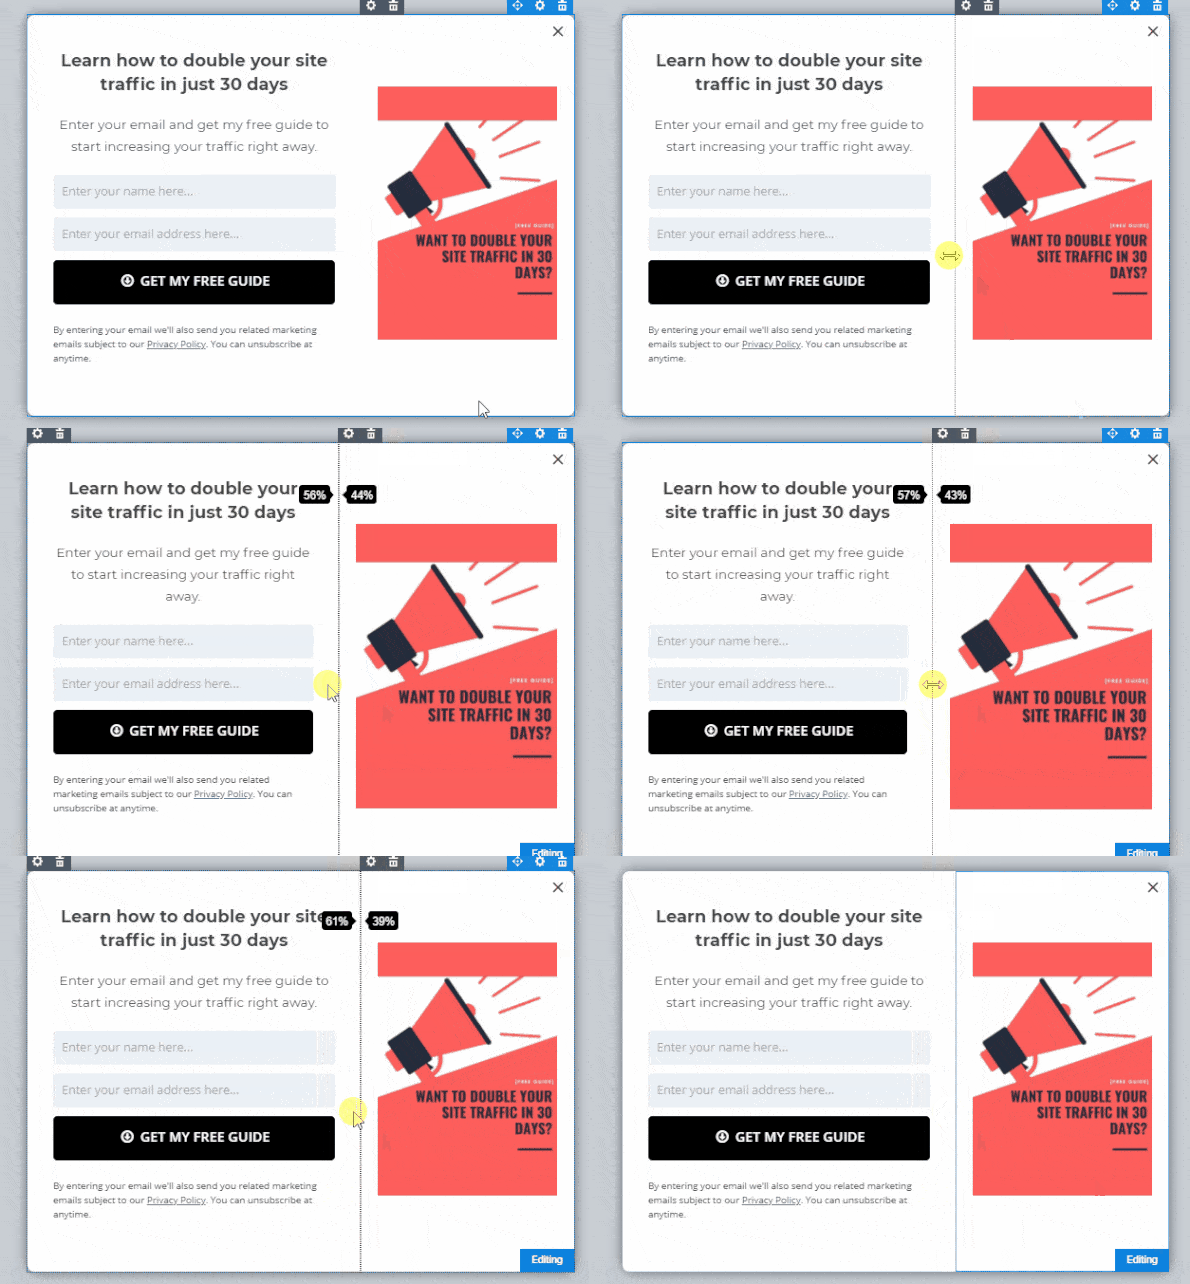
At this stage, you might want to tweak the spacing of the columns on your form.
Just click on the column and drag it into place.
We’ve only covered a few ways to change your popup. You can customize everything about your popup to reflect your brand.
You can even add custom fields like radio buttons, phone fields, text areas, number fields, lists, and more to capture detailed lead information. And you can easily map any field with your HubSpot popup.
Once you are satisfied with your design, you can display your popup.
Step 3: Display Your HubSpot Popup
The next thing you need to do is to choose your targeting rules to make sure you’re displaying your campaign to the right people at the right time.
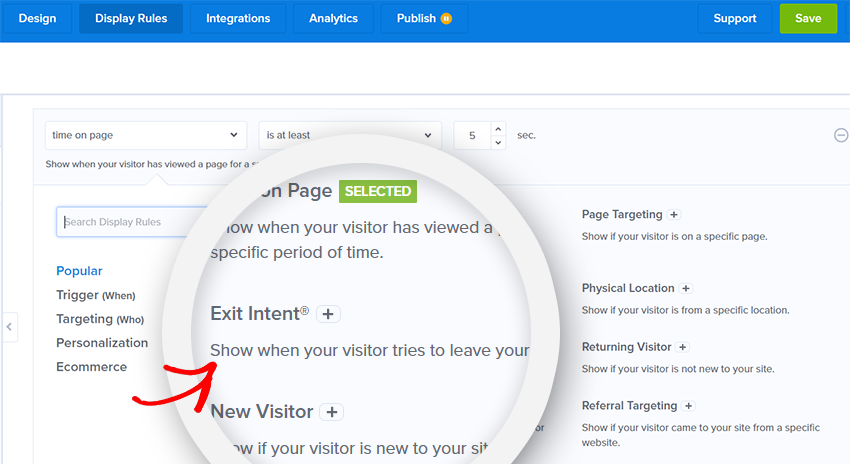
First, head over to Display Rules at the top of your editor.
While there are dozens of different targeting rules, let’s go with two powerful rules:
- Page-Level Targeting
- Exit Intent
Page-Level Targeting
With Page-Level Targeting, you can hide or show your popup on specific pages of your site. The campaigns that are targeted at page level are more likely to drive conversions than sitewide or untargeted campaigns.
Under Display Rules, find and select and Page-Level Targeting.
Finally, add the URL path where you want to display the campaign.
Exit Intent
With Exit Intent, you can show campaigns at the moment your visitors are about to leave your site. That way you can convert your abandoning visitors into subscribers who would otherwise leave your site without signing up.
Then choose between Low, Medium, and High sensitivity. For scrolling up exit-intent triggers, choose Low or Medium:
Step 4: Integrate Hubspot With OptinMonster
Syncing your popups with HubSpot couldn’t get any simpler.
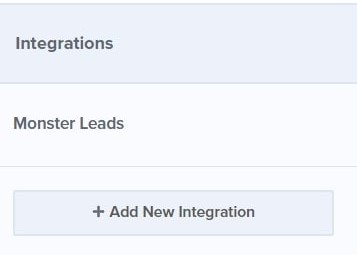
Head over to Integrations at the top of your editor.
Next, choose Add New Integration.
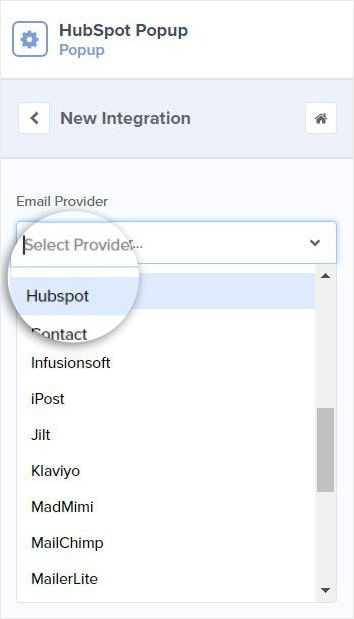
From the Email Provider dropdown, select HubSpot.
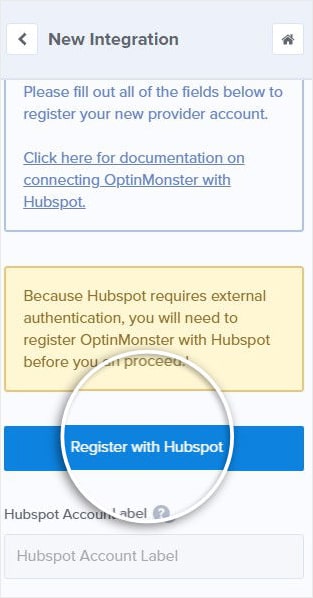
Next, click Register With HubSpot.
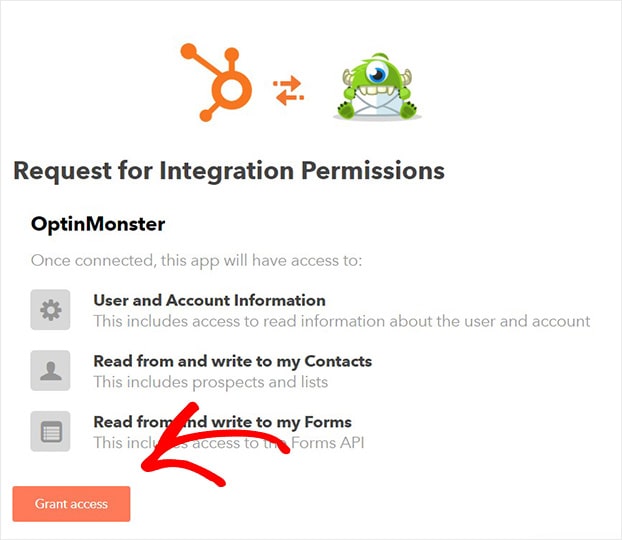
A new window will open. Click Grant Access.
Now, you will be back in your OptinMonster dashboard.
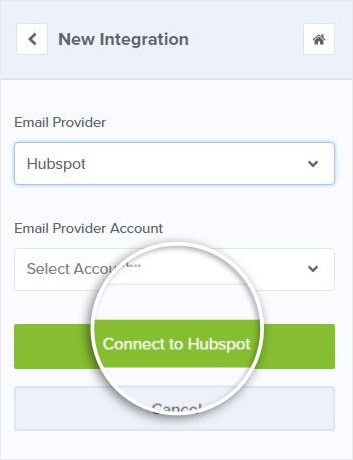
You can select an email provider account. And click Connect to HubSpot.
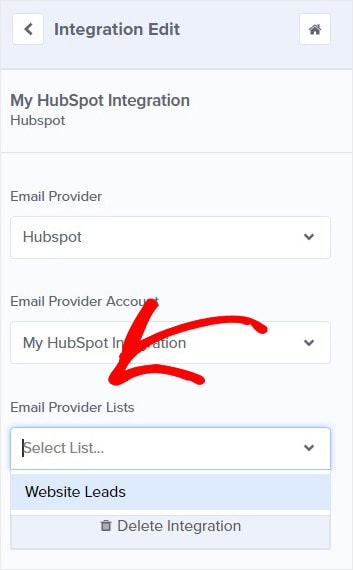
Now, you can choose your list where you want to store the email addresses in HubSpot.
Step 5: Publish HubSpot Popup
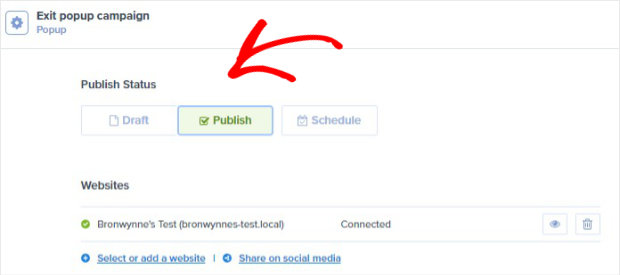
Now, head over to Publish.
Change the Publish Status to Publish.
Now, if this is your first campaign, your site might not be connected yet. You can check out how to add OptinMonster to any website.
That’s it! You’ve just created a high-conversion HubSpot popup with OptinMonster.
We hope you enjoyed this article. If you’re looking for another way to get customer feedback, take a look at the UserFeedback plugin. With its user-friendly interface, you can effortlessly add attractive popup forms within a matter of minutes.
If you’re looking for more practical tips for getting the most out of your email list check out these posts:
- Email Marketing Made Simple: A Step by Step Guide [+ Examples]
- Lead Magnets to Transform Your Business
Ready to convert your site visitors into subscribers? Get started with OptinMonster today!








Add a Comment