Do you want to add a custom HTML popup to your site, but you’re not sure where to start?
Many site owners want to create a popup with features that are unique to their needs. But, they don’t want to spend days of their time coding a popup from scratch.
That’s why, in this article, we’re going to show you how to use OptinMonster to create a custom HTML popup in a matter of minutes.
But first, let’s talk about why you’d want to add HTML to your OptinMonster campaigns in the first place.
Why Add HTML to Your OptinMonster Popups?
OptinMonster gives users the ability to create stunning popups that are unique to your brand, message, and audience.
But sometimes, you may want to use HTML from various sites to add features to your OptinMonster popup. There are many reasons why custom HTML comes in handy, including:
- Embedding signup forms from your email service provider
- Creating a custom login
- Adding a survey to your popup
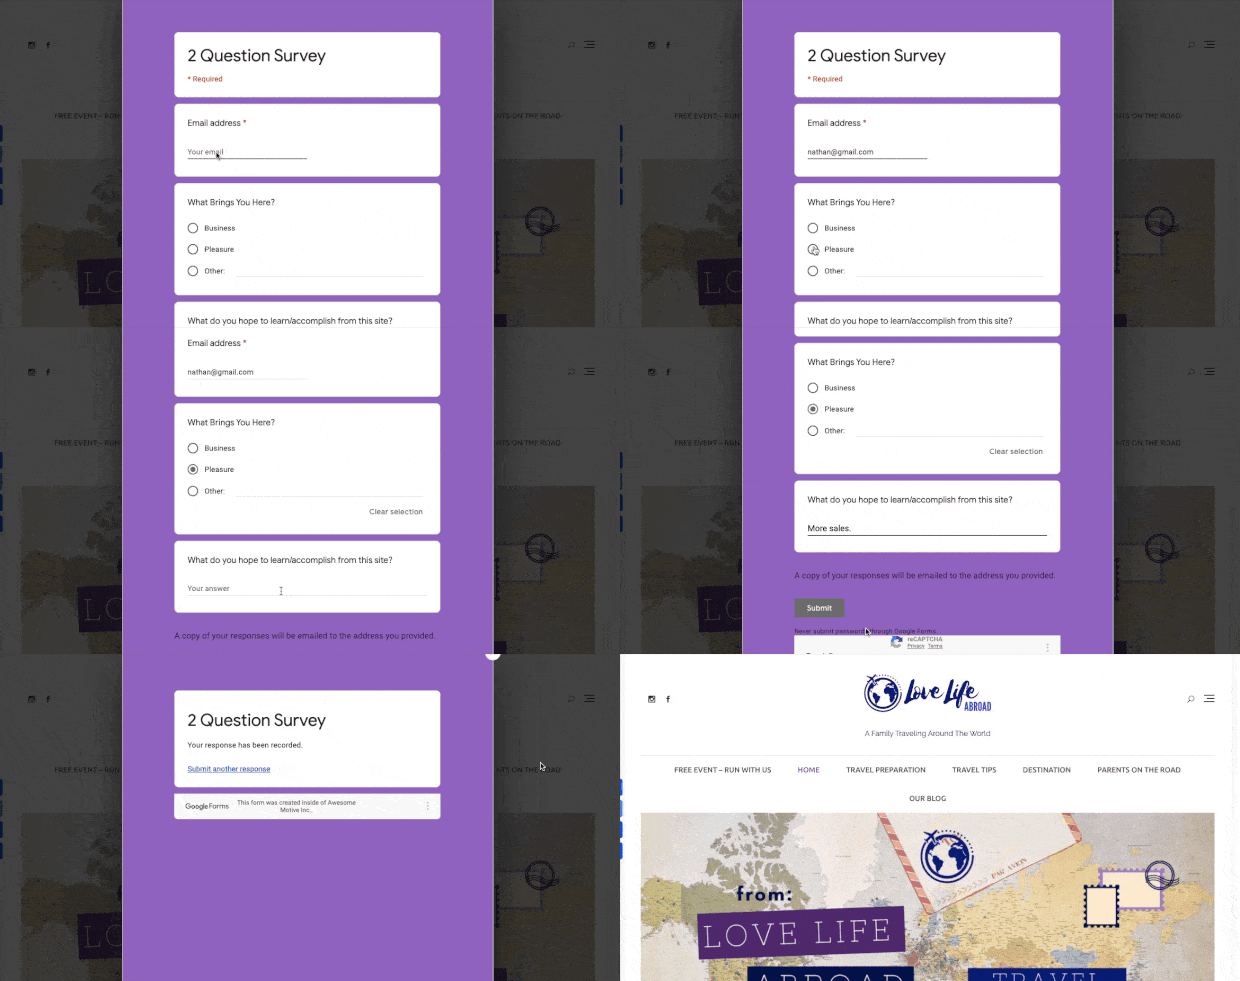
And much more. Here’s an example of an HTML survey popup we built with Google Forms and OptinMonster:
The entire campaign took less than 10 minutes to create.
And the good news is that adding custom HTML to your OptinMonster popup is just as easy as any other design modifications you want to make. This is true even if you don’t have any coding skills to begin with.
That means you can create a custom HTML popup in a matter of minutes rather than trying to code one entirely from scratch.
In the end, you get the exact popup you’re looking for while saving time and energy for other parts of your business.
Ready to begin? Sign up for OptinMonster risk-free today!
How to Add Custom HTML to Your Popup
Step 1: Select Your Popup Design
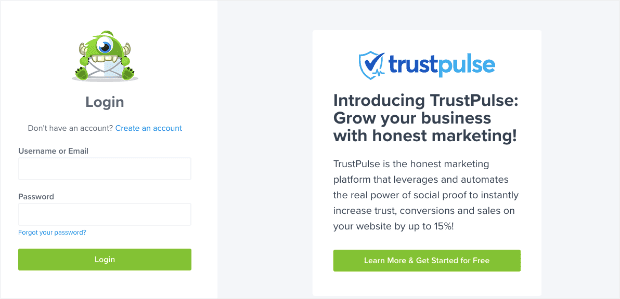
First, you need to log into your OptinMonster account:
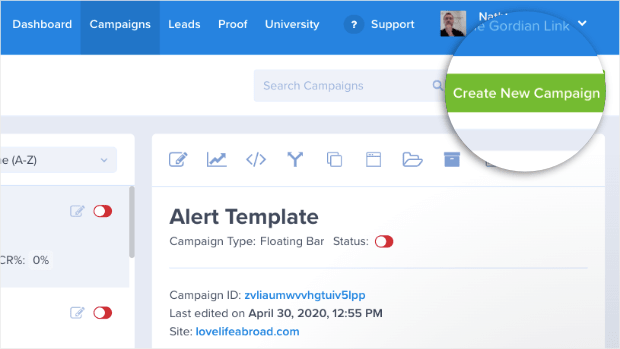
When you’re in your OptinMonster dashboard, head over to the upper right-hand corner, and click Create New Campaign:
Next, you’ll need to choose your campaign type. For today’s tutorial, we’ll go with a Popup campaign:
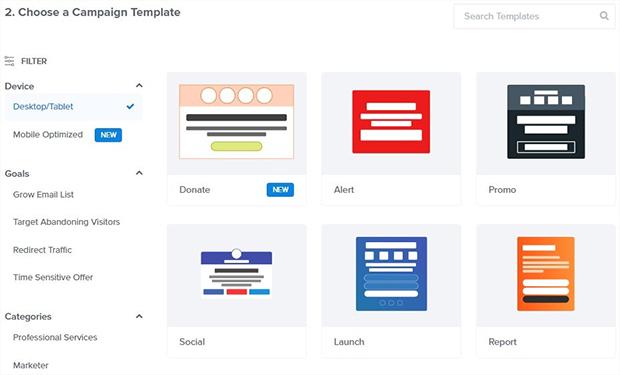
Now it’s time to select your template:
OptinMonster has over 50 pre-built templates to choose from. You can filter your options by:
- Device
- Goal
- Category
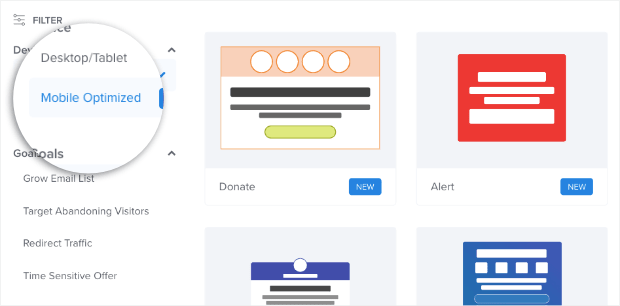
That first one is particularly useful if most of your traffic comes from smartphones. You can select fully mobile-optimized templates right from the start:
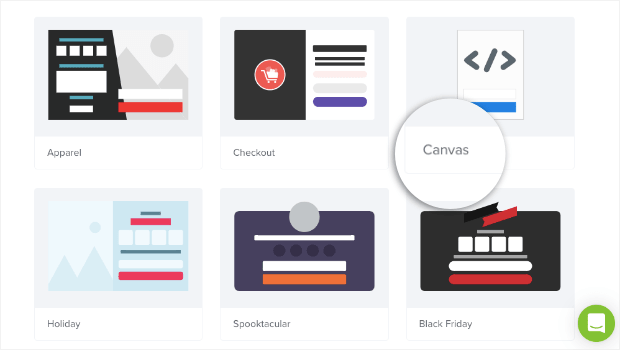
This allows you to find the right campaign for your target audience. And if you want a totally custom popup, you can use our Canvas template:
The Canvas template lets you build your popup completely from scratch. But does that mean you need to use the Canvas template for a custom HTML popup?
Not at all!
As you’ll see, you can add HTML to any template design with just a drag and drop. For today’s tutorial, we’ll choose the Basic template:
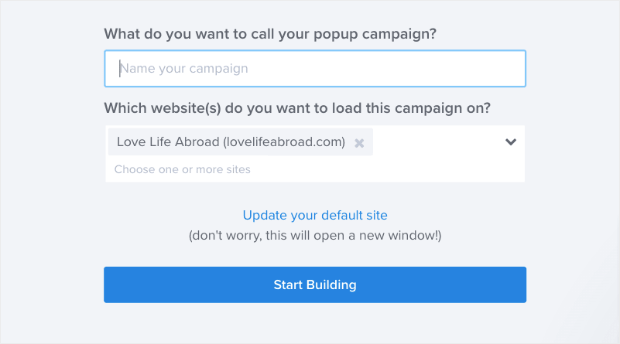
All that’s left is to name your popup, assign it to your website, and click Start Building:
Step 2: Design Your Popup Campaign
OptinMonster lets you easily make any modifications you’d like to your popup. That way, you can create a campaign that fits your brand, speaks to your target audience, and increases your site’s conversions.
We won’t dive too deep into how to modify your popup in this tutorial. If you need some help getting started, check out this resource on how to create and design your first OptinMonster campaign.
For today’s purposes, all you need to know is that our campaigns are made up of block elements that we call “blocks.”
To change any one of the blocks on your template, simply click on it in your editor. That will pull up the editing tools on the left-hand side.
So, for example, if you wanted to change the text block, you’d click on the text you want to change.
You can change any block of your popup campaign in the same way. And if you want to add a new block to your campaign, that’s easy, too.
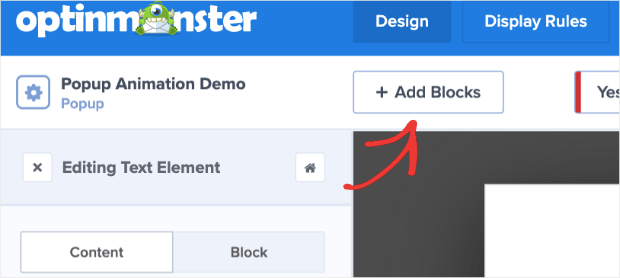
Click +Add Blocks at the top of your editing menu:
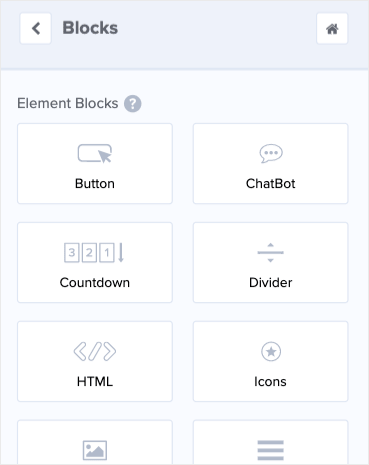
You’ll see a list of blocks that you can add to your popup, including:
- Button
- Chatbot
- Countdown timer
- Image
- Video
- HTML
- And more
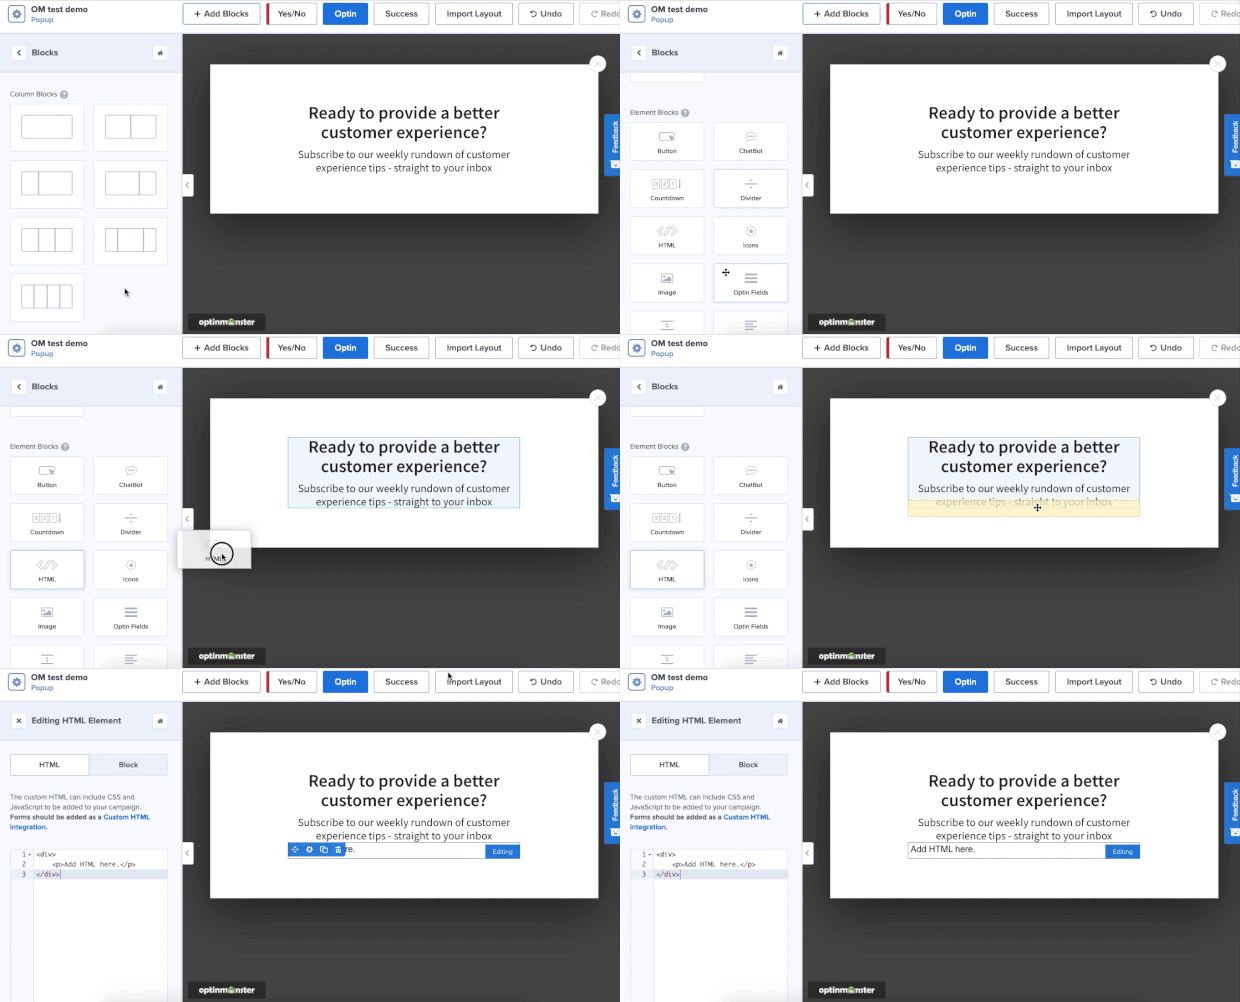
When you found the block you want to add to your campaign, you can move it over with a drag and a drop:
And this is actually how we’ll be adding custom HTML to our popup.
Step 3: Add Custom HTML to Your Campaign
As we just saw, you can add different blocks to your OptinMonster popup campaign. One of the blocks that you can add is HTML.
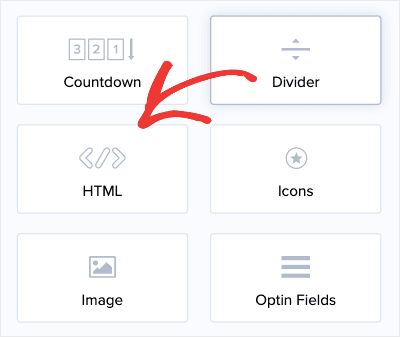
Click +Add Block like we did a moment ago, scroll down in your left-hand side menu, and find the HTML block:
Then drag and drop the HTML block into your OptinMonster campaign:
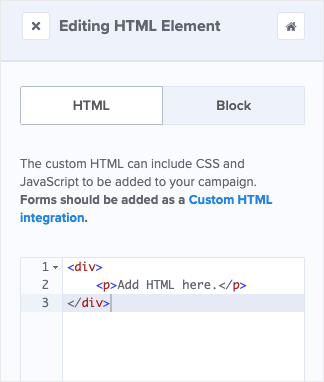
On the left-hand side, you’ll see the field box where you can add your custom HTML:
You can insert custom HTML for any of your needs right here. For today’s tutorial, we added a Google Form which is incredibly simple.
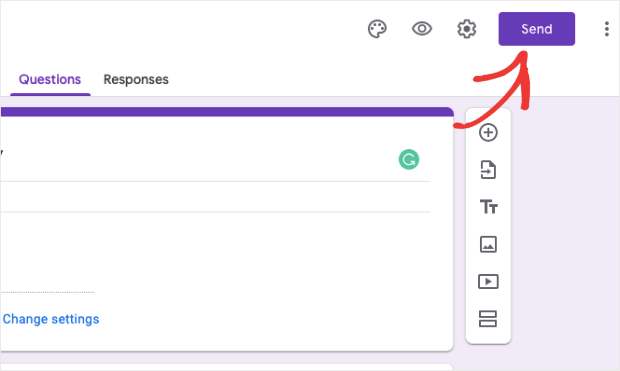
Once you’ve created your Google Form, click Send in the top right corner:
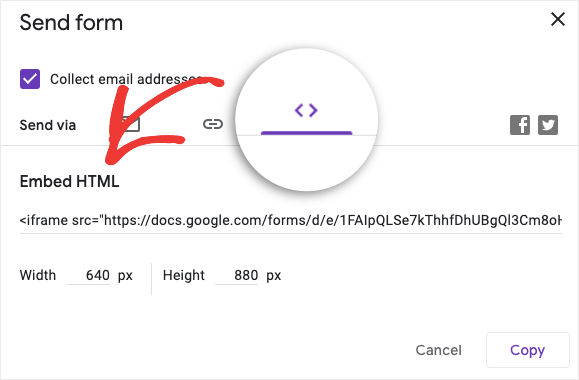
Then click on the HTML embed code:
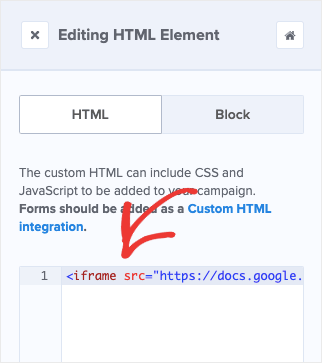
And add your Google Form’s HTML embed code to your OptinMonster popup:
Then you can adjust the HTML and modify the campaign’s appearance as needed. Here’s the final campaign that we built with OptinMonster and our Google Form’s custom HTML:
And that’s it!
As you can see, adding custom HTML to your OptinMonster campaign is easy. You can do everything with a drag and a drop. Then simply enter your HTML and style your campaign to look the way you want it to.
Plus, to be clear, this function isn’t limited to Google Forms. That was just today’s example. You can add custom HTML however best suits your needs.
Once you’ve designed the perfect custom HTML popup, it’s time to determine when and where your campaign will appear across your site.
Step 4: Set Your Display Rules
Now that your HTML popup is ready to go, you’ll need to decide where to show it on your site.
OptinMonster makes it ridiculously simple to target your audience. We do this in 2 ways:
- Targeting Rules
- Triggers
Targeting rules help you show your campaign to people who meet certain characteristics. This can be people coming from 3rd-party sites, where they’re located, or what device they’re using, and more.
Triggers, on the other hand, will display your campaign based on how your visitor interacts with your site. This can be when they’re trying to leave (Exit-Intent®), if they’ve stopped engaging with the page (Inactivity Sensor™), when they click on a MonsterLink™, and more.
Our targeting rules and triggers help you reach the right people at the right time of their customer journey. This leads to higher conversions for you.
To set your targeting and trigger rules, go to Display Rules at the top of your OptinMonster editor:
You’ll see the default settings that all OptinMonster campaigns start with. These are:
- Time on page is 5 seconds
- Show on every page
We’ve found that these 2 rules cover a wide variety of needs for most business owners. But in some cases, you’ll want to change this.
Today, we’ll put an Exit-Intent® trigger on our custom HTML campaign.
Exit-intent popups appear as the user is trying to leave your website. They’re incredibly effective at recovering abandoning visitors.
In fact, the fitness company Crossrope was able to increase their conversions by 900% using an exit-intent popup.
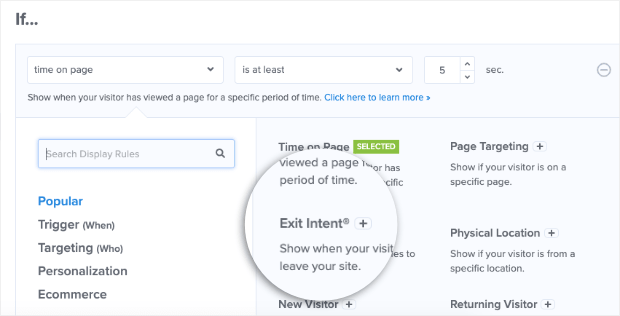
To make your own, simply click on the first condition, Time on page, to pull up the drop-down menu. Then click on Exit Intent®:
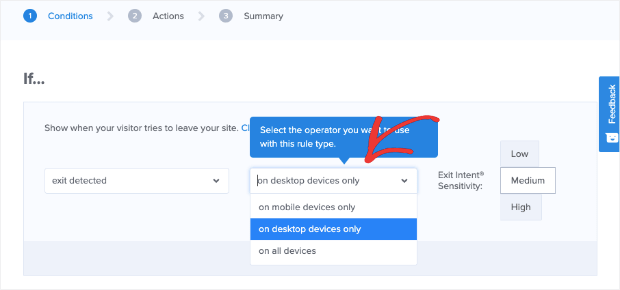
Select which devices you want to show your exit-intent popup. You can choose:
- Desktop
- Mobile
- Both
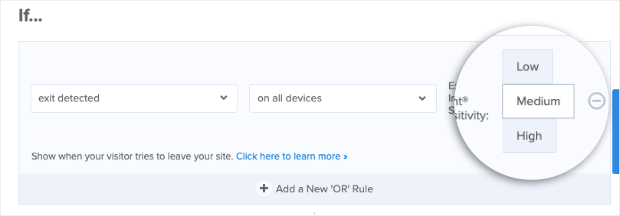
Finally, choose your campaign’s sensitivity level. This is how quickly your popup will appear as your user starts heading for the back button on their browser page. You can select:
- Low
- Medium
- High
This is important, especially if you’re creating a mobile exit-intent popup. That’s because the sensitivity you choose will create a different trigger on mobile devices:
- Low and Medium sensitivity will create a scroll trigger
- High sensitivity will create a back button trigger
For more information on how this works, check out this post on how to create a mobile exit-intent popup that converts.
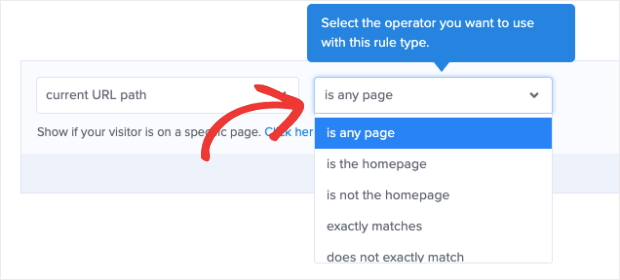
If you want, you can also modify where your campaign appears. By default, your campaign will show on every page of your site.
But you can change this to specific URLs, URL paths, or any other page that you think would increase conversions:
Once you’ve configured your display rules, all that’s left is to hit Save and Publish.
And that’s it! Your custom HTML popup is ready to go.
We hope that you found this article helpful. If so, you may want to check out the following resources to see how you can use popup campaigns to grow and monetize your email list:
These posts have everything you need to optimize your email marketing strategy.
Ready to get started? Sign up for your risk-free OptinMonster account today!






Add a Comment