OptinMonster makes it easy to integrate with Google Analytics. If you’ve integrated your OptinMonster campaign with Google Analytics you can view detailed impression and conversion reports.
In this article, you’ll learn how to view OptinMonster campaign events in Google Analytics.
Before you start, this guide assumes you’ve already connected your campaign with Google Analytics.
It will take 48 hours for Google Analytics to process the initial data we send them. After that time, it takes up to 24 hours for Google Analytics to process campaign event data. If you need to check campaign data sooner we recommend using Google Analytics’ Realtime feature as shown in this guide.
In-house analytics data from OptinMonster can be viewed at any time following this guide.
GA3 vs GA4 Properties
When configuring Google Analytics for your campaigns you’ll notice there are two options available, to select GA3 and GA4 Properties.
GA3 is often referred to as Universal Analytics, and you’ll see that represented in the ID assigned to GA3 Properties with the UA- prefix.
We’ve recently released an update to allow you to send campaign data to GA4 Properties, while still allowing you to keep campaigns connected to GA3 Properties for a smoother transition.
If you do not already have or are using a GA3 Property it is not necessary to create or connect to one. Instead, you should connect your campaigns only to your GA4 Property.
Some of the information in this guide is intended for those still using GA3 Properties, in which case you’ll see that clearly indicated in the section.
Please be aware that Google Analytics will stop processing data sent to GA3 Properties on July 1, 2023. We strongly recommend you update your OptinMonster campaigns to indicate a GA4 Property before that date to avoid any interruption.
See Google Analytics’ announcement.
GA4 Properties
Required: Custom Dimensions
Before you can run reports following this guide, it is necessary to first create custom dimensions in Google Analytics for your GA4 Property.
Following this Google Analytics’ guide to create custom dimensions, take the following actions:
- Sign into your Google Analytics account.
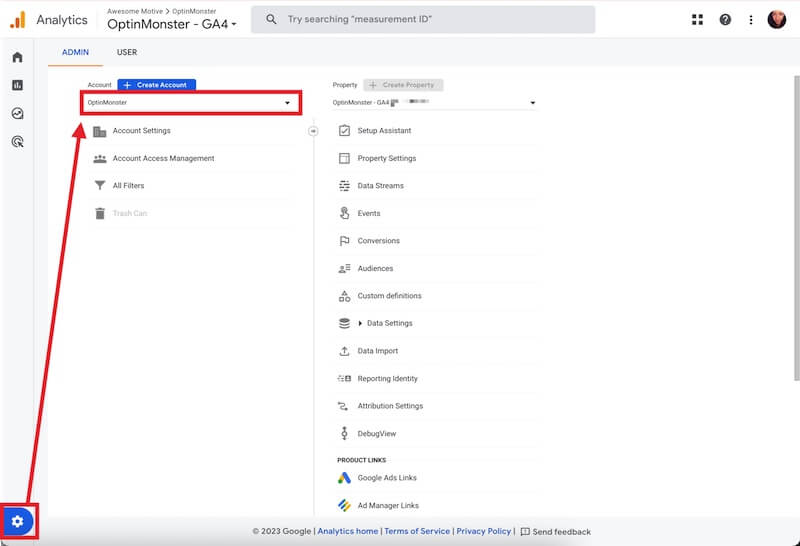
- Click Admin, and navigate to the property to which you want to add custom dimensions.
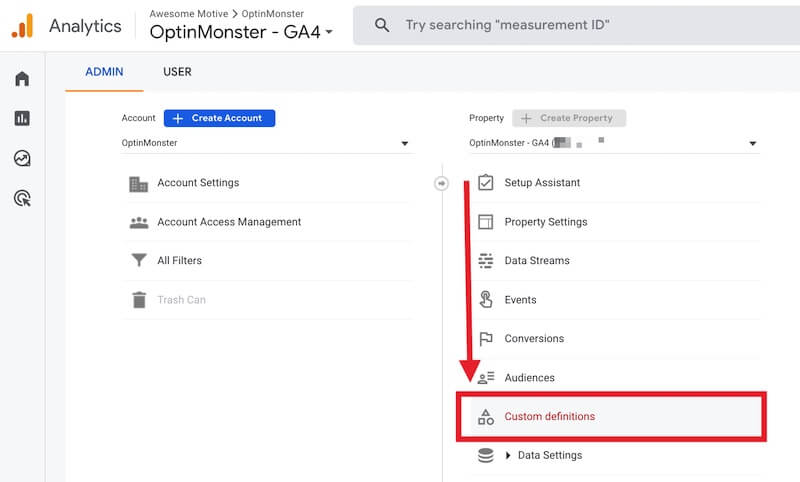
- In the PROPERTY column, click Custom Definitions.
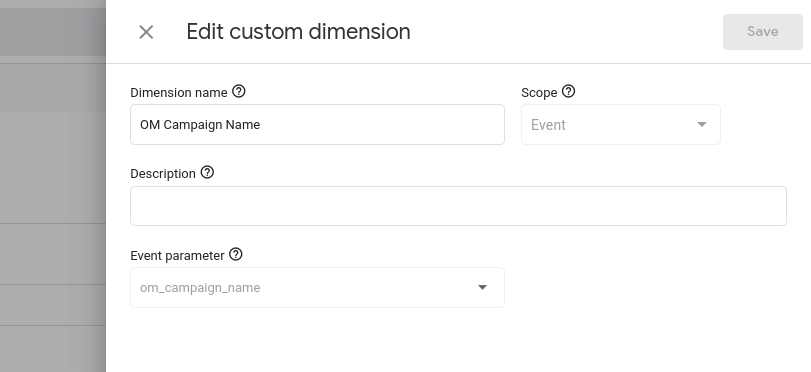
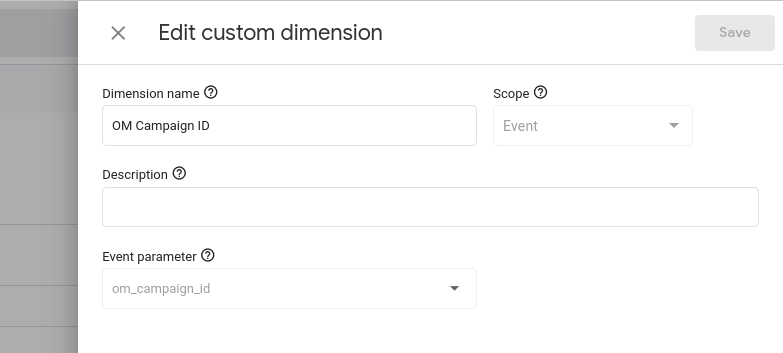
- You’ll create two new Custom Dimensions: OM Campaign Name and OM Campaign ID. For both, set the Scope to Event, and select the associated Event parameter.
Realtime Reports
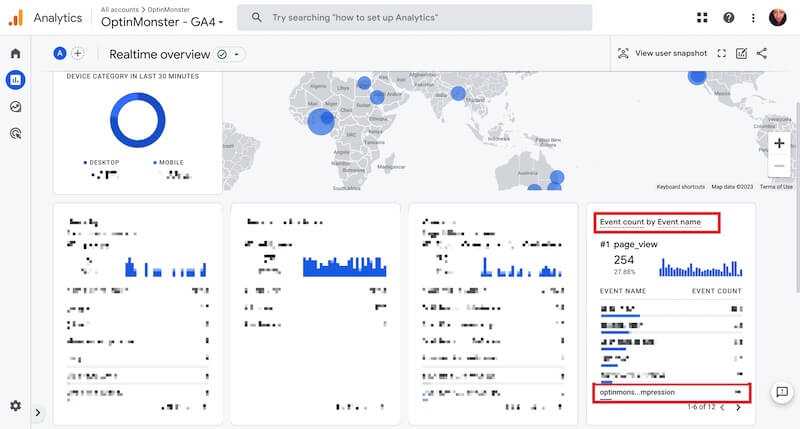
Using Google Analytics’ Realtime report, you can view campaign events that have taken place in the last 30 minutes following these steps:
- Be sure you are logged into your Google Analytics account.
- Open the Realtime report for the Google Analytics Property you’ve connected to your OptinMonster campaign.
- Optional: In a new tab/window, test your OptinMonster campaign following one of the options in this guide.
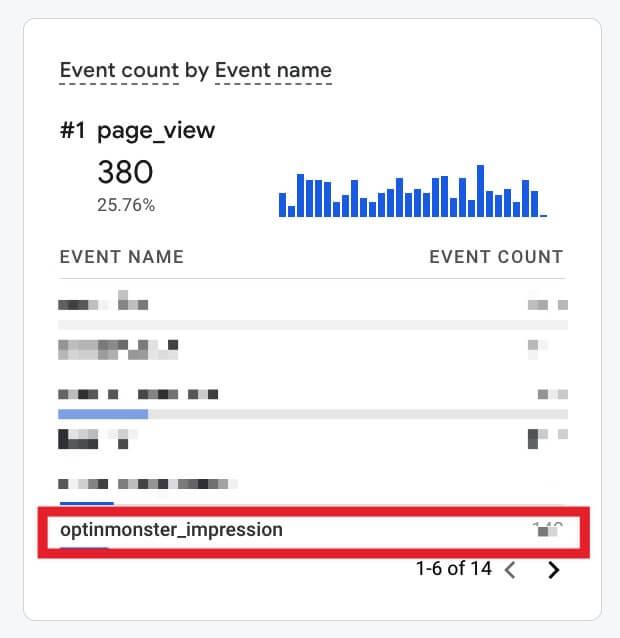
- Viewing the default report you can find the optinmonster_impression and optinmonster_conversion data in the Event Count card.
- Select optinmonster_impression or optinmonster_conversion from the Event Count card.
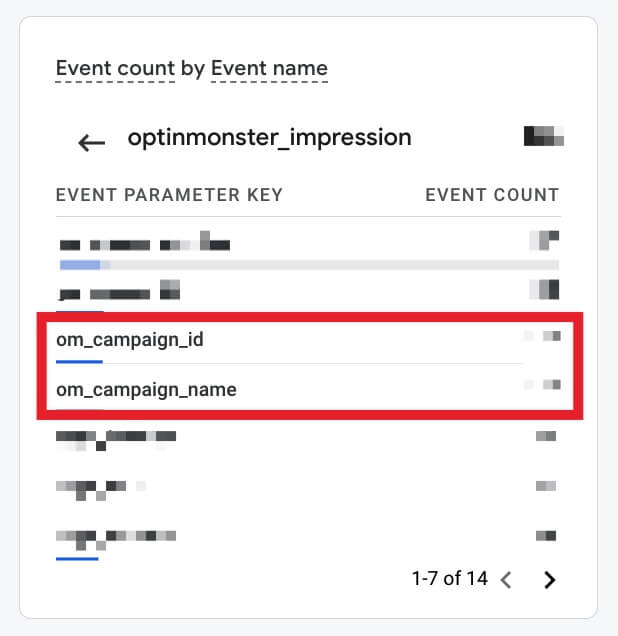
- Next, select om_campaign_id or om_campaign_name, depending on how you’d like to identify your specific campaign in the Realtime report.
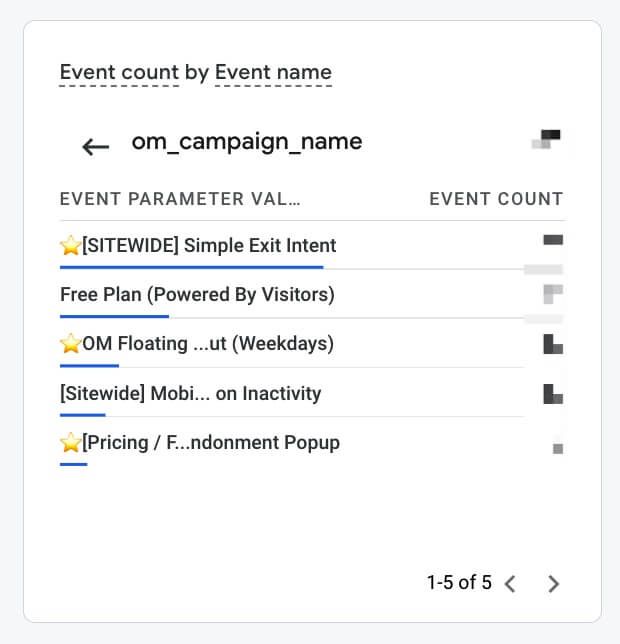
- In this example, we selected om_campaign_name and a list of campaigns is displayed. Here you can track the realtime reporting of event data for your specific campaign to test that it is working as you intend.
Event Reports
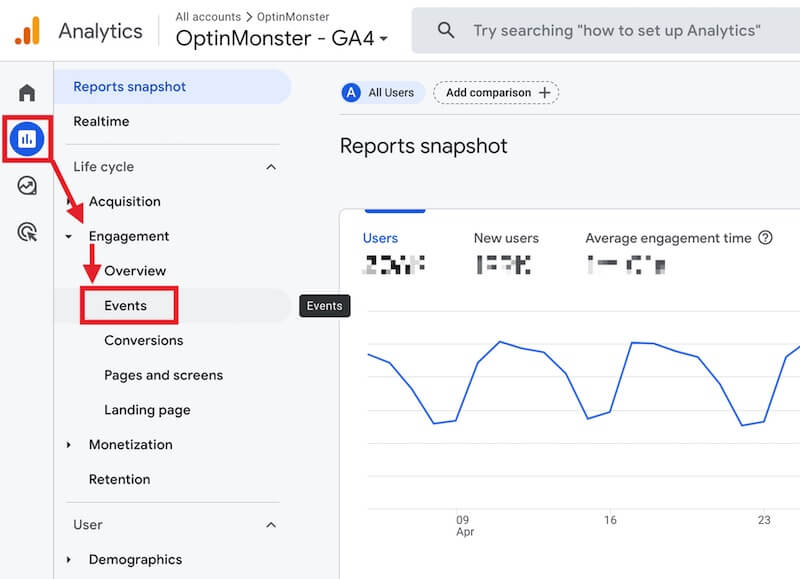
In GA4 we can access OptinMonster Event Data by navigating to the Reports > Engagement > Events view:
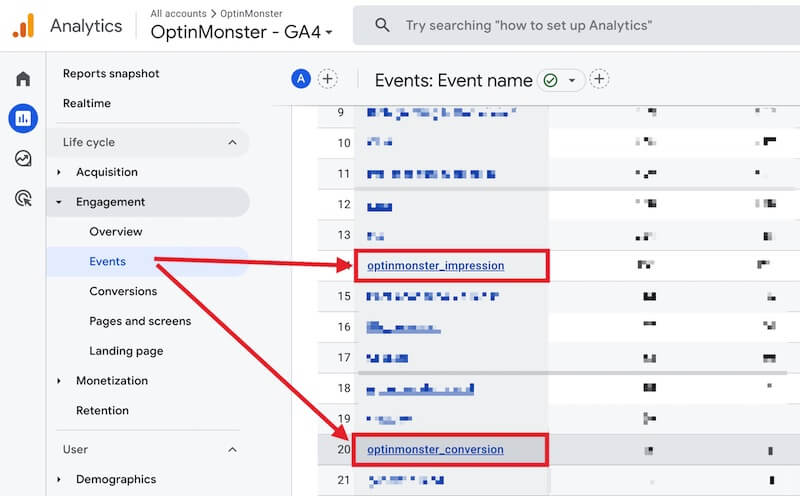
In the Events table, you’ll find optinmonster_impression and optinmonster_conversion:
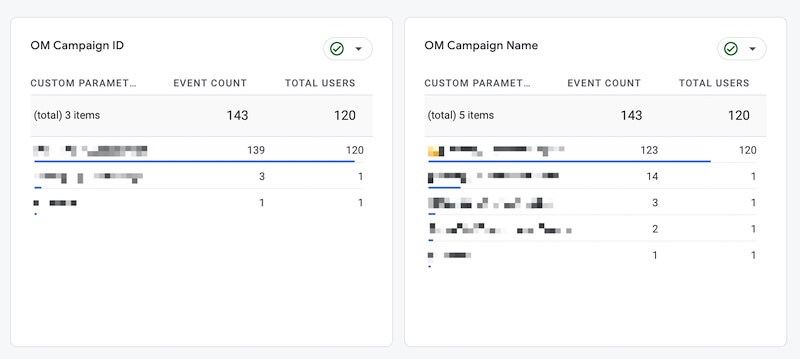
Select optinmonster_impression or optinmonster_conversion to view additional details. On the next screen, you’ll find individual campaigns identified in the OM Campaign ID and OM Campaign Name cards:
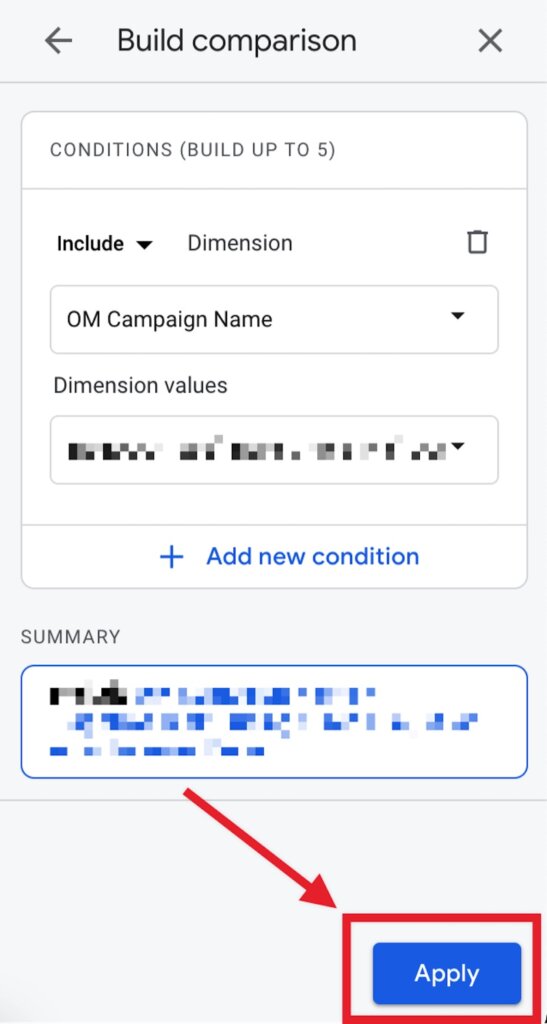
From this same screen, or returning to the previous screen, you can run more advanced reports by building a Comparison and selecting an individual OptinMonster campaign.
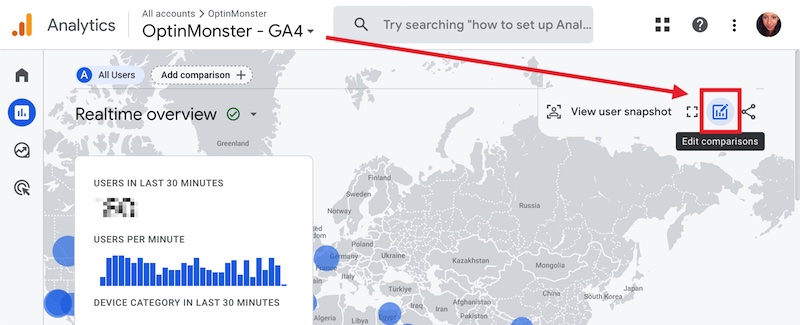
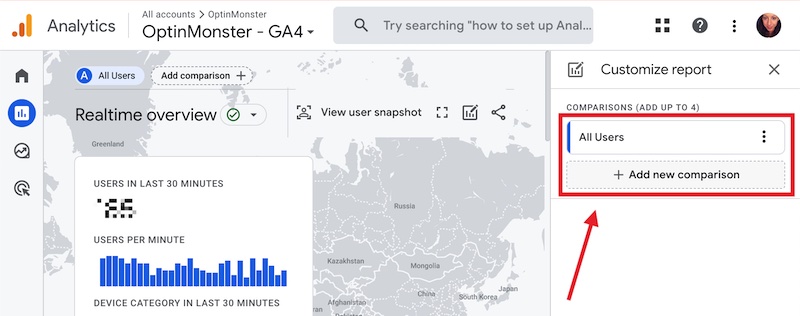
- To do this, first select the Edit comparisons icon.
- In the right panel, select an existing Comparison or add a new one to start.
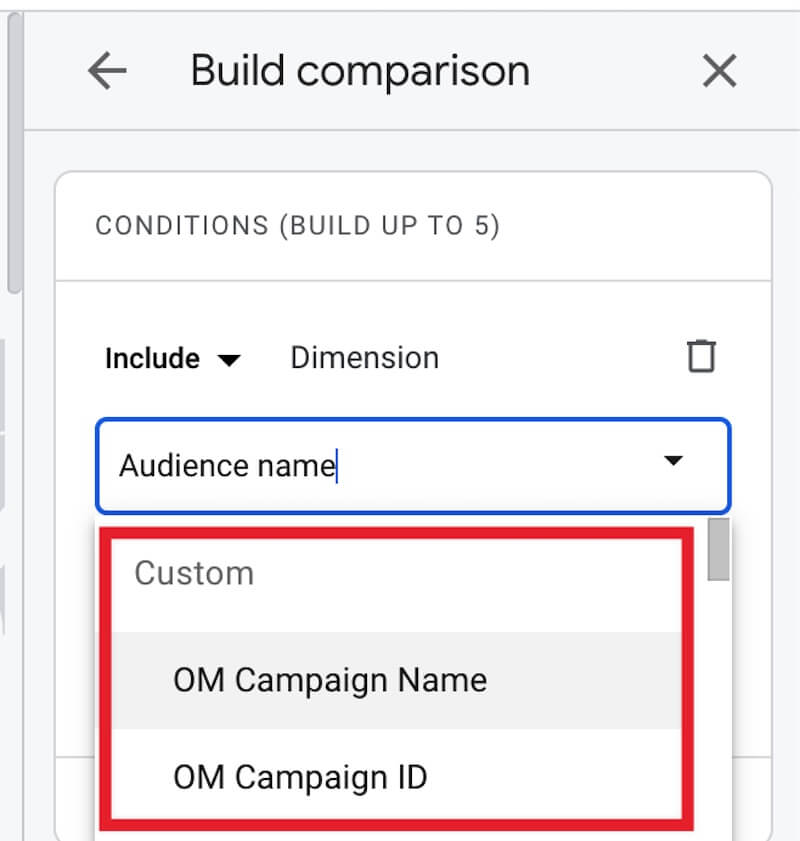
- From the first dropdown field select Campaign Name from the Custom Events section.
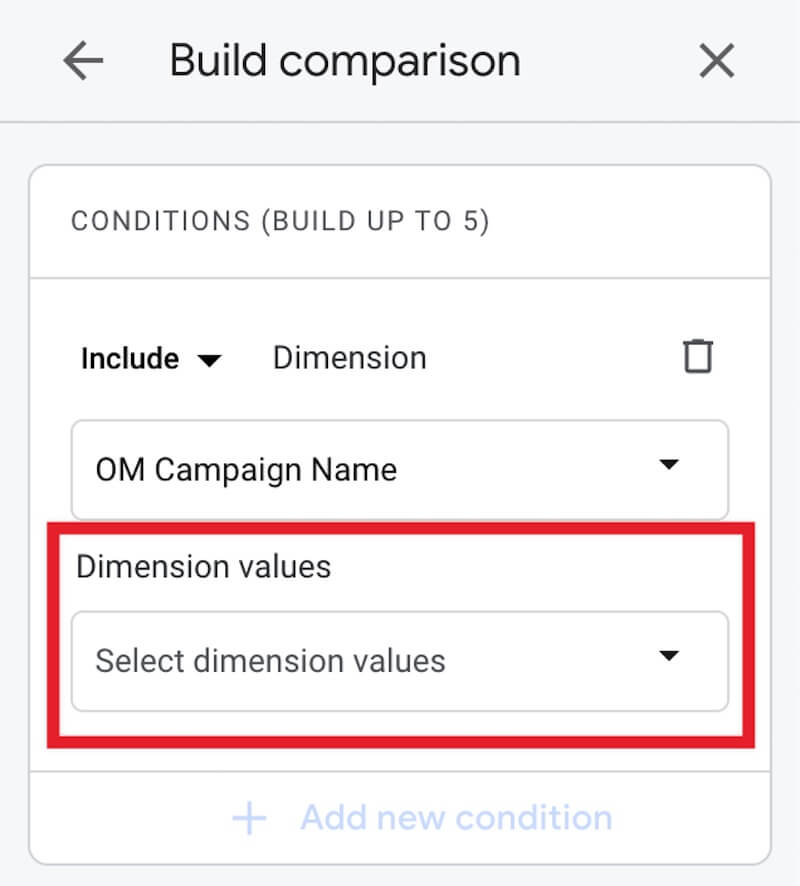
- Next, select the specific OptinMonster campaign you are testing from the Dimension values dropdown.
- Optional: Add any other conditions to your Comparison you would like to use when filtering campaign event data in your Realtime report.
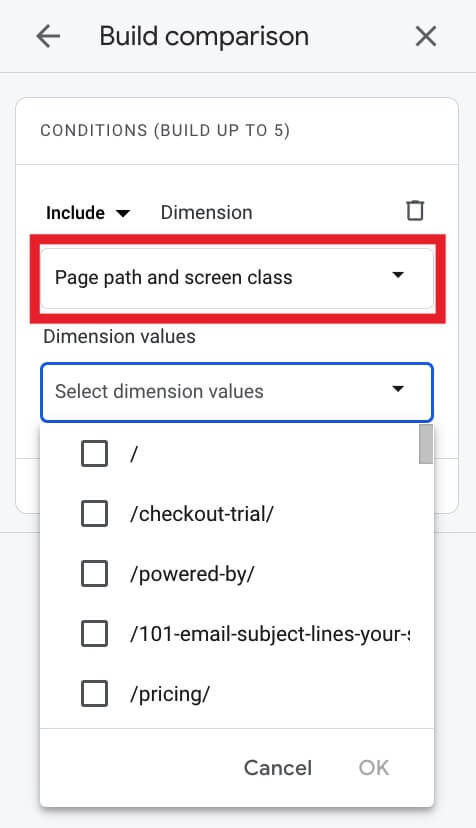
For example, view data specific to an individual Page by selecting Page path and screen class then select the individual page(s) you want to use in the Comparison:
- Select the Apply button to finish building your Comparison.
- Your Event report will now show data only for the OptinMonster campaign you’ve indicated in the Comparison.
Learn more about creating custom reports in GA4.
GA3 Properties
Event Reports
- Log into your Google Analytics account.
- Once logged-in, be sure you’re viewing the Google Analytics property that you’ve previously connected to your OptinMonster campaign.
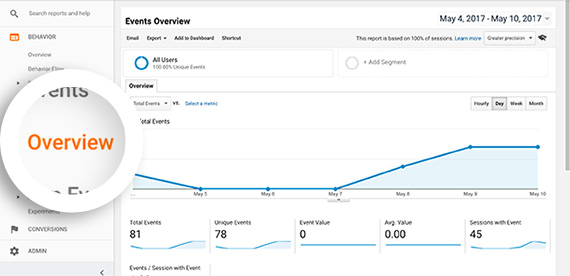
- Next, navigate to Behavior » Events » Overview.
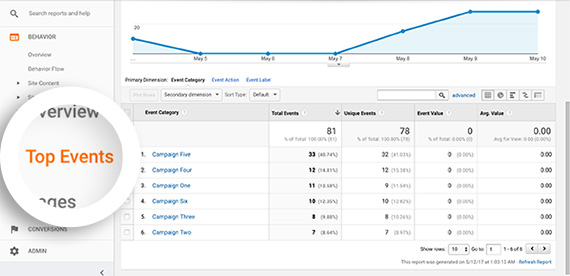
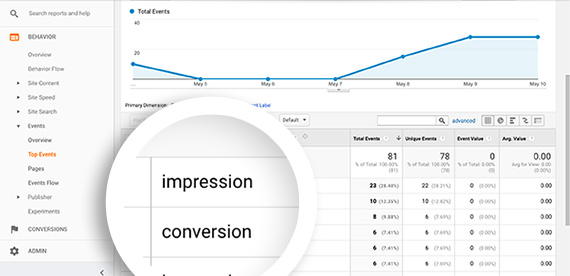
- To refine the information returned, select Top Events instead of Overview.
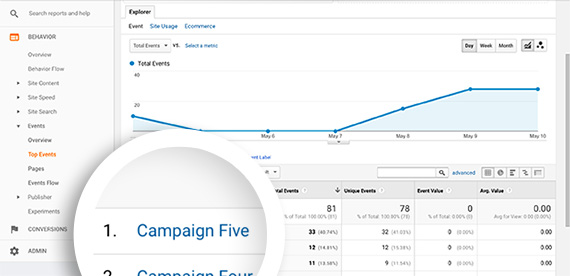
- Here you will see a list of Events. Campaigns are displayed by their name, so you look for the specific campaign you wish to see detailed reports of here.
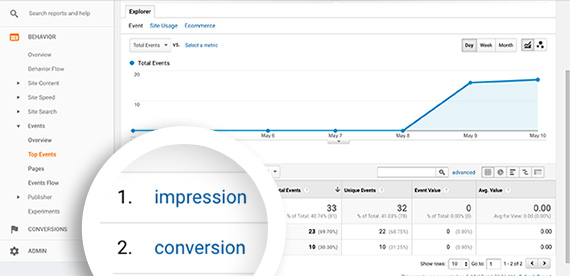
- Select the name of the campaign to view the specific Impression and Conversion data.
- You can now use all tools available in Google Analytics to further filter and run reports on the campaign event data.
View Aggregate Data
To see the aggregate data, that is, the total information for all of your campaigns follow these steps:
- Navigate to Behavior » Events » Top Events in Google Analytics.
- You will see the page section refresh with a graph of total events among all of your campaigns and below that a table listing the number of events for each campaign.
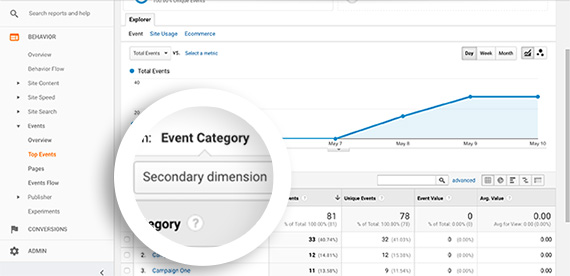
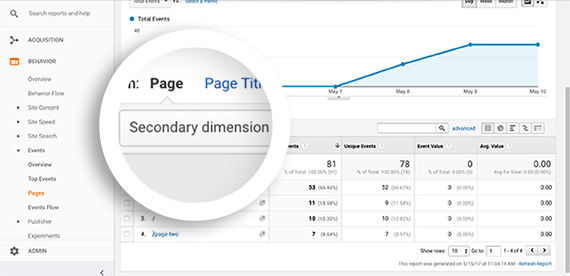
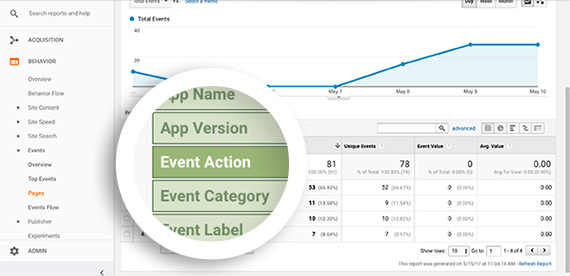
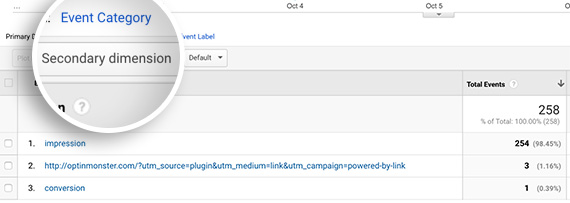
- To breakdown this event data into Conversions and Impressions, click on the Secondary dimension button to reveal a list of additional data points that can be added to the table.
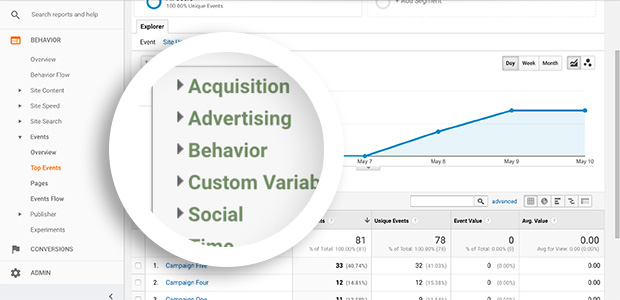
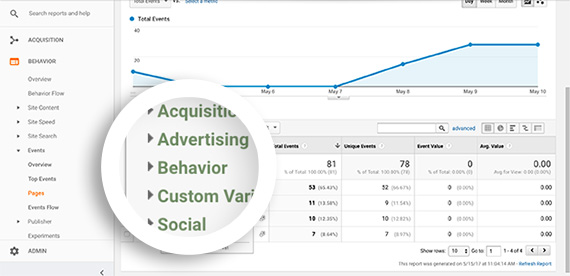
- From this list, choose Behavior which will reveal a sub-menu of options.
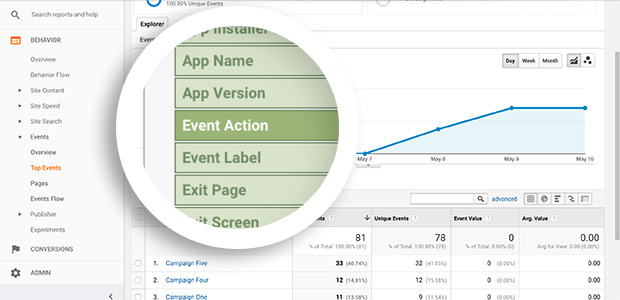
- Lastly, choose Event Action.
- The numbers for Conversions and Impressions will be added to the table for each of your campaigns. The table will now contain two rows per campaign one with the number of Impressions and one with Conversions.
View Data by Page
To compare your campaigns’ data between different pages on your website, follow these steps:
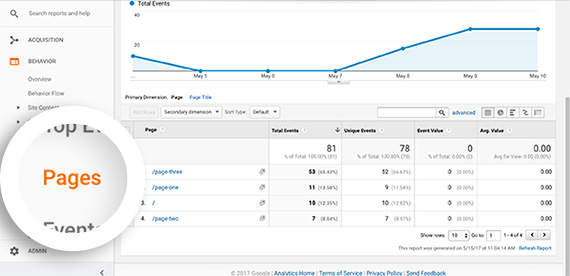
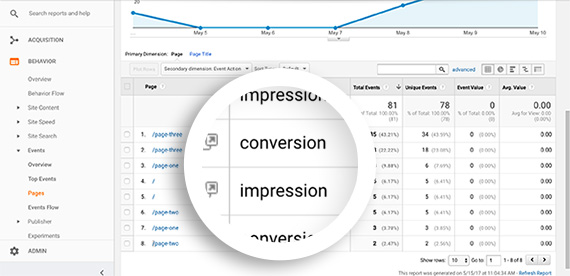
- Navigate to Behavior » Events » Pages in Google Analytics.
- The table on this page breaks down the events from your campaigns by the paths of the pages on which they appear.
The paths used here are the portion of the URL after the domain name beginning with a forward slash. For example, http://mydomain.com/blog will be displayed here as just /blog. This means your website’s homepage will be represented by just a forward slash. - From this page you can further break down the data into Impressions and Conversions. Click on the Secondary dimension button.
- Next, select Behavior from the list that appears there.
- Choose Event Action from the list of available dimensions.
- Now there will be two rows for each page in the table, one for Impressions and one for Conversions.
View Data by Traffic Source
To compare your conversions based on traffic source, follow these steps:
- Navigate to Behavior » Events » Top Events in Google Analytics.
- Click on Event Action at the table listing events.
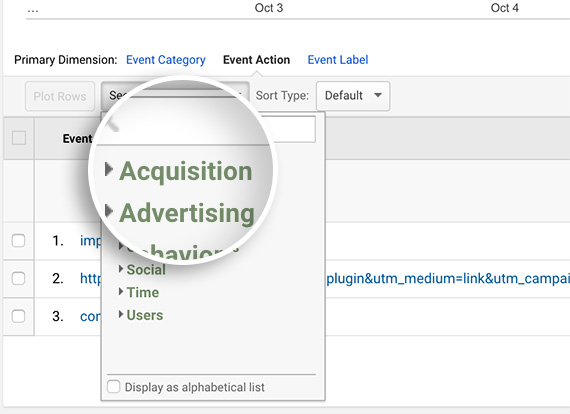
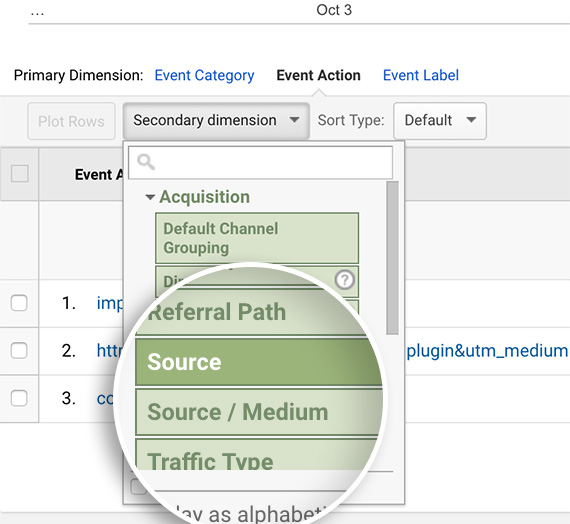
- Next, click on the Secondary dimension button to reveal a list of additional data points that can be added to the table.
- Select Acquisition from the list that appears.
- Finally, select either Source or Source/Medium.
- This will add an additional column to your list so you can compare the events from different sources.
FAQs
Yes! You will need to modify your form’s code to track conversions when the form is submitted.
Learn how to track conversions with your custom HTML form.
What data does OptinMonster send to Google Analytics?
GA3 Properties
OptinMonster sends the following data to GA3 Properties:
- Event Category (campaign name)
- Event Action (impression or conversion)
- Event Label (campaign ID)
GA4 Properties
OptinMonster sends the following data to GA4 Properties:
- Custom Event: optinmonster_impression
- Custom Event: optinmonster_conversion
For each Custom Event, we pass the following data as custom event parameters:
- Campaign Name (om_campaign_name)
- Campaign ID (om_campaign_id)
It’s possible that Google Analytics may also track other data with this that we don’t control. However, the above details are all that OptinMonster sends to Google Analytics.
If you’re serious about jumpstarting your website business growth, then get started with OptinMonster today!
Our conversion experts will design 1 free campaign for you to get maximum results – absolutely FREE! Click here to get started →

