OptinMonster makes it easy to further customize your campaigns using Javascript.
In this article, you’ll learn how to use OptinMonster’s custom Javascript tool.
Before You Start
Here are some things to know before you begin:
- The custom Javascript tool can be used to:
- Load custom fonts
- Set custom cookies
- Load additional resources, like custom animation libraries
- Include language translation based on location
- Add support for 3rd-party tools
- Load custom Google Analytics events for more in-depth tracking
- … and much more
- Code added using our custom Javascript tool only run when the campaign HTML is on the page, so you don’t need to worry about async loading.
Custom Javascript Tool
To use OptinMonster’s custom Javascript tool, follow these steps:
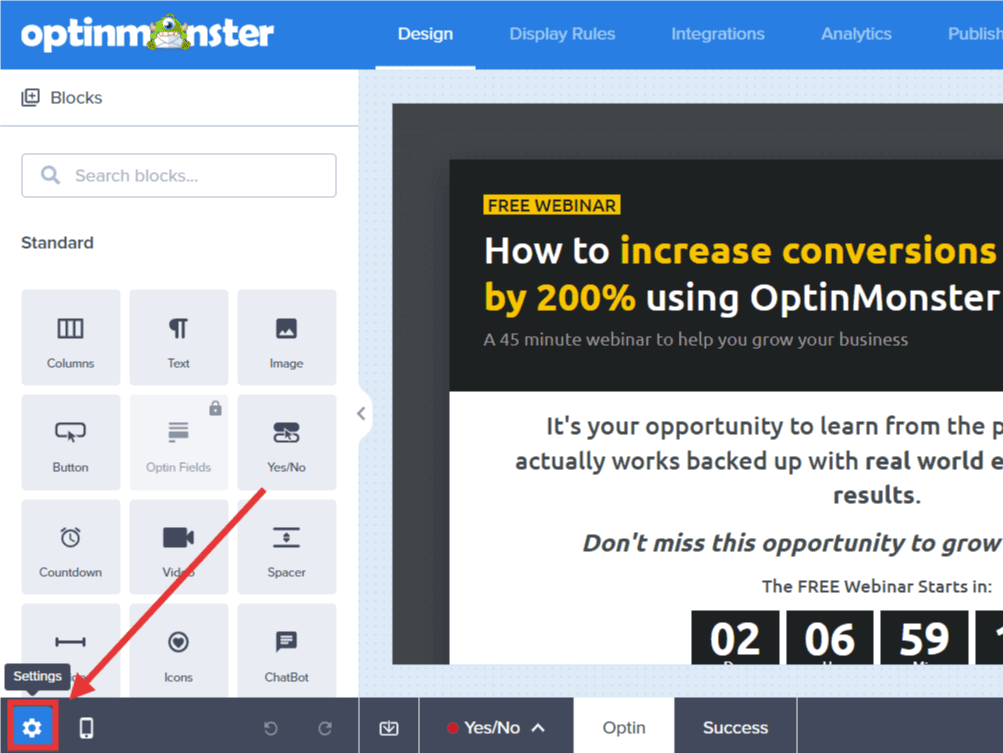
- In the Design view of the campaign builder, select the Settings icon.
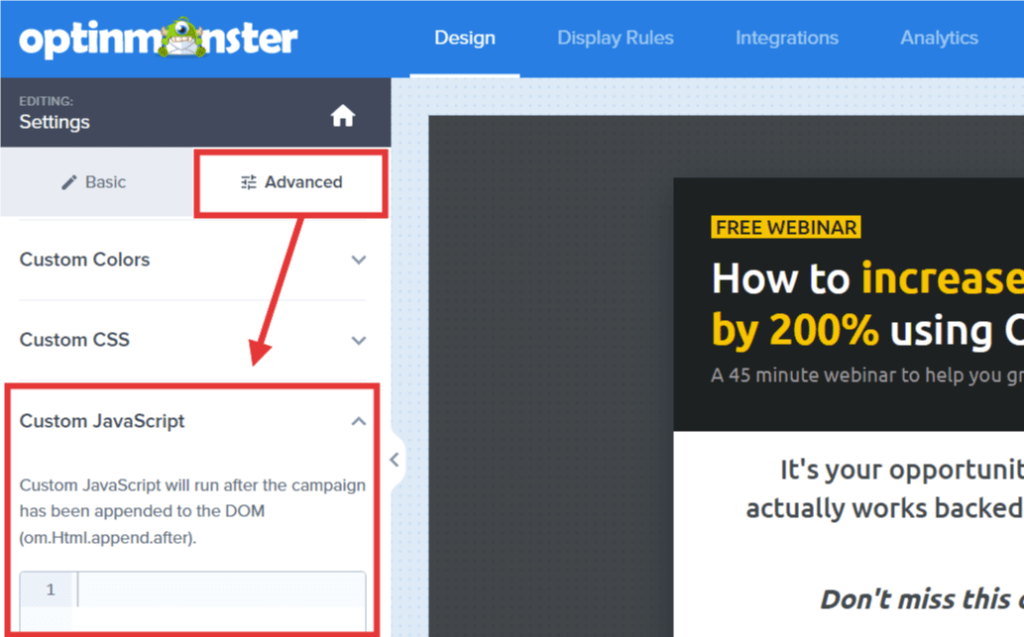
- Next, select the Advanced tab in the sidebar and expand the Custom JavaScript option.
- Enter the Javascript you want to run when the campaign is loaded on your site into the provided field.
- When you’re finished, click Save.
Troubleshooting
Do I need to wrap my code in <script> tags?
Yes, you must wrap all Javascript in valid <script> tags.
Using the Template Namespace
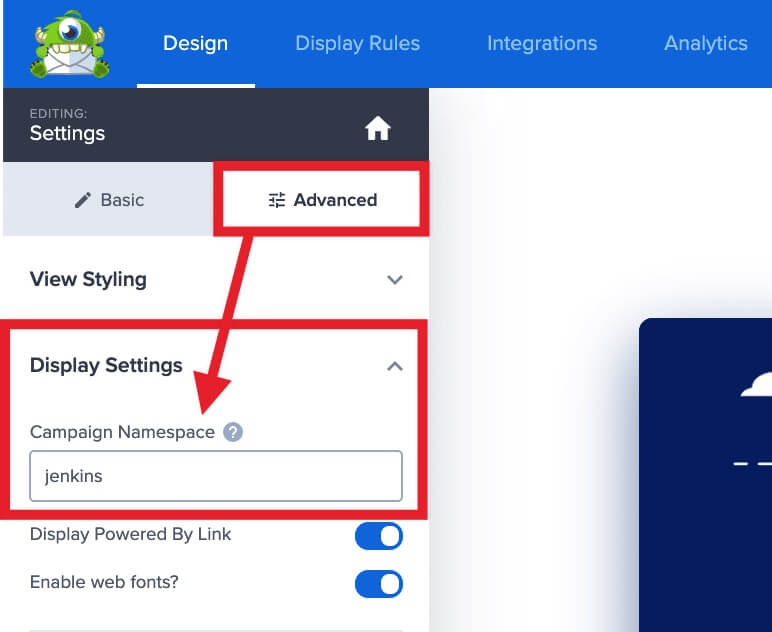
One important feature of your OptinMonster campaign is the Template Namespace. This can be found in the Advanced tab’s Display Settings option.
The HTML namespace prefix is used throughout your campaign template for classes and IDs and can be useful for getting around things like ad blockers.
You can use the Template Namespace in your custom Javascript with the placeholder {{ns}}.
Just like the {{id}} placeholder, the {{ns}} placeholder will automatically be updated to use your campaign’s namespace when the Javascript is output in the campaign on your site.


