OptinMonster makes it easy to create a campaign with a clickable image. Redirect traffic with the click of an image on any type of campaign.
In this article, you’ll learn how to make your OptinMonster campaign a clickable image.
Configure Campaign
To create a campaign that contains a clickable image, follow these steps:
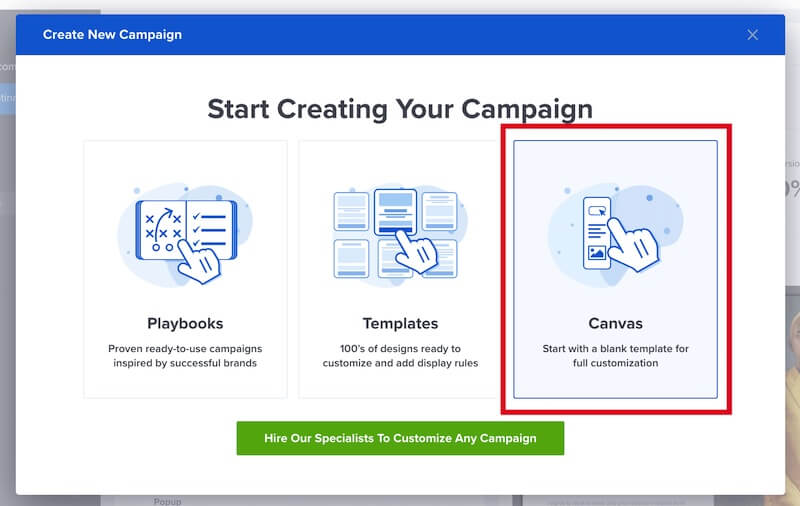
- Create a new campaign or choose an existing campaign to edit. If you are creating a new campaign, we suggest using the Canvas template.
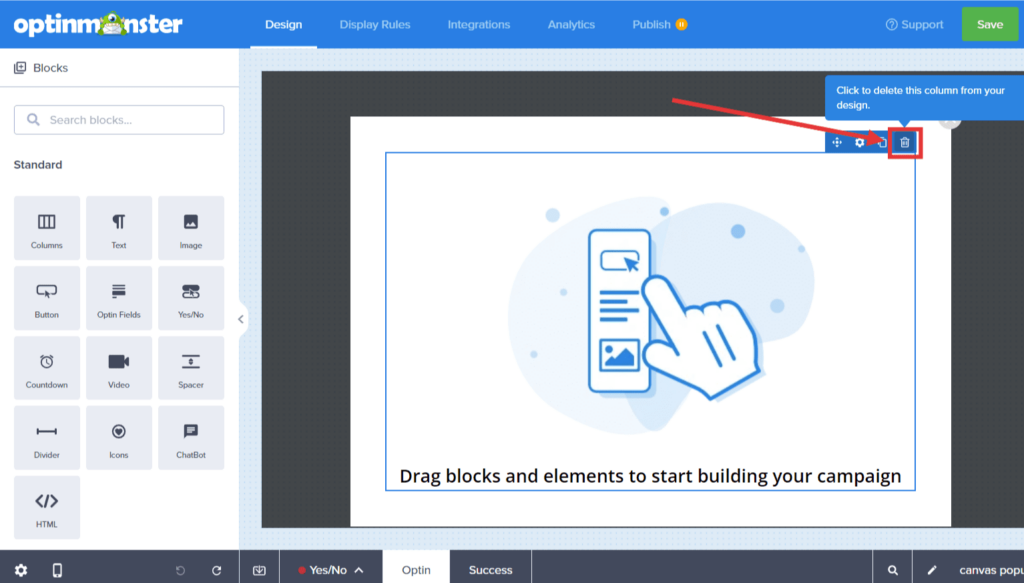
- From the Design view of the campaign builder, delete all existing blocks.
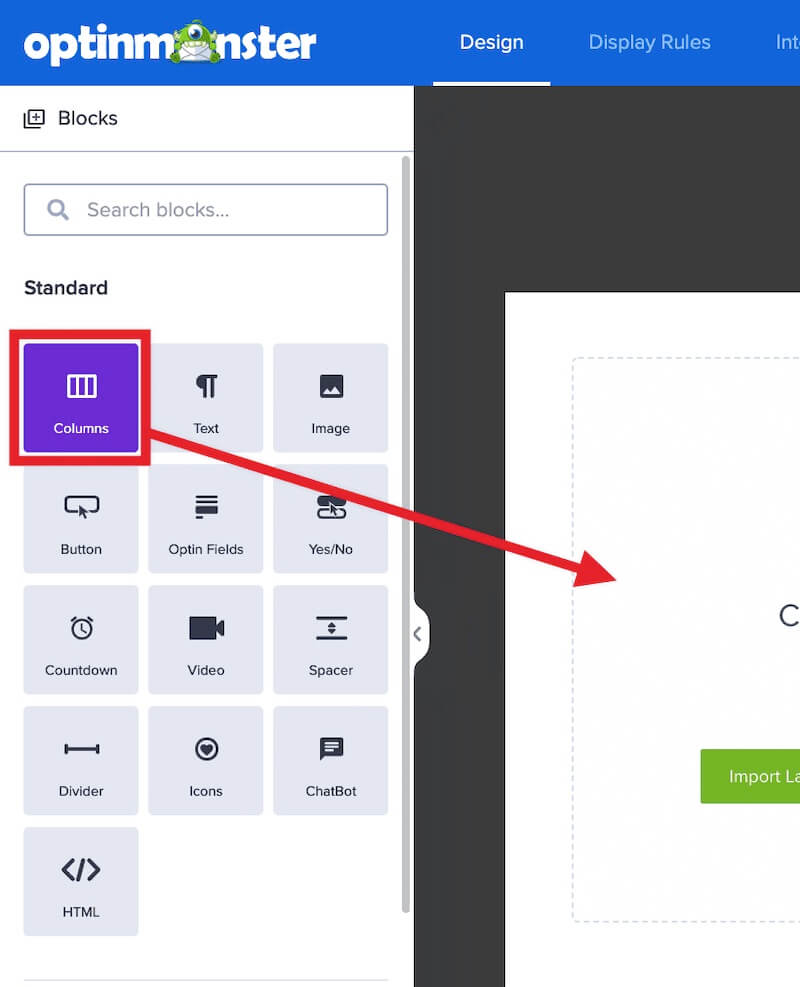
- Next, add a Columns block to your campaign.
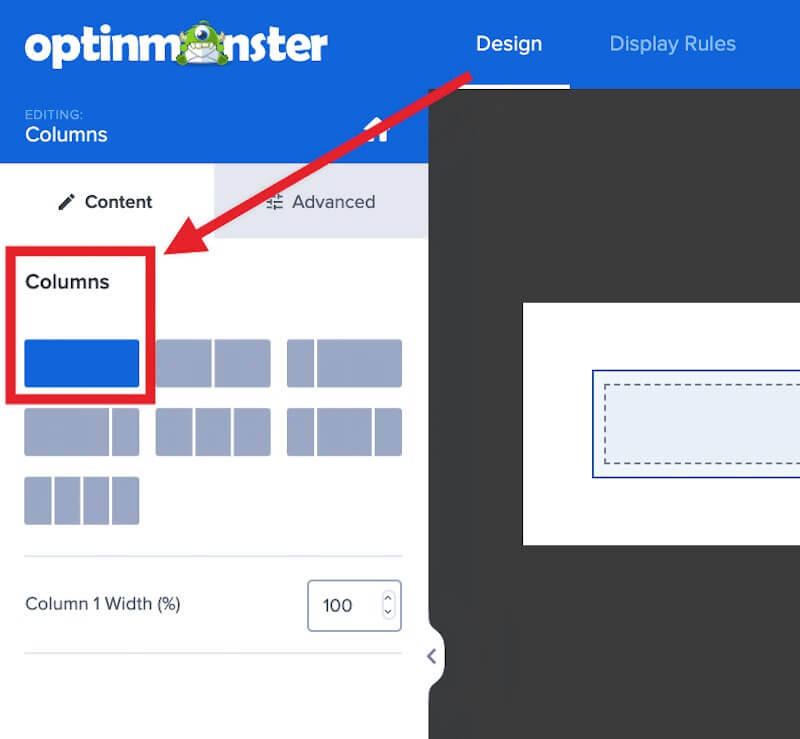
- Be sure to set it as a Single Column.
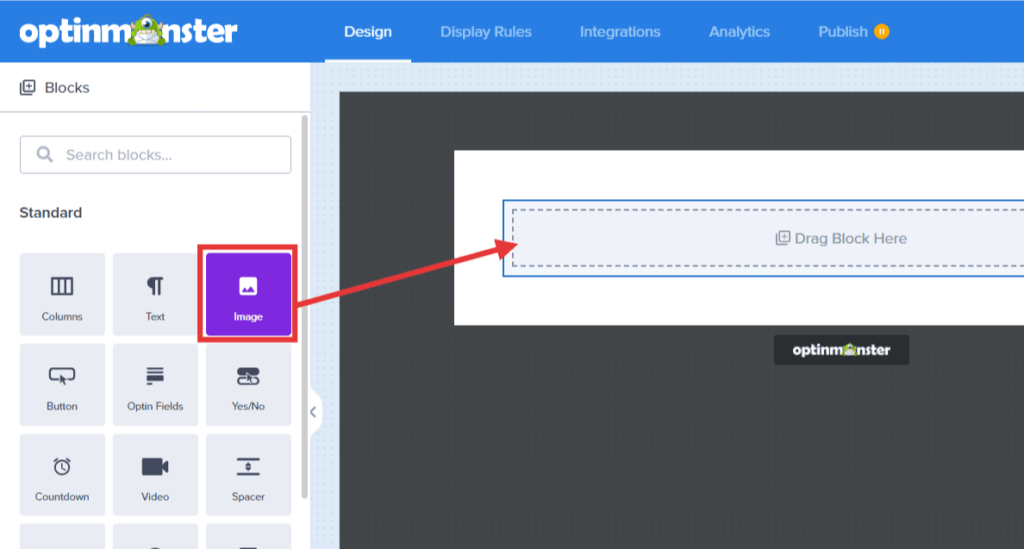
- Next, drag and drop an Image block into that column.
- Upload or select an existing image from your library.
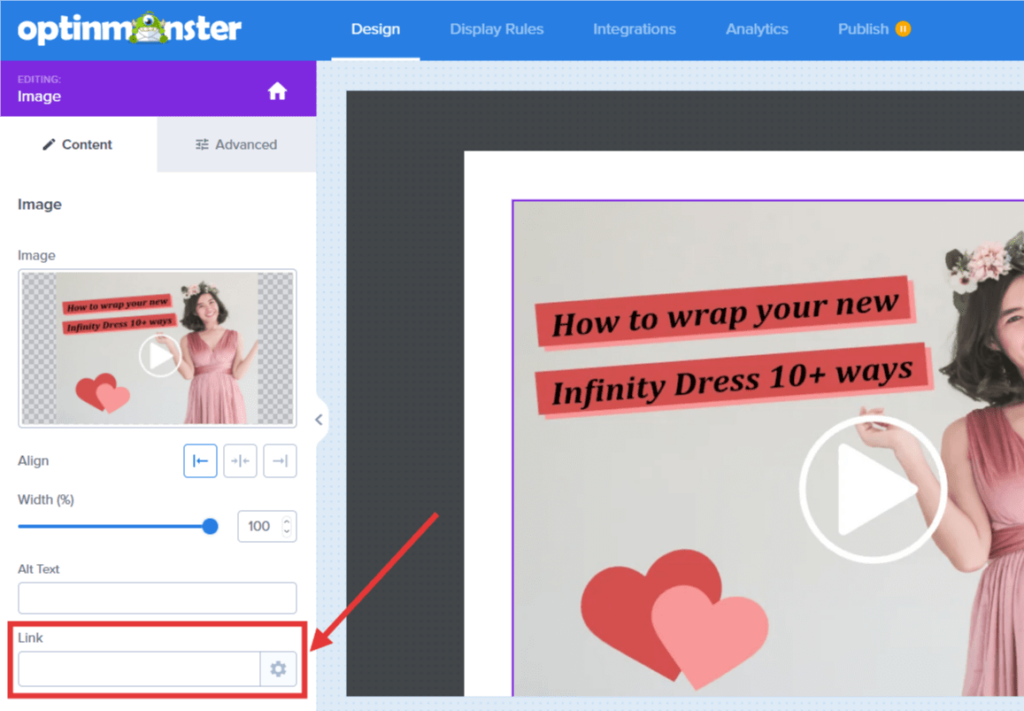
- From the Image block’s Content tab expand the Image option and locate the Link field. Enter the URL you want to redirect visitors to into this field.
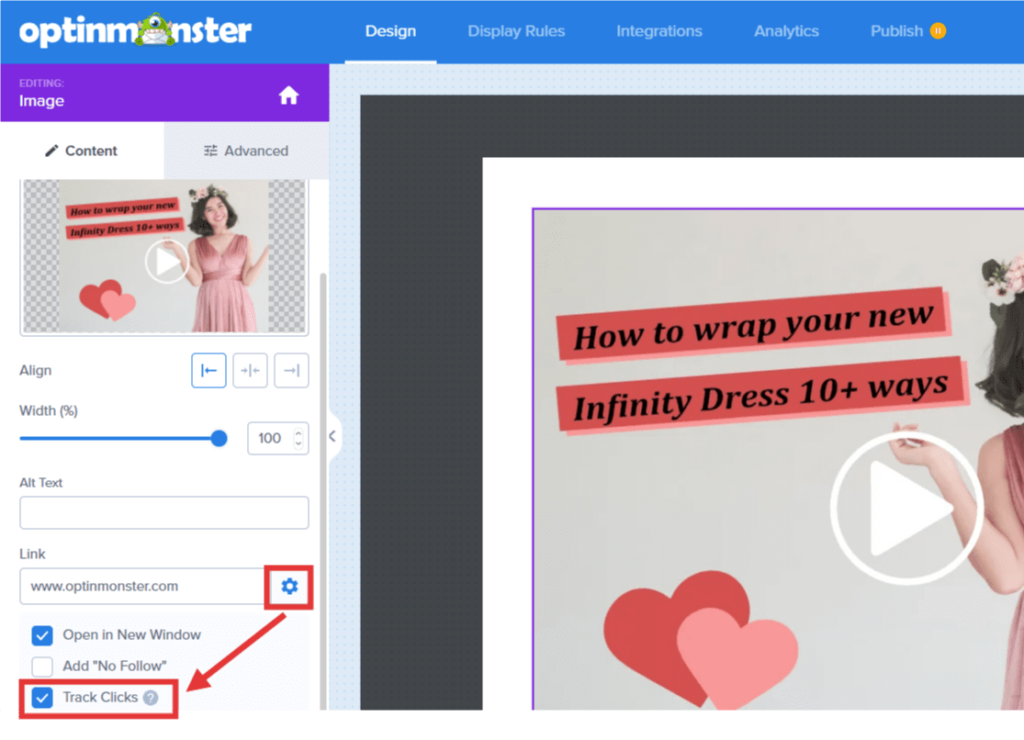
- Now select the gear icon next to the Link field and enable the Track Clicks? option. This will ensure a conversion is counted each time someone selects the image link in your campaign.
- When you are finished, click Save.
If you’re serious about jumpstarting your website business growth, then get started with OptinMonster today!
Our conversion experts will design 1 free campaign for you to get maximum results – absolutely FREE! Click here to get started →
Troubleshooting
There is extra space around my image that I want to remove.
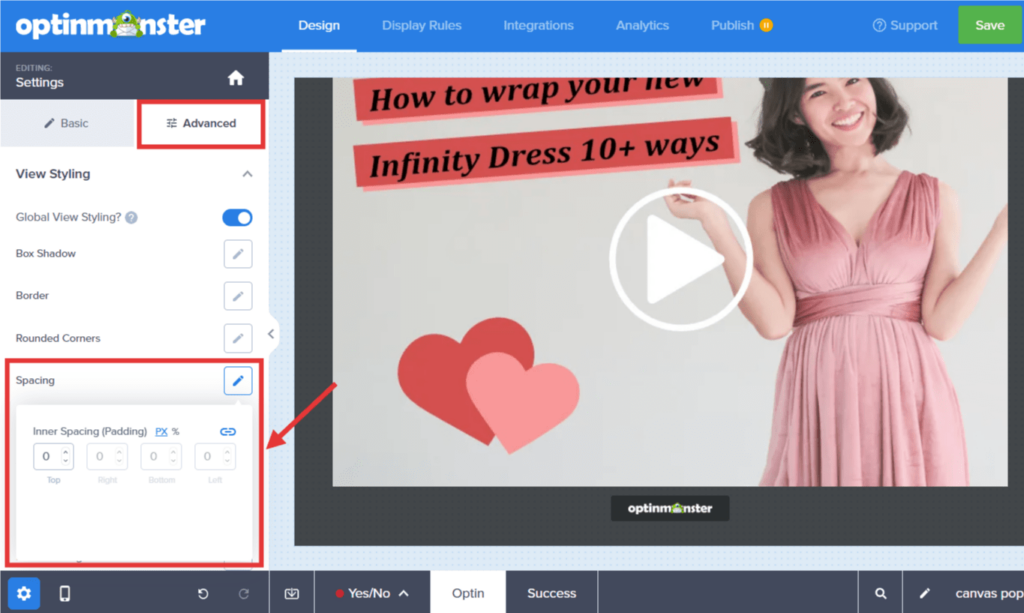
To remove the default padding from around the Image block in your campaign, follow these steps:
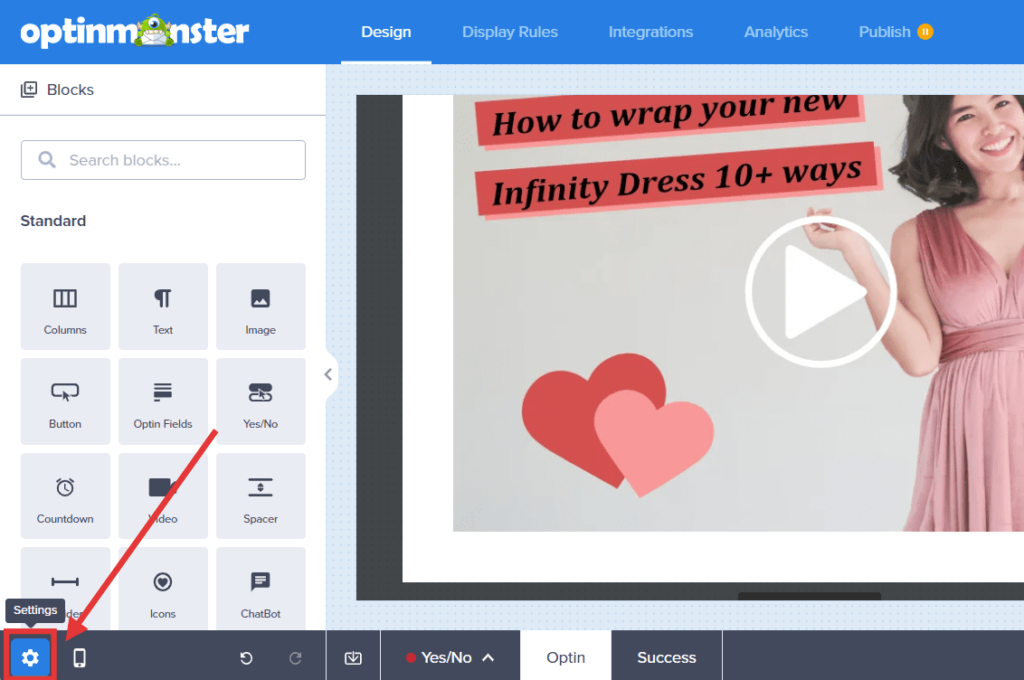
- From the Design view select the Settings icon.
- From the Advanced tab expand the Campaign Styling option and select the pencil icon for Spacing and set the Inner Spacing (Padding) setting to zero (0).
- When you are finished, click Save.

