OptinMonster makes it easy to enable conversion tracking so you can control which element in each campaign is counted as a conversion.
In this article, you’ll learn how to enable conversion tracking for individual elements in your campaign.
Before You Start
Here are some things to know before you begin:
- This article covers only native elements available in the campaign builder. We also provide the following guides related to tracking conversions you may find useful:
- If multiple elements in a single campaign have conversion tracking enabled:
- only the first element selected is counted as a conversion; and
- all conversions are grouped into a single count, it is not possible to identify a specific count on each separate element that has conversion tracking enabled.
Enable Conversion Tracking
Optin Form
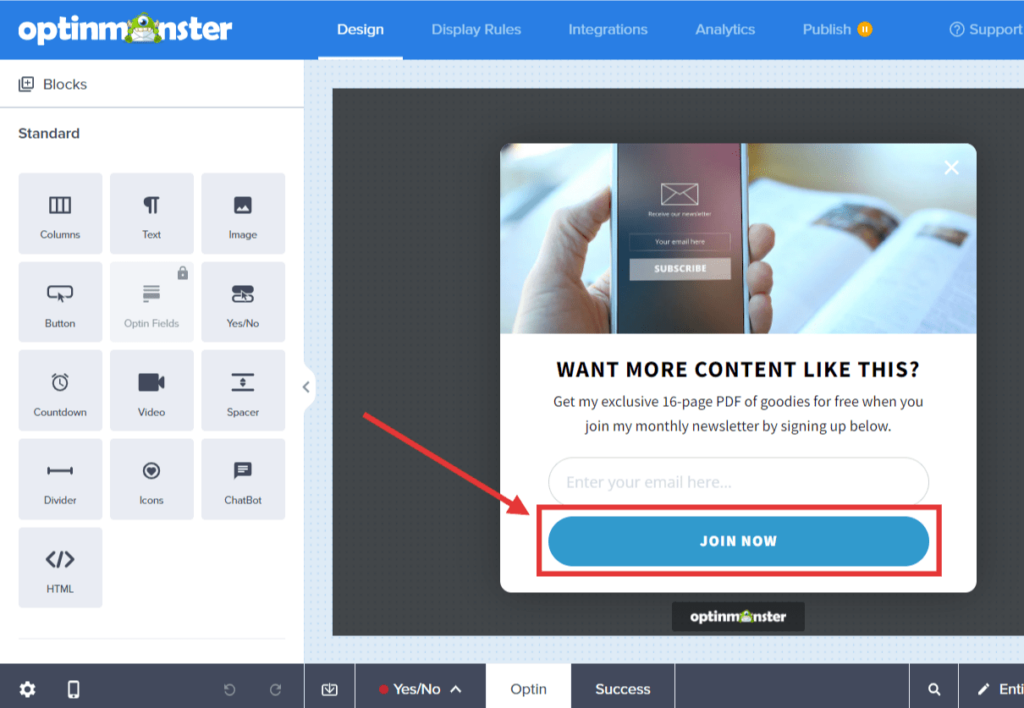
To enable conversion tracking on the optin fields block in your campaign, to track a conversion when the form is successfully submitted, follow these steps:
- In the Design view of the campaign builder, select the submit button in the optin fields block to open the editing panel in the left sidebar.
- In the left sidebar panel, enable the Conversion tracking? option.
- When you’re finished, Save the campaign.
Button
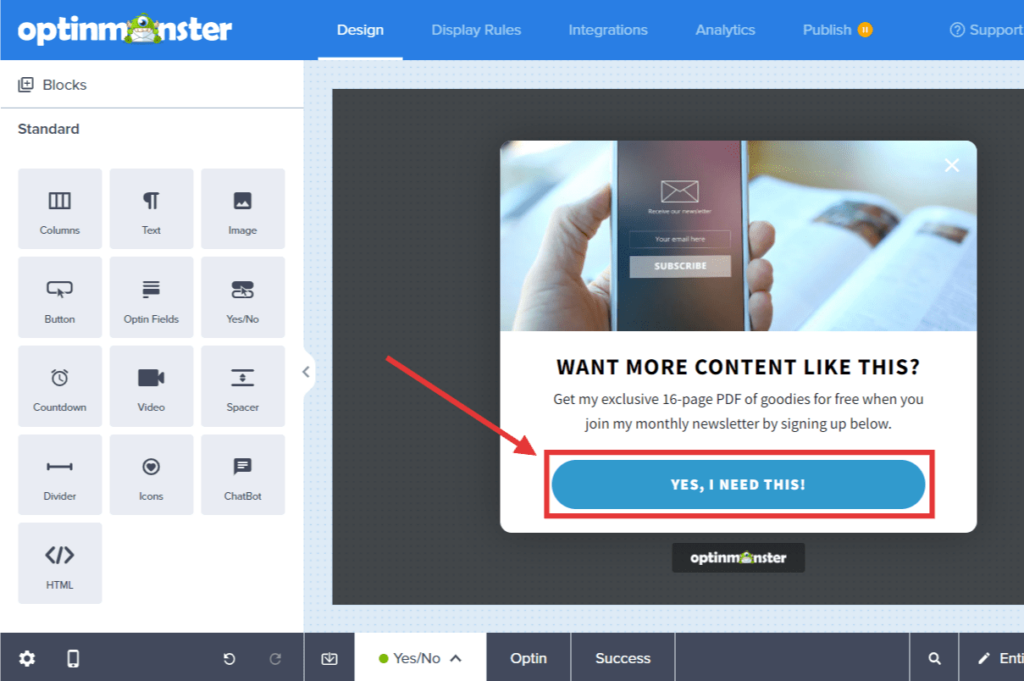
To enable conversion tracking on the button block in your campaign, to track a conversion when the button is selected, follow these steps:
- In the Design view of the campaign builder, select the button block to open the editing panel in the left sidebar.
- In the left sidebar panel, enable the Conversion tracking? option.
- When you’re finished, Save the campaign.
Text Link
To enable conversion tracking on a text link in your campaign, to track a conversion when the link is selected, follow these steps:
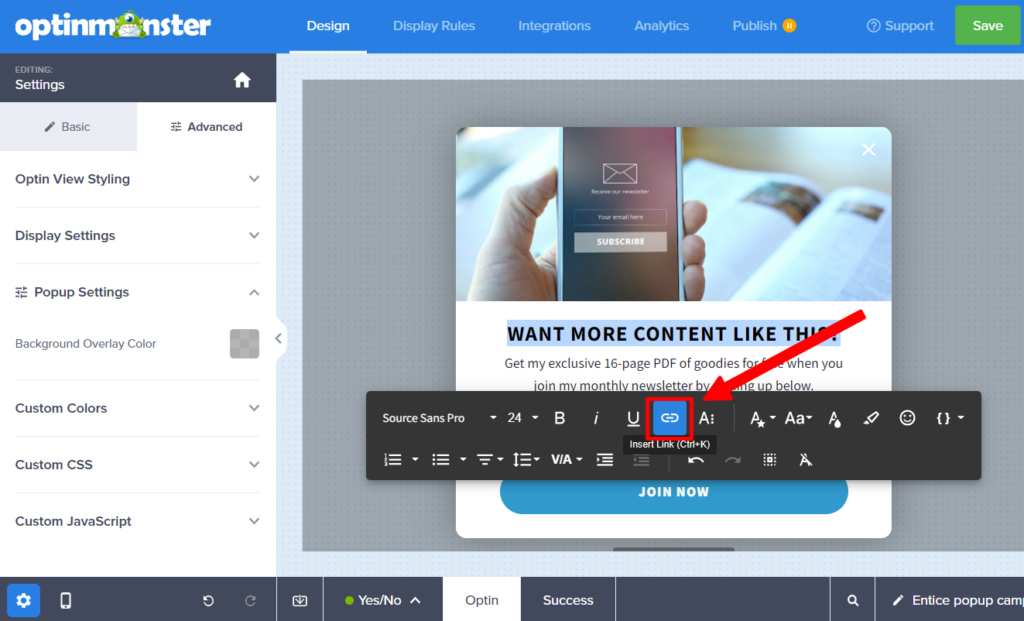
- In the Design view of the campaign builder, select and highlight the text you would like to link.
- In the text edit toolbar that appears, select the link icon.
- In the text link modal, enable the Conversion Tracking option.
- When you’re finished, Save the campaign.
Image Link
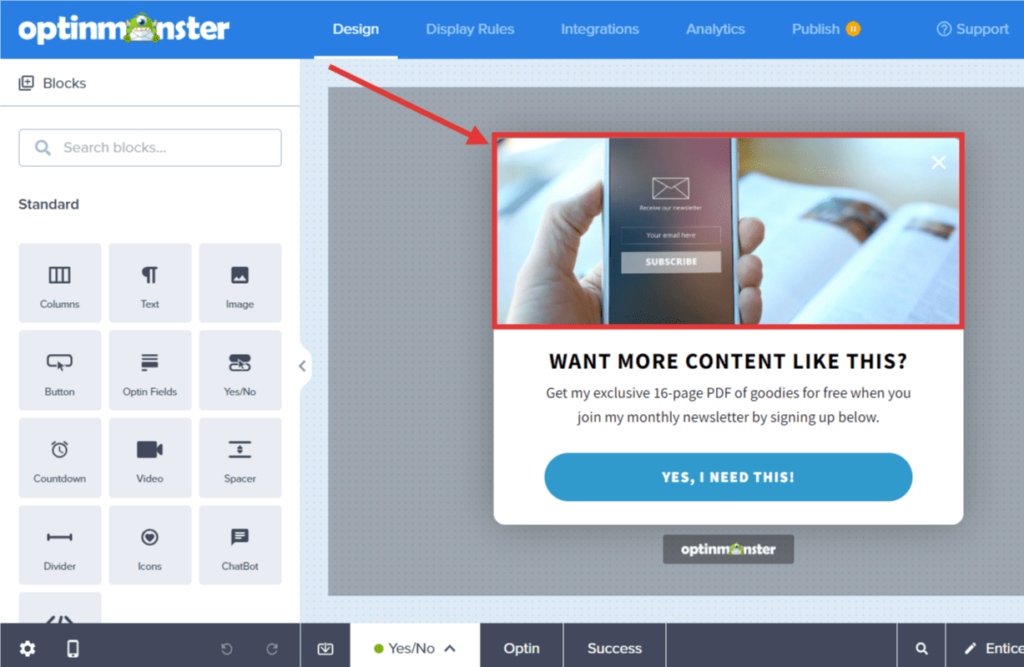
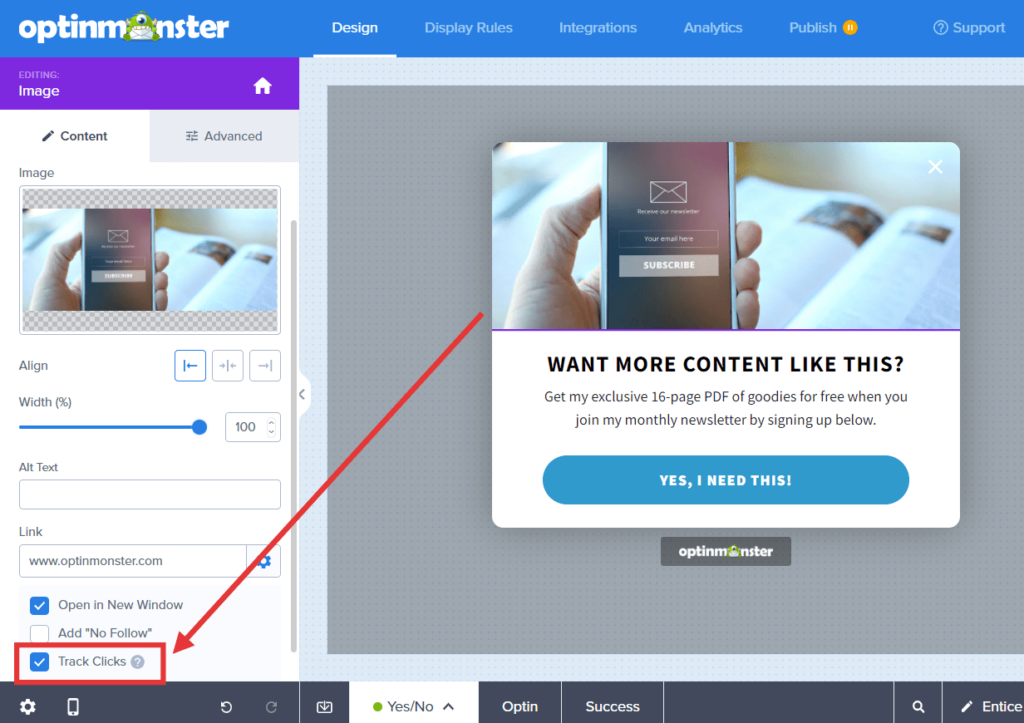
To enable conversion tracking on an image link in your campaign, to track a conversion when the image is selected, follow these steps:
- In the Design view of the campaign builder, select the image block to open the editing panel in the left sidebar.
- In the left sidebar panel, once you’ve added the link URL, enable the Track Clicks option.
- When you’re finished, Save the campaign.
Countdown Timer
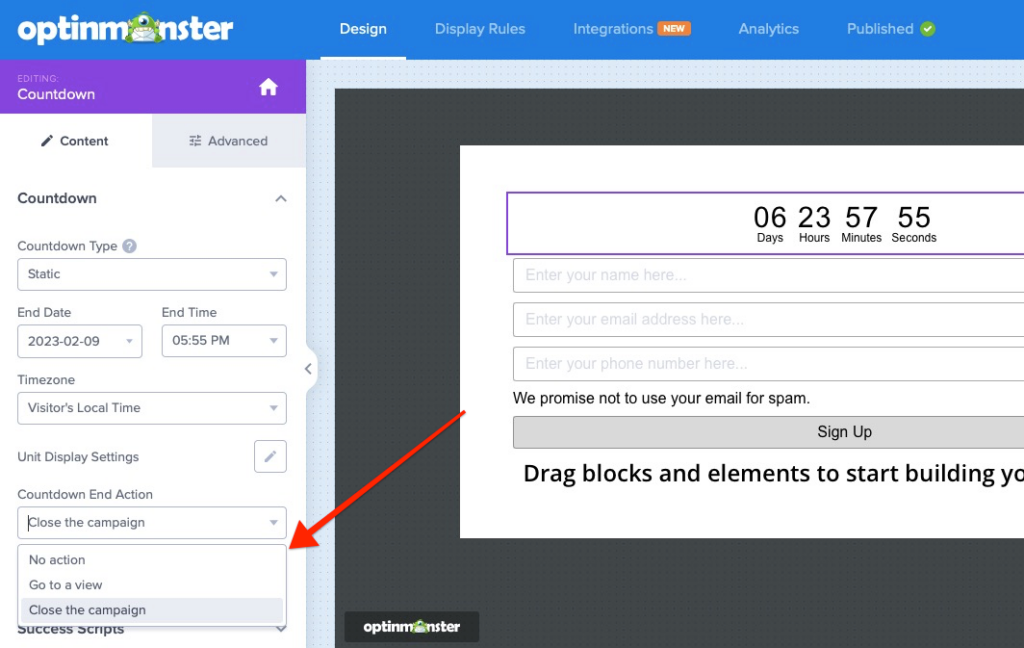
To enable conversion tracking on a countdown timer when a specific action is done when it ends, follow these steps:
- Select the action of your choice on a countdown timer
- In the left panel below the countdown action, enable conversion tracking for that particular action
FAQs
Can I enable conversion tracking on multiple elements in a single campaign?
Yes, however, we do not recommend this approach for the following reasons:
- Only the first element selected is counted as a conversion; and
- All conversions are grouped into a single count, it is not possible to identify a specific count on each separate element that has conversion tracking enabled.
If you are configuring a multi-step campaign, we recommend you enable conversion tracking only on the actionable element in the campaign.
The Track Clicks option isn’t available for my image block, why not?
Be sure you’ve entered the URL into the Link field. If that field is empty, no link is actively applied to the image and the additional link options will not appear.
Once you’ve entered a valid URL into the Link field this option will be available.

