Do you want to keep your subscribers in your Google Contacts list? This is easy with OptinMonster’s Zapier integration.
In this article, you’ll learn how to add subscribers to your Google Contacts list with Zapier and OptinMonster.
Before You Start
Here are some things to know before you begin:
- Zapier integration is available with a Pro or higher subscription.
- Zapier offers a free tier, but certain usage limits and integrations may require one of their paid plans. Zapier does offer a free trial as well so you can try it out before committing.
Configure Zap
To add leads to your Google Contacts list using Zapier, follow these steps:
- If you haven’t already, you will need to follow our guide to connect the OptinMonster App in Zapier as the Trigger for your Zap.
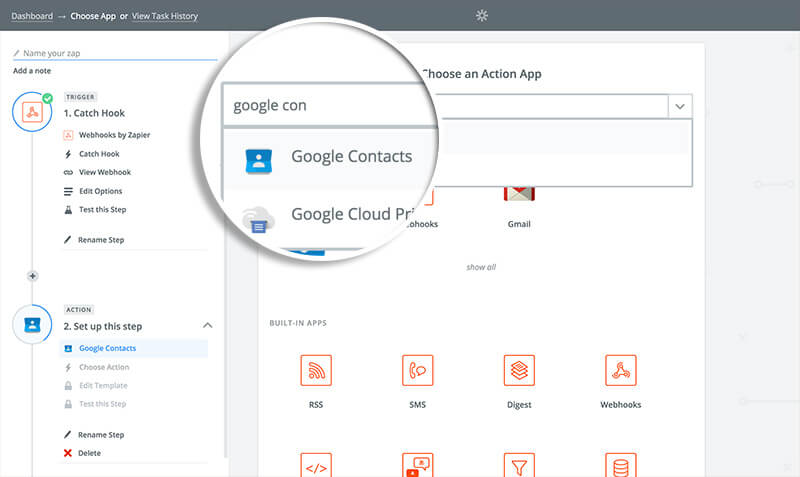
- Next, you’ll search for and select the Google Contacts action.
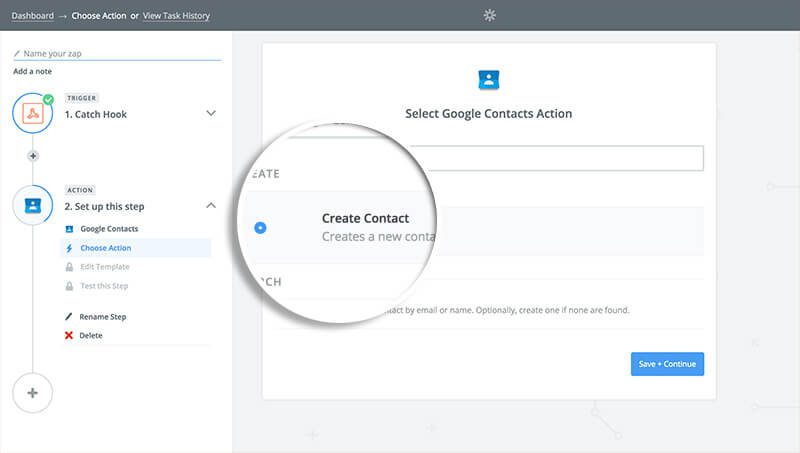
- Choose the Create Contact option.
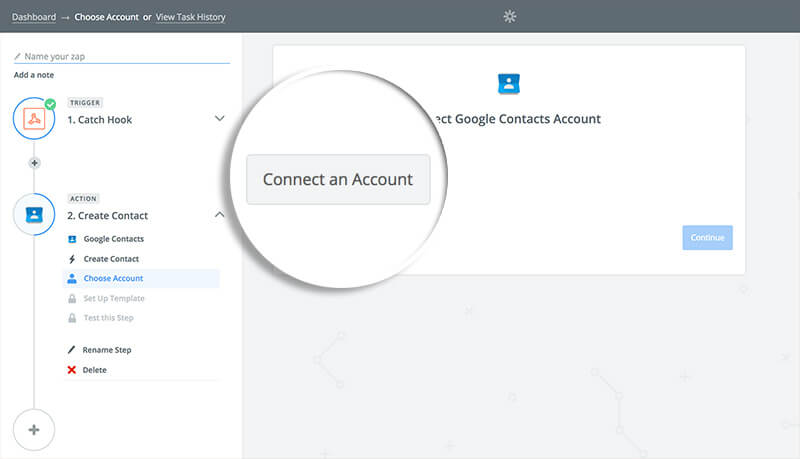
- Next, select the Gmail Account you wish to connect to Zapier. If you haven’t yet connected an account select the Connect an Account button and you’ll be prompted to log in and give permission for the Gmail account you want to use.
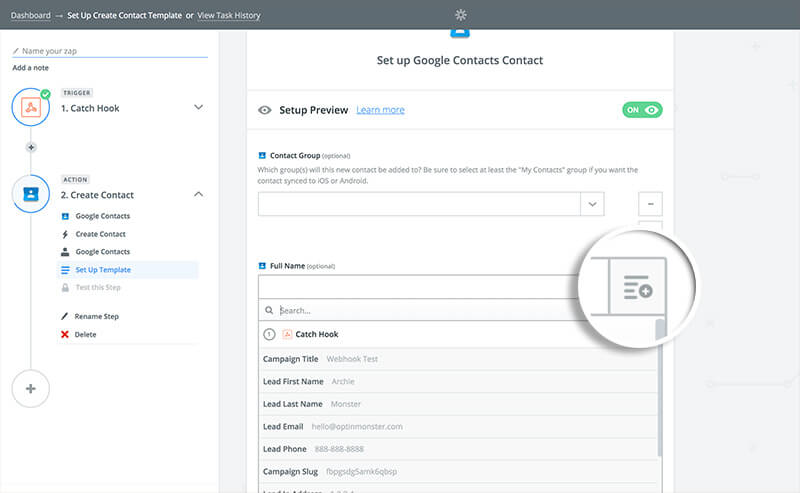
- In the next step, you’ll link which OptinMonster fields are linked to which Google Contacts fields. Clicking the icon on the top right of the field will provide options for selecting the lead data from your campaign when appropriate.
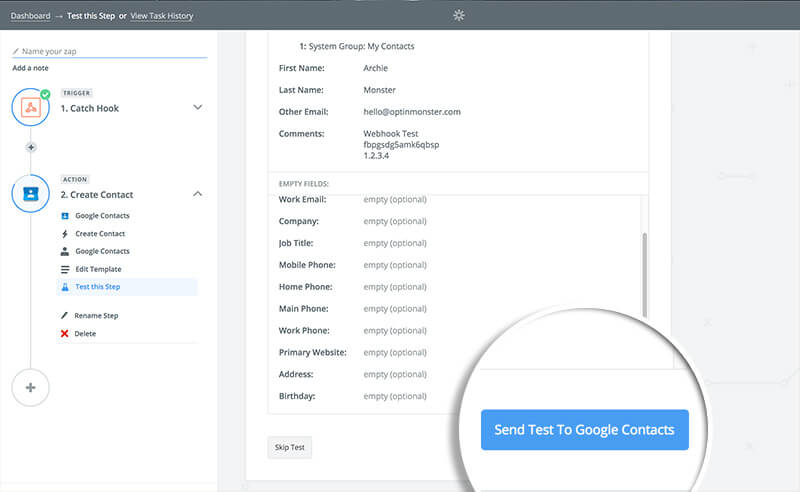
- (Optional) We recommend you send a test to Google Contacts from Zapier when given the option to confirm the configuration of your Zap contains all the information you desire.
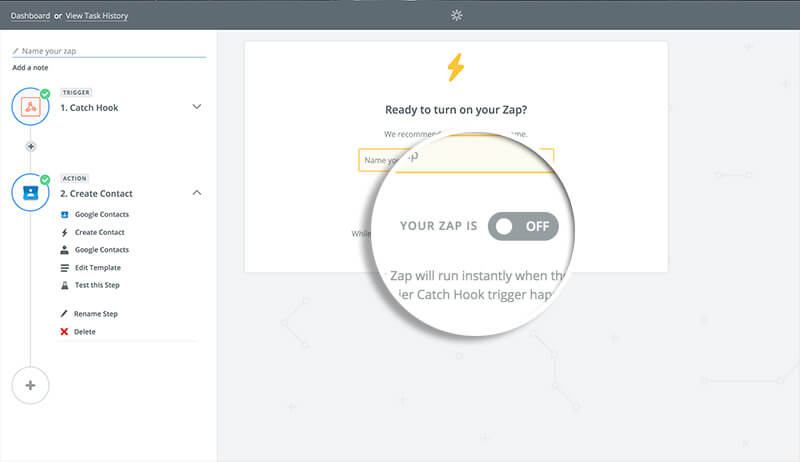
- Name your Zap and turn it on when you’re ready!
Congratulations! You’ve now created a Zap which will automatically add leads to Google Contacts from your OptinMonster campaign!

