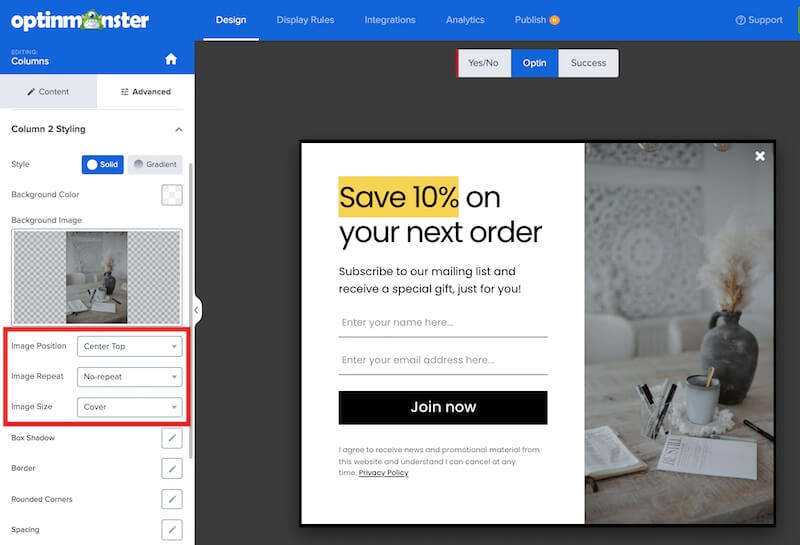
OptinMonster makes it easy to customize the design of your campaign, including the option to quickly find and add Unsplash stock images.
In this article, you’ll learn how to add stock images using Unsplash to an OptinMonster campaign.
Before You Start
Here are some things to know before you begin:
- This guide assumes you are already familiar with adding an image block to your campaign.
- The Unsplash stock image you select is automatically optimized based on the size of the area it will be displayed in.
Add Unsplash Stock Image
To add an Unsplash stock image to your campaign, follow these steps:
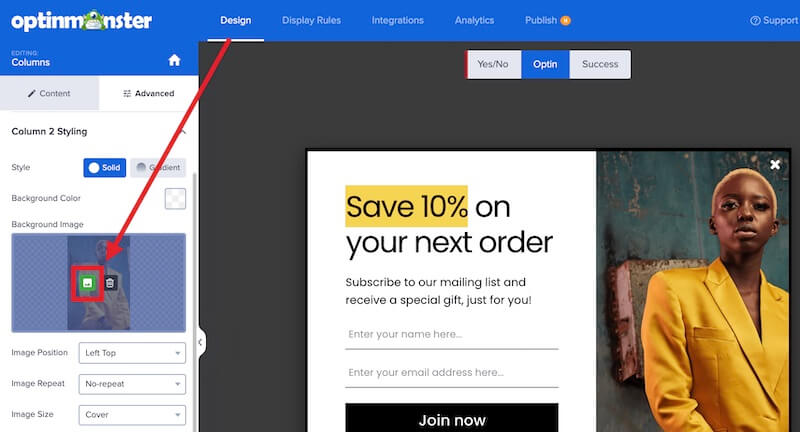
- From the Design view of the campaign builder, add a new image block or select an existing image you wish to replace.
- When replacing an existing image, once selected click on the green picture icon in the sidebar panel to open the Image Selection window.
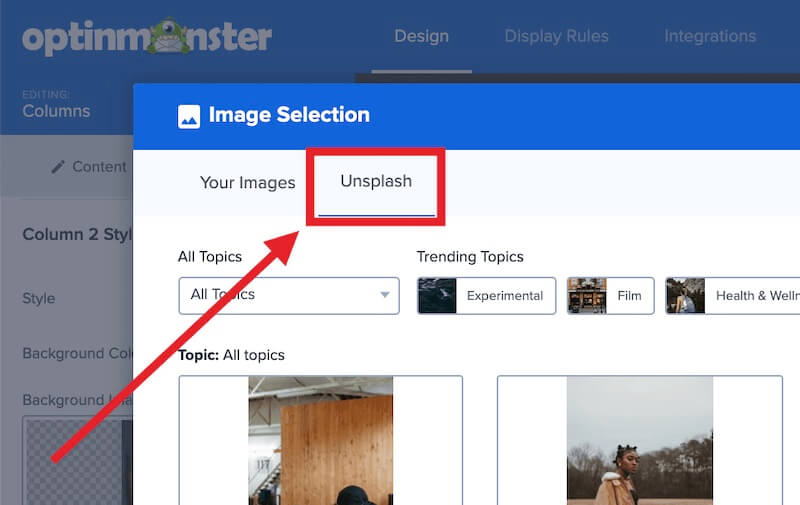
- From the Image Selection window, click on the Unsplash tab.
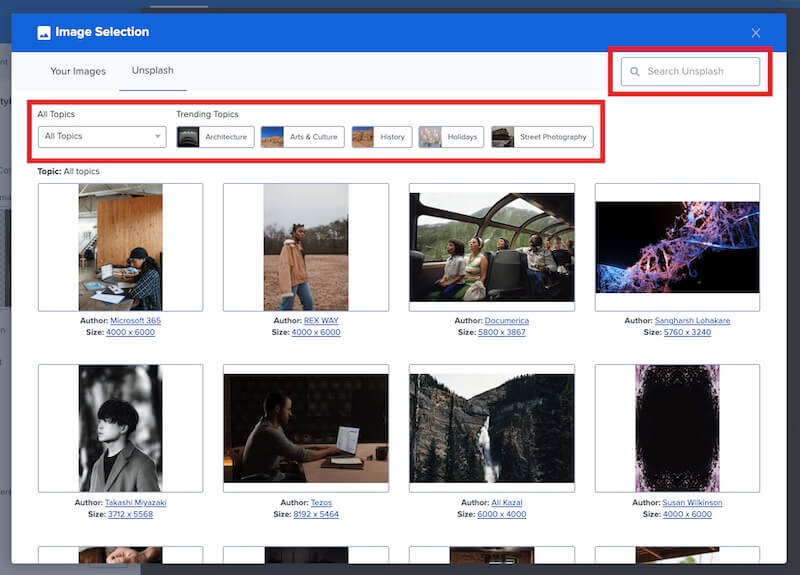
- You can now filter and search for the Unsplash stock image you wish to add to the campaign.
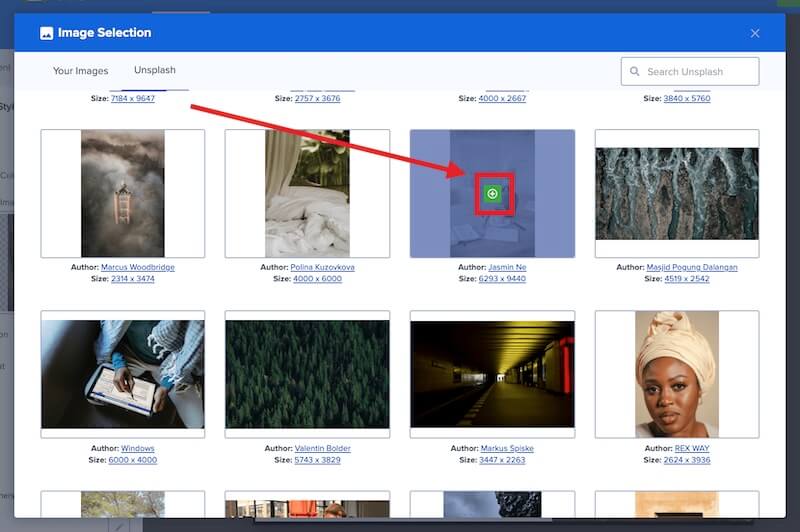
- Once you locate the image you want to use, hover over it and select the green (+) icon to add it to the campaign.
- (Optional) you can then configure the available image settings to change how the image is aligned or fills the available space.
- When you are finished, Save the campaign.
FAQs
How can I add my own image to a campaign?
To upload or add your own image to a campaign follow our guide to adding an image to any campaign.
Is it legal and safe for me to use Unsplash stock images in my campaigns?
Yes. The option to add Unsplash images to your campaign as outlined in this guide is made possible using the Unsplash API, which makes available only images that meet their API License terms.

