OptinMonster makes it easy to customize the appearance and functionality of your campaigns, including the ability to add a progress bar.
In this article, you’ll learn how to add a progress bar to your campaign.
Before You Start
Here are some things to know before you begin:
- The Progress Bar is a Smart Block element.
- Smart Blocks are available with a Pro or higher subscription.
Add a Progress Bar
To add a Progress Bar block to your campaign, follow these steps:
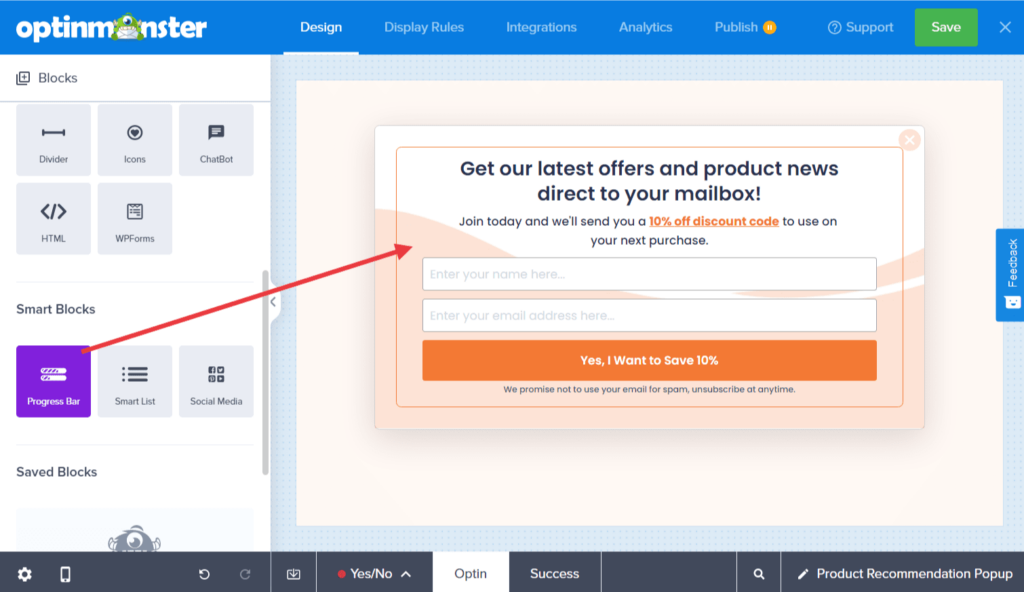
- In the Design screen of the campaign builder, drag and drop a Progress Bar block into the campaign design where you want it to appear.
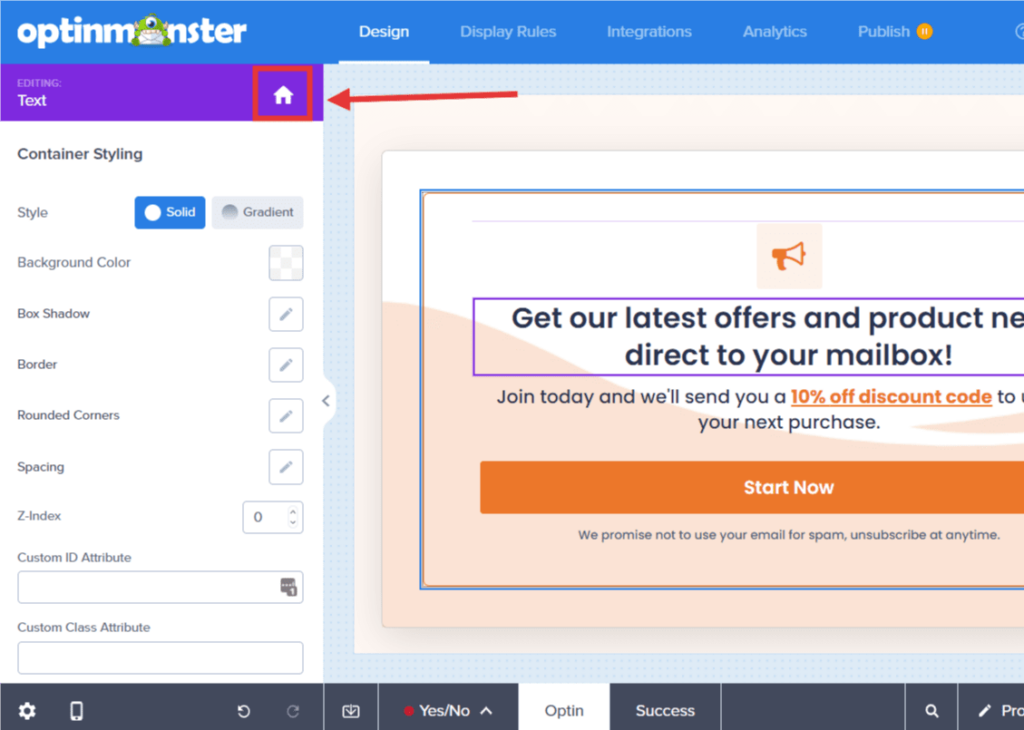
If blocks are unavailable in the sidebar panel, be sure you’re viewing the home panel in the sidebar. You can return to the home panel at any time by selecting the home icon.
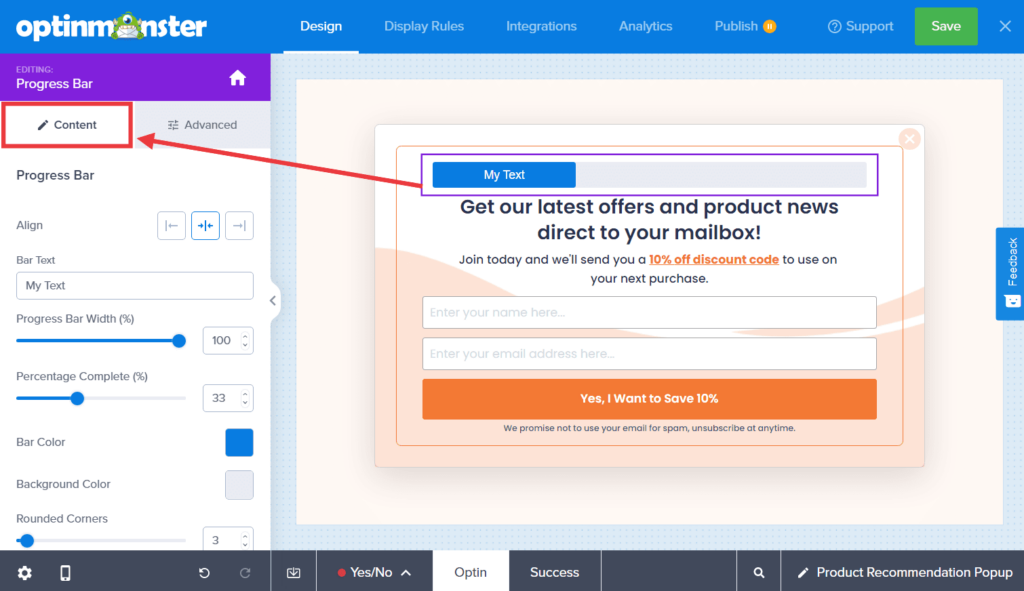
- You can now configure the functionality and basic appearance of the Progress Bar block from the sidebar panel.
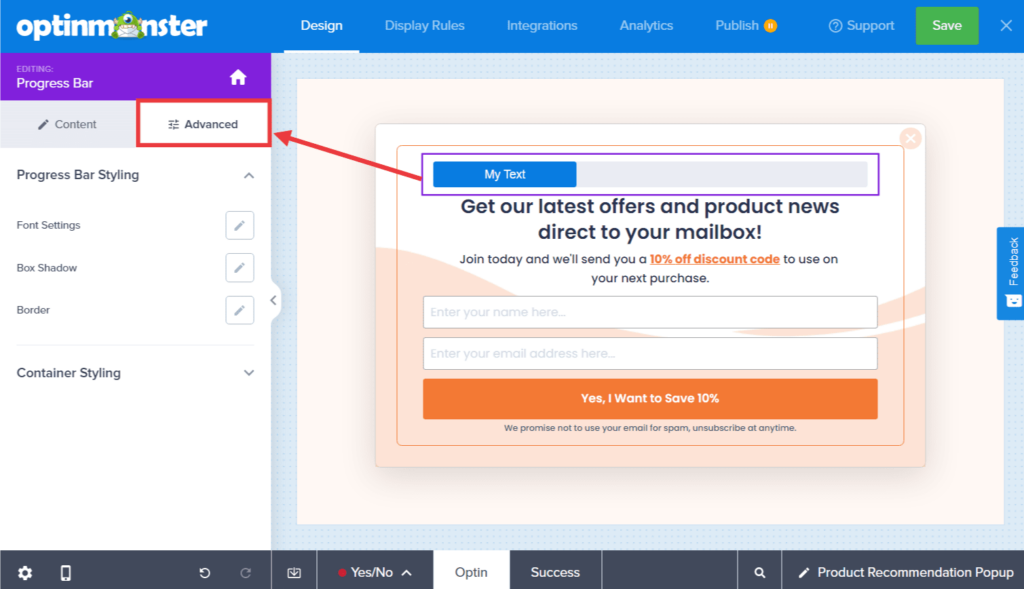
- (Optional) For more fine-tuned design controls, select the Advanced tab when editing the Progress Bar element.
- When you’re finished, Save the campaign.


