Do you want to easily maintain a spreadsheet of your subscribers? This is easy with OptinMonster’s Zapier integration.
In this article, you’ll learn how to add new subscribers to a Google Sheets spreadsheet with Zapier and OptinMonster.
Before You Start
Here are some things to know before you begin:
- Zapier integration is available with a Pro or higher subscription.
- Zapier offers a free tier, but certain usage limits and integrations may require one of their paid plans. Zapier does offer a free trial as well so you can try it out before committing.
- As a best practice, we recommend you also connect your campaigns to Monster Leads as a backup.
Create Spreadsheet
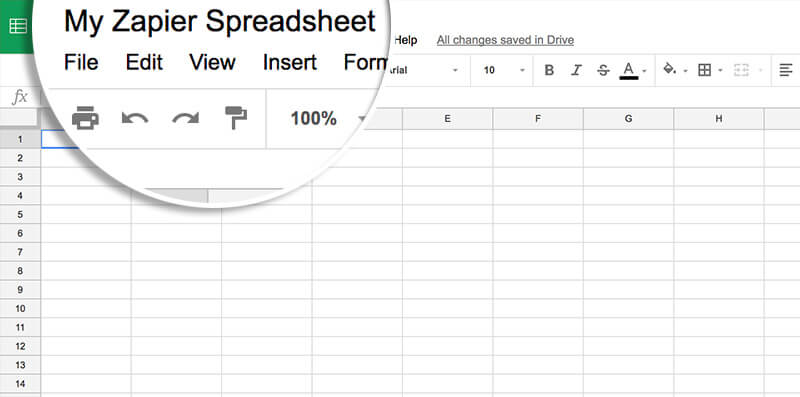
If you don’t already have a specific Spreadsheet created in your Google Sheets account you want to use to add subscribers to, you’ll want to create one now.
Once created, name your new Spreadsheet.
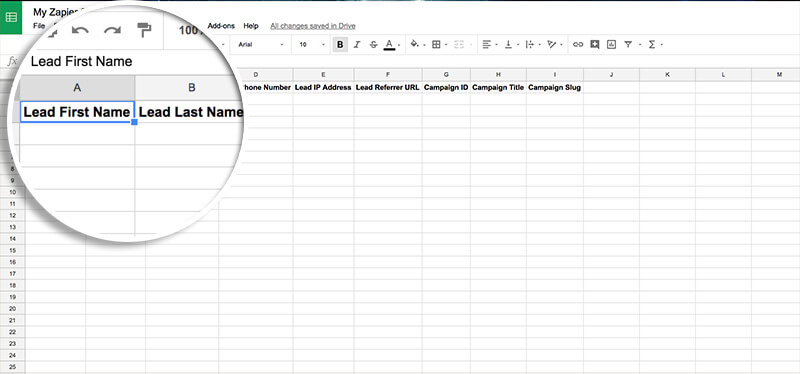
Finally, in the first row of your spreadsheet, you’ll want to add the title of each data object you wish to collect. These can be any name that is convenient for you. Later, when you are configuring your Zapier Action, you’ll be prompted to link each title with the specific data object passed by OptinMonster.
In this example we’ve set up our Spreadsheet to collect all data that can be passed by OptinMonster:
- Lead First Name
- Lead Last Name
- Lead Email Address
- Lead Phone Number
- Lead IP Address
- Lead Referrer URL
- Campaign ID
- Campaign Title
- Campaign Slug
Configure Zap
To add new leads to your Google Spreadsheet using Zapier, follow these steps:
- If you haven’t already, you will need to follow our guide to connect the OptinMonster App in Zapier as the Trigger for your Zap.
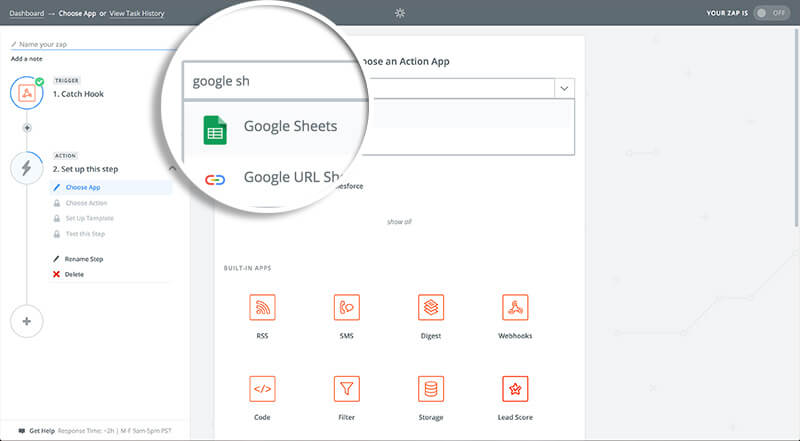
- Next, search for and select the Google Sheets action.
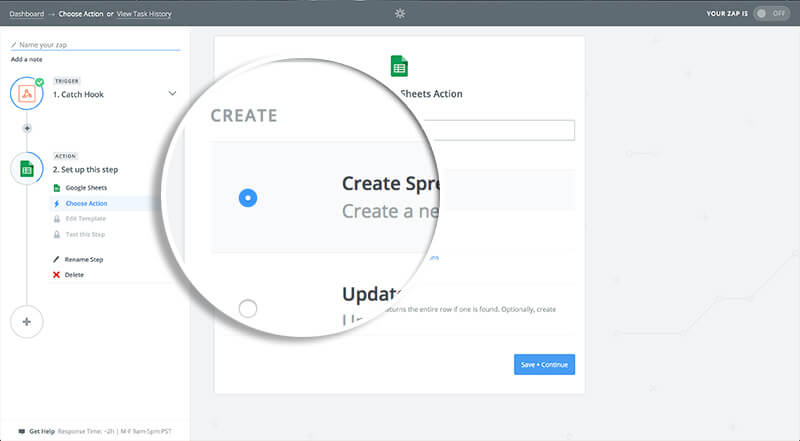
- Choose the Create Spreadsheet Row option.
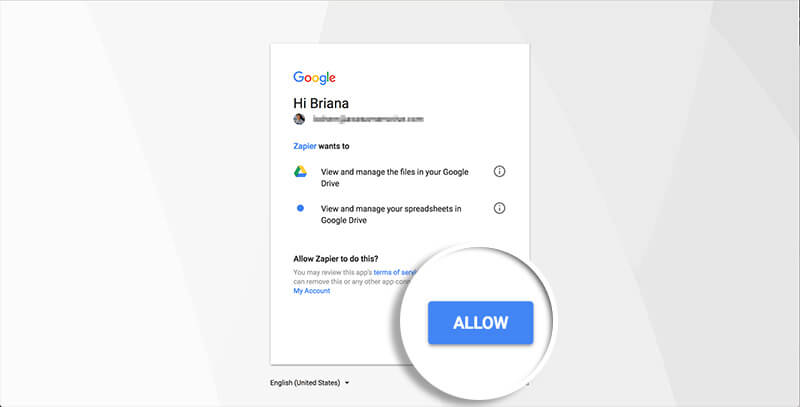
- Zapier will now ask you to choose or connect your specific Google Sheets account. If you haven’t already connected your Google Sheets account to Zapier, select Connect an Account. If connecting a new Google Sheets account, a new window will open prompting you to login to your Google account and confirm Zapier can access your account. Select the Allow button to proceed.
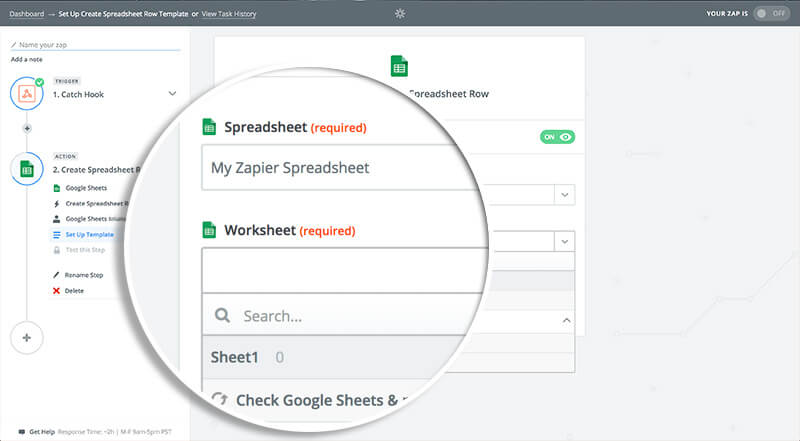
- Once returned to Zapier, choose the spreadsheet and worksheet to add new leads to. Choose the spreadsheet created at the beginning of this guide. For the Worksheet field you can choose ‘Sheet1’ unless you specifically need to add data to a different sheet of your spreadsheet.
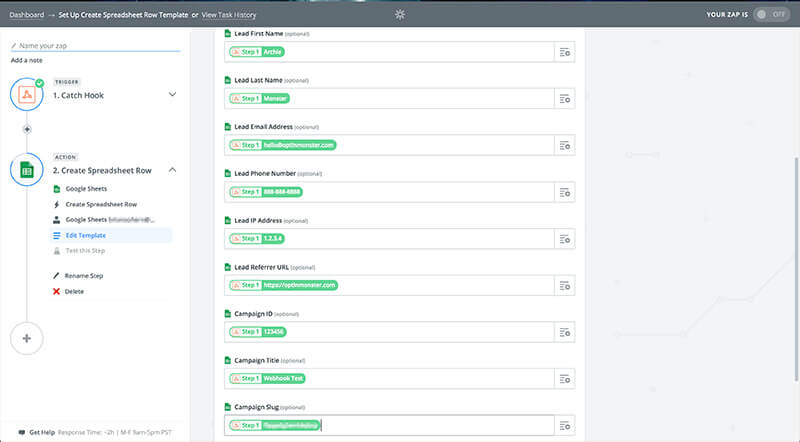
- Next, additional fields will appear so you can link Titles from your spreadsheet to the data objects passed by OptinMonster. This might look like the following:
- (Optional) We recommend you send a test to Google Sheets from Zapier when given the option to confirm the information sent to the spreadsheet is configured as you desire. Check your Google Sheet to view how the test was sent.
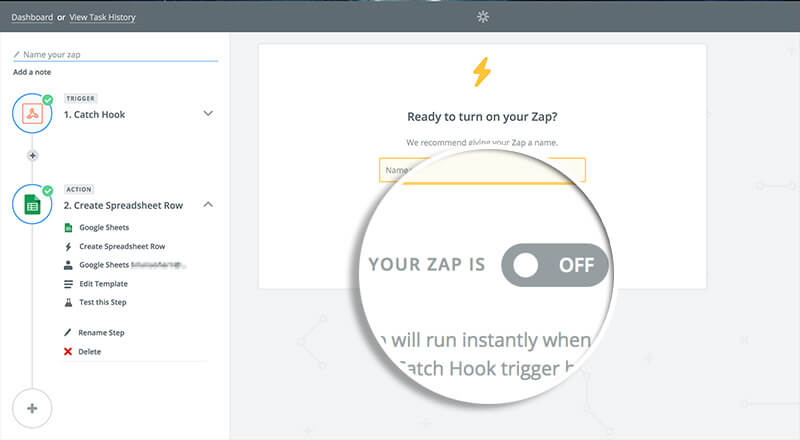
- Name your Zap and turn it on when you’re ready to start sending leads to Google Sheets.


