OptinMonster makes it easy to use single opt-in or double opt-in sign up when integrating with AWeber.
In this article, you’ll learn how to disable the “confirmed opt-in” setting in your AWeber account and send your OptinMonster leads to your AWeber list.
Before You Start
- Disabling AWeber confirmation messages for subscribers is only available with an AWeber Pro account.
- AWeber does not allow the single opt-in option for built-in APIs (like OptinMonster’s integration). This article will walk through how to use OptinMonster with a single opt-in AWeber list using our Custom HTML integration.
- If you are using double opt-in sign up with your AWeber list, you can follow our documentation on how to connect to AWeber using our built in integration.
Our conversion experts will design 1 free campaign for you to get maximum results – absolutely FREE! Click here to get started →
Disable AWeber Double Opt-in
- Follow AWeber’s guide to disabling double opt-in.
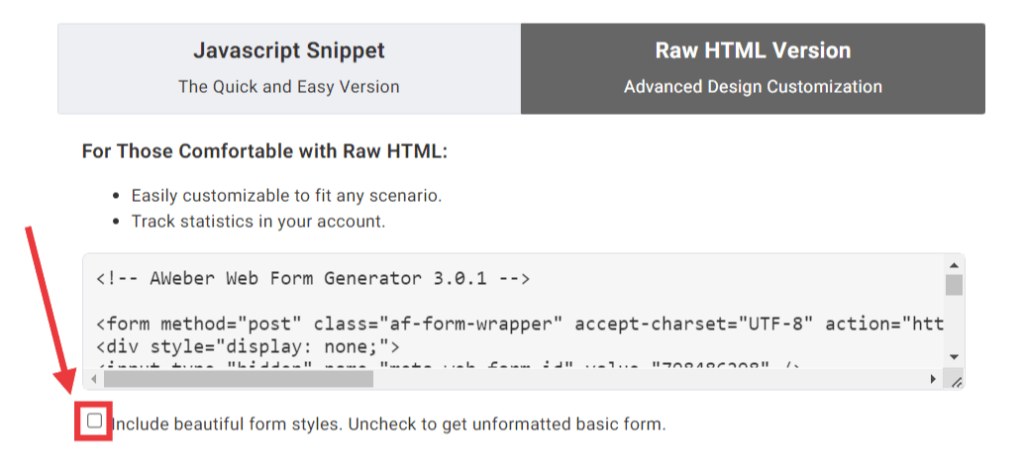
- Follow AWeber’s guide to create a form. Copy the “Raw HTML Version” of your form at the end of the process.
You will design the rest of your campaign in the OptinMonster builder, so you ONLY need to configure your desired form fields in AWeber. - Add the form to your campaign using our Custom HTML integration option.
FAQs
What is the difference between single and double opt-in?
See our guide on single vs. double opt-in for AWeber.
My form fields look bad. How do I fix the styling?
Return to the AWeber form editor and adjust your form fields, styles, and width until it looks how you would like it to display in your form. Save the form and copy the Raw HTML Form to your campaign again.
If you are more comfortable applying styles using CSS, you can do so from the OptinMonster builder! If you want to use our Custom CSS Tool, uncheck the checkbox below your Raw HTML Form before copying it into the OptinMonster builder. This will remove the styles applied in the AWeber editor, leaving only the basic form elements.


