Are you looking for an easy way to trigger a lightbox popup on page load?
By adding a lightbox popup to your website, you can grab your visitor’s attention when they visit your site.
But it can be tricky to create a well-designed popup that appears exactly where and when you want.
Fortunately, you don’t have to code or design a lightbox popup from scratch.
In this tutorial, you will learn how to create a lightbox popup on page load with ease.
Why Open a Popup Window on Page Load
Before we dive into the tutorial, let’s get clear on the benefits of displaying a popup on page load.
With a lightbox popup, you can:
- Build your email list
- Drive traffic to your best content
- Increase sales
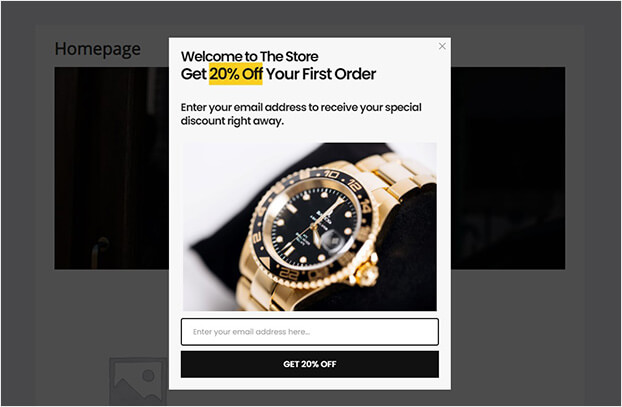
Here is the lightbox popup we will create today.
Let’s get into it.
How to Display a Popup Window on Page Load
For today’s tutorial, we will be using OptinMonster.
OptinMonster is the best tool for creating a lightbox popup on page load. It allows you to easily build an eye-catching popup using a drag and drop builder.
With OptinMonster, you’ll get to choose from 50+ stunning prebuilt lightbox templates. All are responsive, so they work on any device.
What’s more, OptinMonster connects easily with any website, whether you’re using WordPress, Shopify, Joomla, or any other CMS.
The best part is that you’ll have total control over who sees your popup and when thanks to OptinMonster’s wide selection of display settings.
Sign up for OptinMonster today. It’s risk-free with our 14-day money-back guarantee.
Step 1: Select Your Lightbox Template
The first thing you need to do is log into your OptinMonster account.
Then, click Create New Campaign from your dashboard.
Next, choose your campaign type.
OptinMonster provides multiple campaigns, like floating bar, fullscreen mat, slide-in scroll box, and more.
For this tutorial, we will go with Popup.
Now, you can go ahead and select your template.
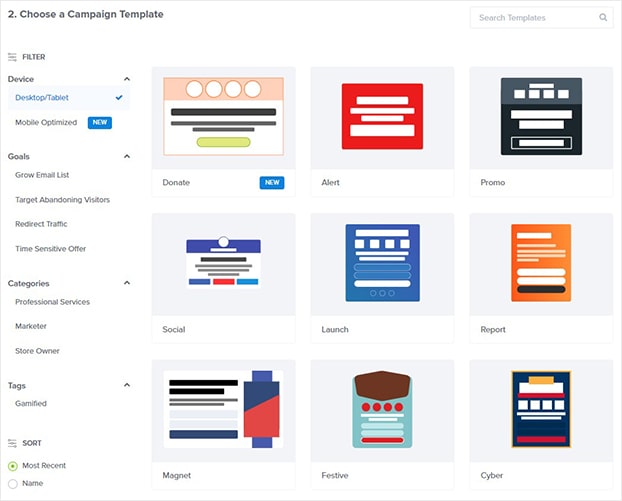
You’ll see OptinMonster comes with a wide selection of templates.
And you’ll be able to filter by your goal to narrow your search:
- Grow email list
- Target abandoning site visitors
- Redirect traffic
- Time sensitive offer
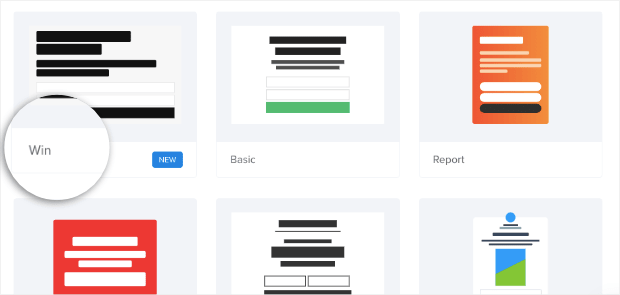
Today, we’ll go with the Win template.
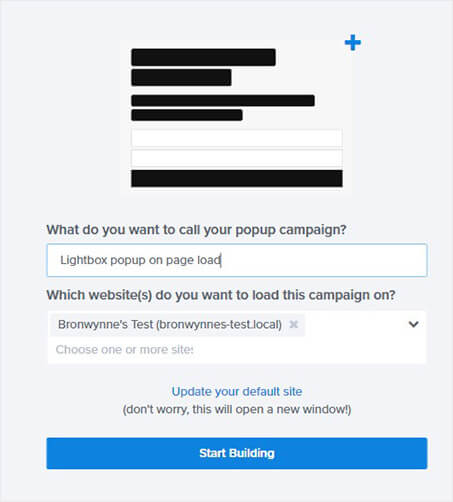
Give your campaign a name and click Start Building to enter the editor.
In the next step, you’ll customize your lightbox popup.
Step 2: Customize Your Lightbox Popup
Styling your lightbox popup is easy with OptinMonster’s drag and drop builder.
You don’t need to use any CSS to customize your popup. All you need to do is click on any part of your popup to edit it. It’s really that simple.
Even if you have no design or code experience, you can create a beautiful lightbox popup in minutes.
Let’s see how this works.
To change the text, simply click on it.
From here, you can change the colors, text, and font.
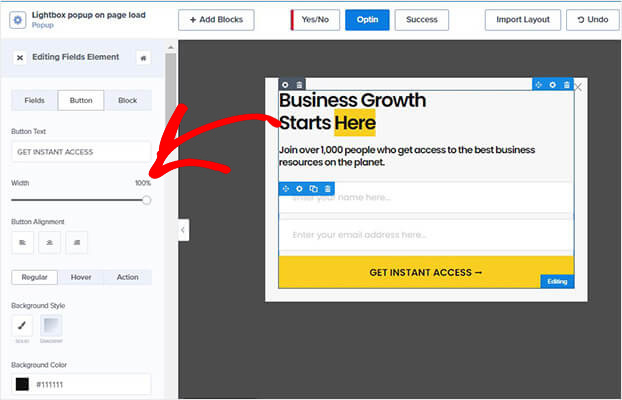
Similarly, to change the button text and style, just click on it.
This will pull up the editing tools on the left.
Now, you can change the color and text of your button. Plus, control what happens when someone clicks the button. For example, you could redirect them to a different part of your website.
You also have the freedom to add features to your popup.
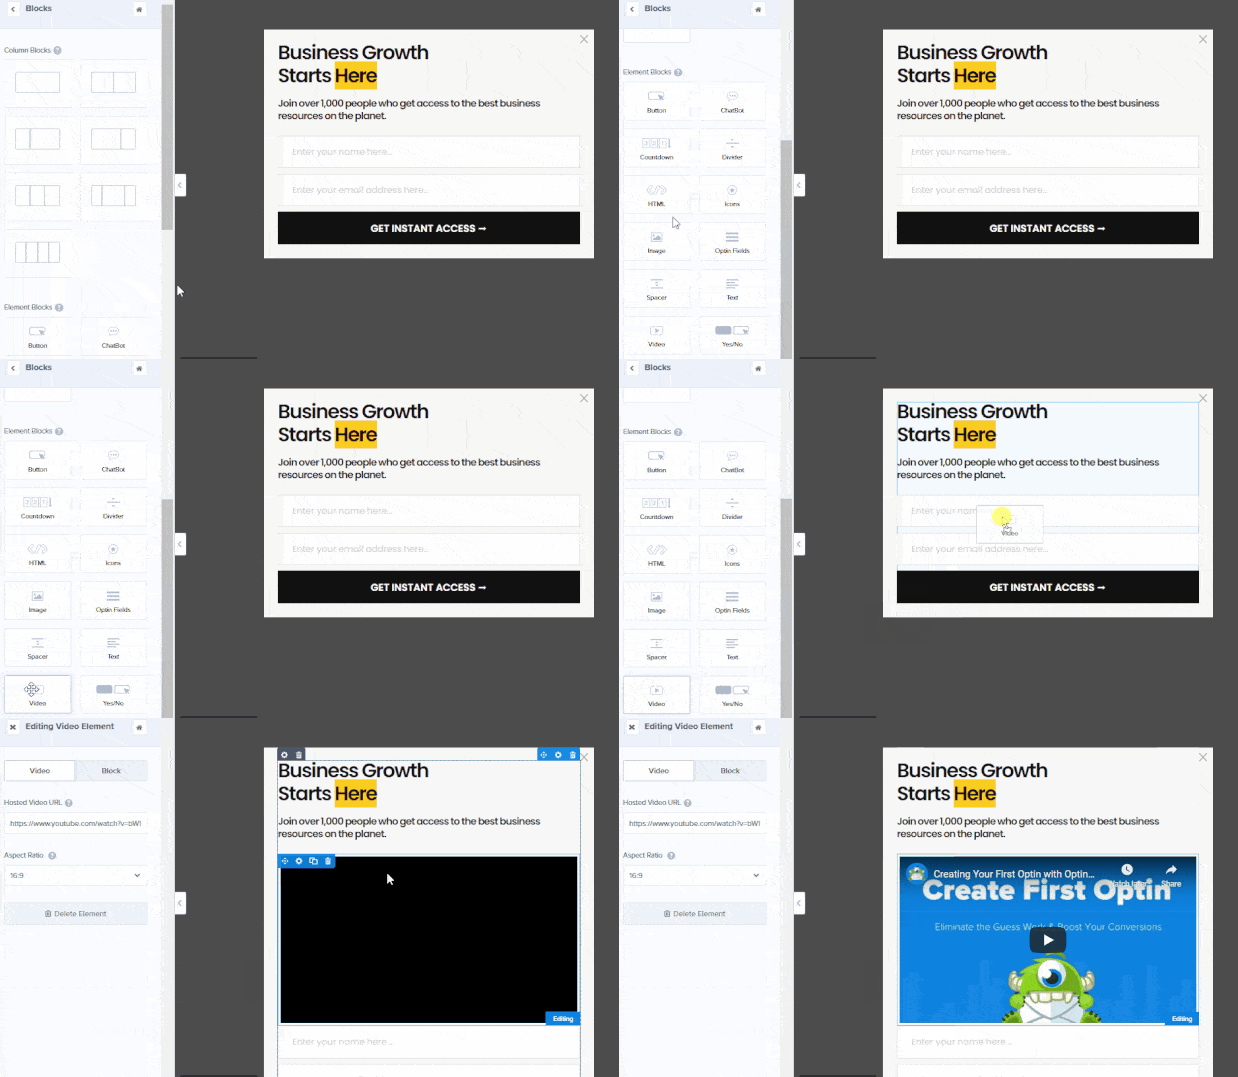
Simply click Add Blocks at the top of the editor.
From here, you can choose:
- Video
- HTML
- Image
Just drag and drop the block into place on your popup.
Remember to click Save at the top of your editor to save your work.
When you’re happy with your design, you’re ready to display your popup.
Step 3: Display Your Lightbox Popup on Load
Now, you will control the display to make sure you can open your popup on page load.
One of the best things about OptinMonster is you have complete control over when and where your popup appears.
Here are some of the targeting options available to you:
- Show only to returning visitors
- Appear on specific pages
- Display as someone is leaving the site
- Open on click
You can also hide your popup so that people only see it once.
Today, we want to make sure we open the lightbox on page load.
First, head over to Display Rules.
By default, your popup will load on every page after 5 seconds.
Find and select Time on Site.
Change to immediate.
In the next step, we’ll add email integrations.
Step 4: Connect Your Email Service Provider
If you want to use your popup to collect emails, you need to add your email service provider.
This is super easy with OptinMonster.
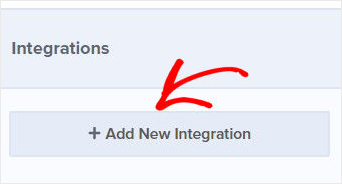
Click Integrations at the top of the editor.
Then, click Add New Integration.
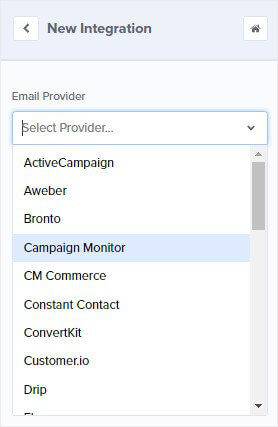
Select your email service provider from the dropdown.
Follow the prompts to connect OptinMonster with your integration.
The final step is to publish your lightbox popup.
Step 5: Publish Your Lightbox Popup
Publishing your popup is quick and easy.
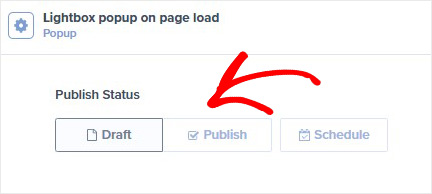
Click Publish at the top of your editor.
Change the status to Publish.
Now, all you need to do is connect your website.
If you are using WordPress, OptinMonster has a WordPress plugin that makes it easy to publish your popup.
Check out this guide: How to Integrate OptinMonster with WordPress
Not using WordPress?
No problem.
Here’s a simple guide for adding OptinMonster to any website.
There you go. Now, you know the easiest way to open a lightbox popup on page load using OptinMonster.
If you want to create a lightbox popup that will convert your site visitors, you might enjoy these resources:
- 17 Best WordPress Lightbox Plugins for Your Site (Compared)
- 15 Email Popup Best Practices To Skyrocket Your List
- Popup Design Inspiration: 10 Beautiful and High-Converting Email Popups
- How to Grow Your Email List: 80+ Proven and Simple Ways
Ready to create a lightbox popup that opens on page load? Get OptinMonster now.










Add a Comment