Do you want to create a WooCommerce checkout page popup to boost your sales?
Successful WooCommerce store owners use a checkout page popup to reduce cart abandonment and increase revenue.
But these popups only work if they’re targeted at the right customers at just the right time.
And by the end of this article, you will know how to create a WooCommerce checkout page popup that boosts your profits right away.
Adding a Popup to Your WooCommerce Checkout Page
Before we get into the step by step tutorial, let’s first look at what a WooCommerce checkout page popup is.
You’ve likely seen a popup before. It’s a window that appears in your browser, darkening the content behind it. And a checkout page popup only appears on your WooCommerce checkout page.
Its goal is to grab your shopper’s attention and convince them to complete the purchase.
Checkout page popups work because they respond to the most common reasons people abandon their carts.
In other words, they get to the heart of why your WooCommerce store is leaking sales.
Now, there are a few reasons why your customers abandon shopping cart on your store:
- Unexpected costs
- Not ready for purchase
- Doesn’t qualify for free shipping
If you’re looking for a quick and easy way to address these concerns, you need to use a WooCommerce checkout page popup.
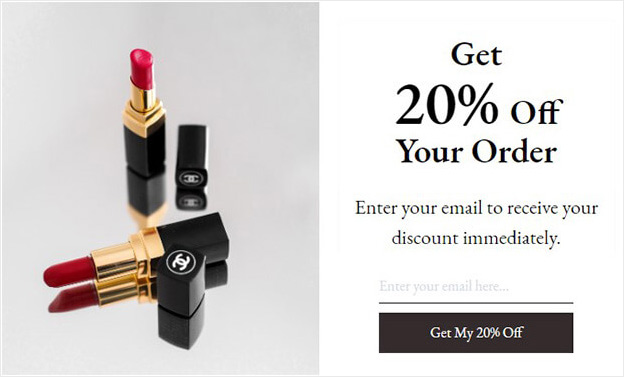
Today, we will build this popup in minutes:
Ready?
Let’s walk through how you can add a checkout page popup to your WooCommerce site.
How to create a WooCommerce Checkout Page Popup
The easiest way to create a WooCommerce Checkout Page Popup is with OptinMonster. OptinMonster allows you to create a WooCommerce checkout page popup using a drag and drop builder.
OptinMonster comes with stunning prebuilt eCommerce templates you can use to:
- Increase sales with limited offer discounts
- Boost cross-sells with relevant product recommendations
- Grow your email list to let you customers know about promotions
What’s more, is that OptinMonster comes with special display settings just for WooCommerce.
We call these Display Rules settings, it lets you show your popups based on:
- The product your customer is viewing
- The total cart value
- The number of items in the cart
And more.
Scott Wyden Imagery used OptinMonster’s eCommerce popups to reduce WooCommerce cart abandonment.
Do you want the same results for your WooCommerce store?
Sign up for OptinMonster below. It’s 100% risk-free with our 14-day money-back guarantee.
Step 1: Create Your Campaign
First, you need to log in to your OptinMonster account.
Click Create New Campaign from your dashboard.
The next step is to choose your campaign type.
OptinMonster comes with multiple campaign options, including:
- Fullscreen: Fullscreen campaigns that cover the entire screen with a single call to action, like a coupon
- Floating Bar: Floating header or footer bars scroll with you and work well for highlighting sales and seasonal offers
- Slide-in Scroll: A Slide-in Scroll Box is a subtle way to promote well-time discounts and related products
And more.
For this tutorial, we will go with Popup.
The next step is to choose a template.
OptinMonster has 50+ stunning prebuilt templates that work across all devices.
If you’re confused, you can filter by eCommerce templates only. Just choose the Store Owner filter.
Today, we will go with the Shopping template.
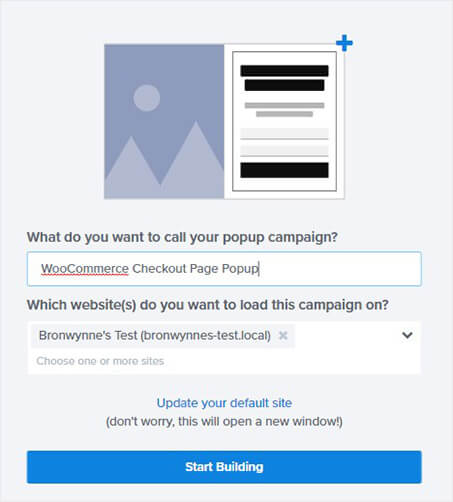
Now, OptinMonster will prompt you to give your campaign a name.
Click Start Building to enter the OptinMonster editor.
You’re ready to customize your popup.
Step 2: Design Your WooCommerce Checkout Popup
Now, it’s time to design your checkout popup.
Editing your WooCommerce popup is super simple thanks to OptinMonster’s drag and drop builder.
Simply click on any part of your popup to change it.
So, let’s see how that works.
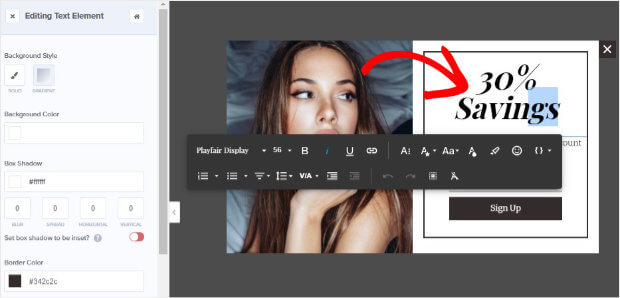
To edit the text, simply click it. You can change the colors, fonts, and more.
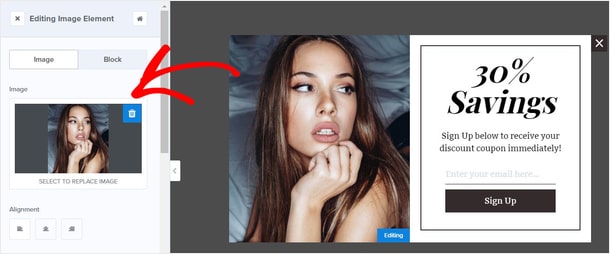
Similarly, to add your own image, just click on the image.
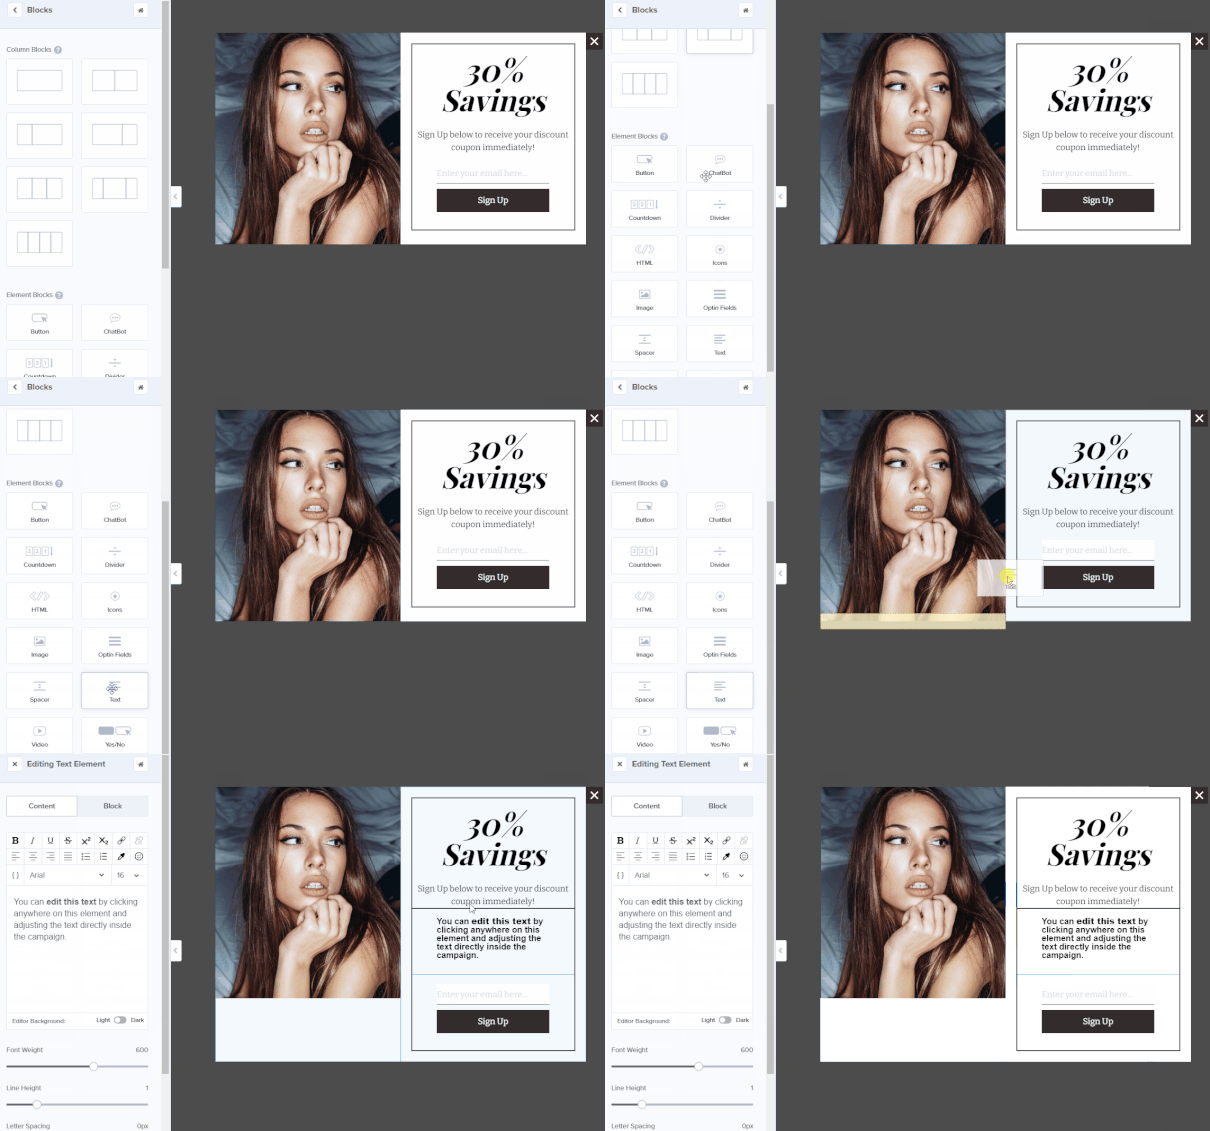
You can also add things like countdown timers and video clips to your WooCommerce popup.
Just click Add Blocks at the top of your editor.
You can choose from elements:
- Button
- ChatBot
- Countdown Timer
- Divider
- Text
And more.
Simply drag the block and drop it onto your popup.
Now, it’s time to configure the display settings of your popup.
Step 3: Display Your WooCommerce Checkout Popup
Do you want to show your popup at just the right time?
One of the best things about OptinMonster is that it lets you control exactly when and where your popup appears.
In addition to OptinMonster’s special WooCommerce targeting rules, you can also show popups based on:
- Visitor’s physical location
- Time spent on space
- Number of page views
And more.
Today, we will look at two of OptinMonster’s most popup eCommerce display rules:
- Exit Intent®
- Inactivity™
Exit Intent®
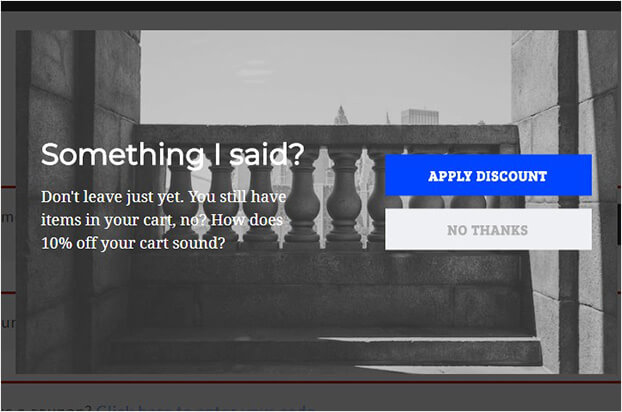
Exit intent popups appear as your shopper is about to leave your WooCommerce site. It works by detecting when the mouse cursor heads to the top of the browser window.
Showing an exit popup with a targeted offer can encourage your shopper to complete their purchase.
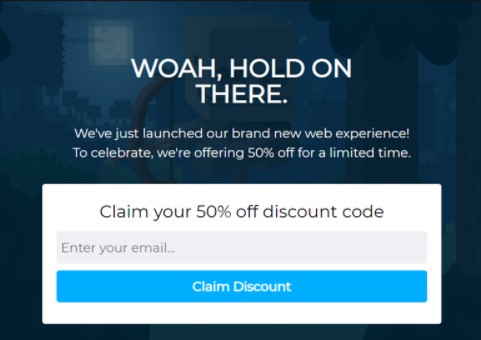
It helped Shockbyte more than double their sales conversion rate with popups like this:
Head over to Display Rules.
Find and select Exit Intent®
For more exit popup tips, check out this article: 40 Exit Popup Hacks That Will Grow Your Subscribers and Revenue
InactivitySensor™
The truth is once shoppers stop engaging with your site they’re probably going to ditch their carts.
Using InactivitySensor™, you can win these customers back with a targeted sales message.
InactivitySensor detects the lack of activity and triggers your popup.
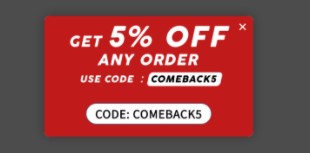
Skates.co.uk used this InactivitySensor popup to convert abandoning visitors into paying customers.
For your WooCommerce store, you could invite shoppers to sign up for exclusive offers or offer help with completing the transaction.
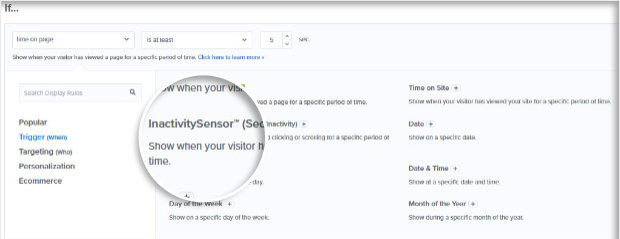
From the Display Rules tab, click InactivitySensor™(Seconds of Inactivity).
Adjust the duration of inactive time.
To show the popup on your checkout page, you need to click Page Targeting.
Add your checkout page URL.
Next, you can go ahead and connect your email service provider.
Step 4: Integrate With an Email List
OptinMonster makes it incredibly easy to grow your email list.
When you connect OptinMonster with your email service provider, the addresses you collect with your popup are automatically added to your list.
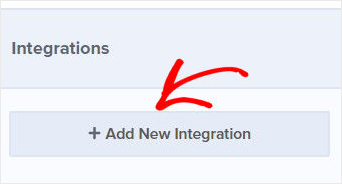
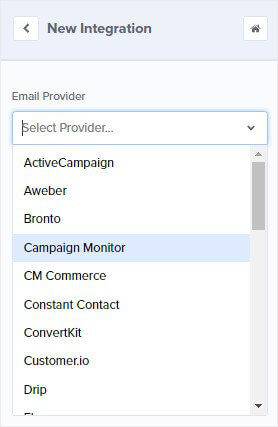
Hit Integrations at the top of your editor.
Click Add New Integration.
Find your email service provider from the drop-down menu.
Follow the prompts to connect OptinMonster with your email marketing platform.
Step 5: Publish WooCommerce Checkout Page Popup
The final step is to publish your WooCommerce checkout page popup.
Click Publish at the top of your editor.
Change the status to Publish.
Next, you will need to make sure your OptinMonster and WooCommerce plugins installed on your website.
Here’s a simple guide for installing a WordPress plugin.
After you have activated both plugins, you’ll need to connect OptinMonster with your WooCommerce store.
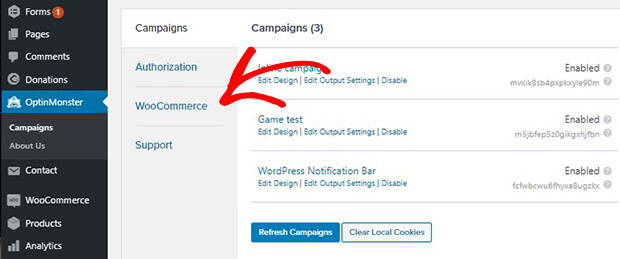
Head over to your WordPress dashboard and select OptinMonster.
Click WooCommerce from the OptinMonster dashboard.
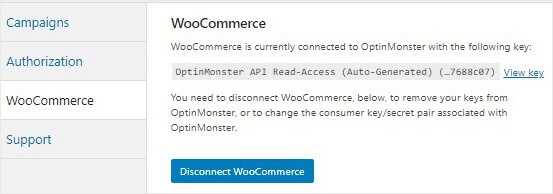
Select Auto-Generate Keys + Connect WooCommerce
Your WooCommerce site will now be connected with OptinMonster.
That’s it. Now your popup will appear to your shoppers on your checkout page.
OptinMonster is the best tool for creating a stunning WooCommerce checkout popup. Build an eye-catching popup using OptinMonster’s special eCommerce templates. Make sure it matches your site using the visual drag and drop builder.
If you enjoyed this article, you might find these eCommerce articles helpful:
- The Ultimate eCommerce Optimization Guide: 13 Steps to Instantly Boost Revenue
- 11 eCommerce Popup Examples That Actually Convert
- How to Recover Abandoned Carts: 12 Ways to Skyrocket Sales
Ready to boost sales with a WooCommerce popup? Get started with OptinMonster today.














Add a Comment