Do you want to create an email signup popup in Weebly to grow your list?
Using an email signup popup is one of the easiest ways to convert your site visitors into email subscribers.
The right popup turns your website into a lead generating machine. And creating the perfect Weebly popup doesn’t need to take up too much time or money.
The method we’ll show you today is so simple you can set it up yourself within minutes.
By the end of this tutorial, you’ll know exactly how to create a Weebly email signup popup that boosts your mailing list.
Why Use a Weebly Popup
Weebly offers an easy way to build an attractive website for your business.
With Weebly, you can create a beautiful website with zero code.
On top of its website building tools, Weebly comes with marketing features to get more people to your site:
- Discover your top referral sites to see your best traffic sources
- Study pages with the most views to uncover popular topics
- Run email marketing campaigns to drive traffic to your site
But do you have a plan to convert those site visitors into newsletter subscribers?
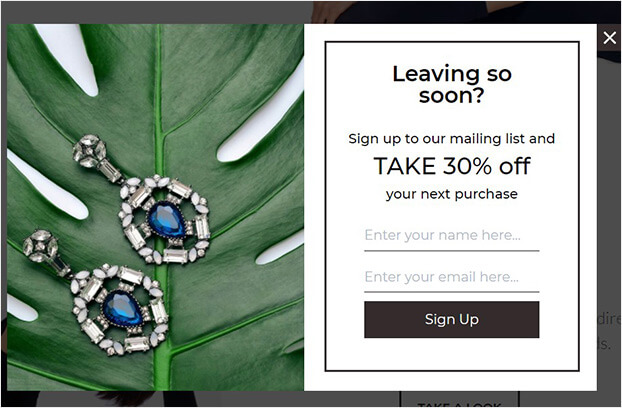
Without a doubt, a popup is a quick, easy way to get emails on your site.
Now you might be wondering, “How do I create a popup in Weebly?”
OptinMonster is the easiest way to add an email signup popup to your Weebly site that will grow your list. It will let you create beautiful popups with a drag and drop builder and stunning templates.
Here’s why OptinMonster works so well:
- Beautiful campaigns: choose from 50+ prebuilt campaigns and easily customize everything without coding
- Personalize your popups based on your visitor’s behavior: show the perfect offer to the right people at the right time
- Test campaigns in real time: easily test which campaigns are working so you can build on the ideas that bring the most conversions
One of the advantages of Optinmonster is that it’s so easy to use. So, you’ll be able to grow your list with less time and effort.
Reliablesoft.net increased conversions by 300% using OptinMonster’s prebuilt templates. The team spent just minutes setting up their campaigns.
Let’s begin.
How to Create a Weebly Popup
You’ll need an OptinMonster account for today’s tutorial.
We’ll easily create this popup in under 20 minutes.
Now, let’s dive into the tutorial.
Step 1: Create a Popup Campaign for Weebly
First, log into your OptinMonster account.
From your dashboard, click Create New Campaign.
Next, you’ll need to select your campaign type.
You can choose from multiple campaign types, like floating bars, fullscreen overlays, and more.
Today, we’ll go with Popup.
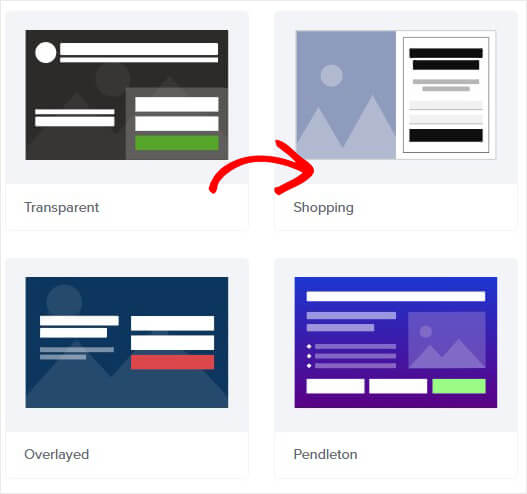
Now, you’ll need to choose your template.
All of OptinMonster’s templates work well across all devices.
If you need help finding the right template, you can filter by:
- Campaign goal: grow list, redirect traffic, reduce cart abandonment, and time sensitive offer
- Categories: professional services, online store, and marketer
Today, we’ll go with the Shopping template.
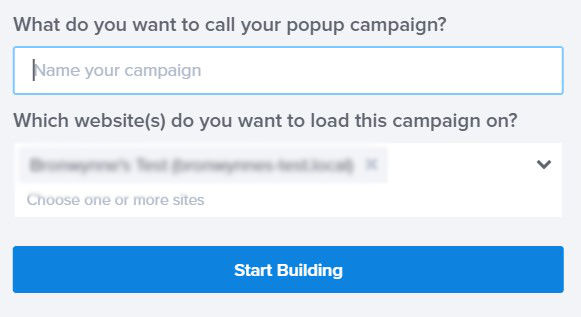
You’ll now be prompted to name your campaign.
Click Start Building to enter the OptinMonster editor.
Now, you’re ready to design your Weebly popup.
Step 2: Design Weebly Popup
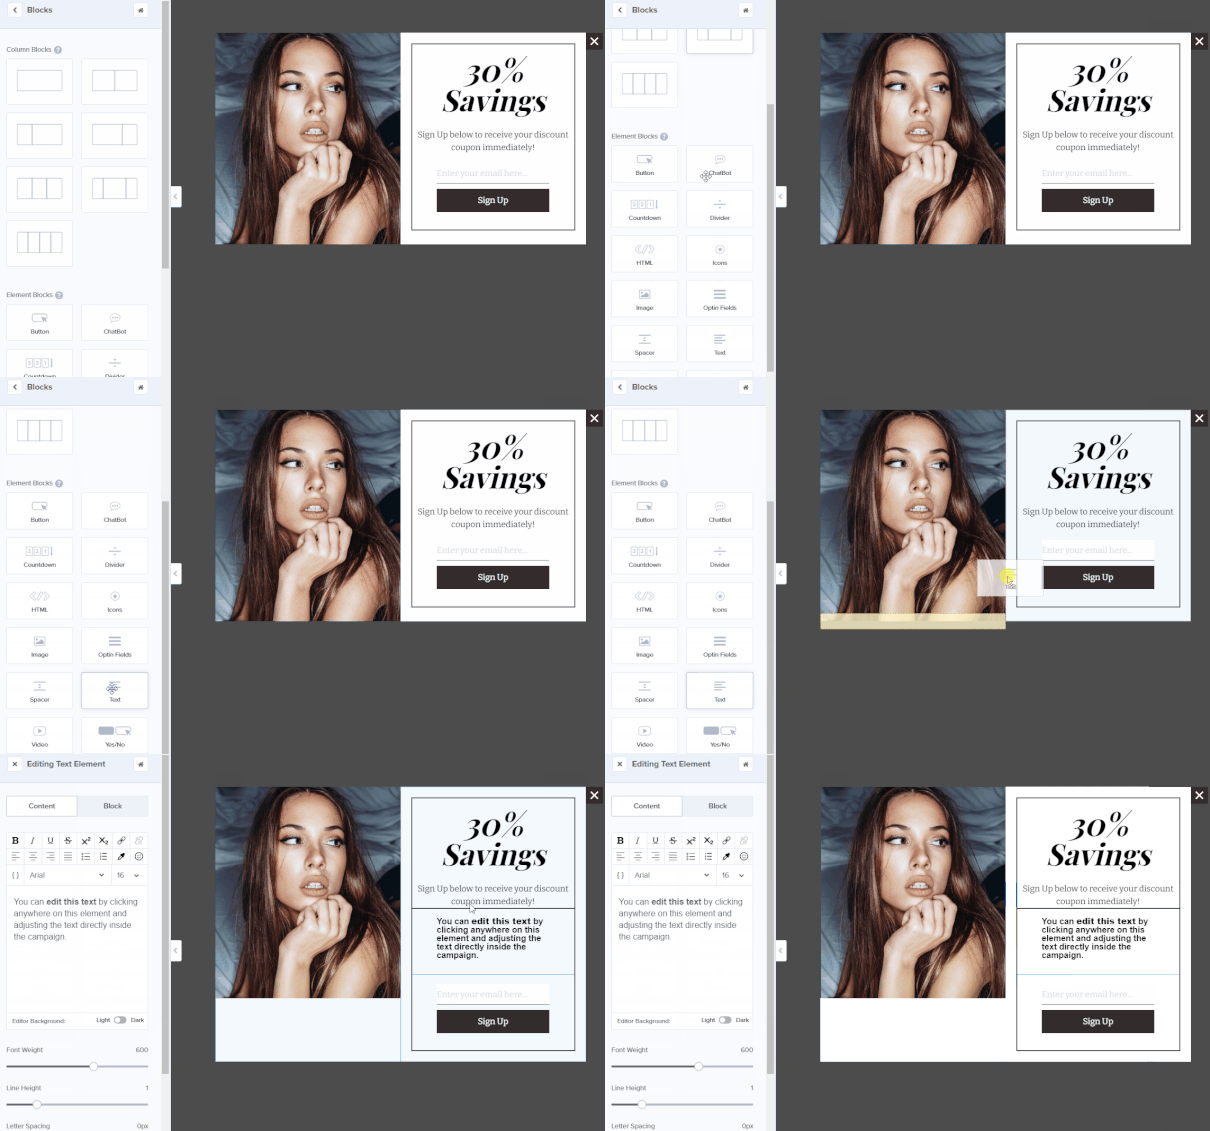
OptinMonster’s drag and drop builder makes it incredibly easy to customize your campaign.
Simply click on any part of the popup to change it.
To add anything to your template, you only need to drag and drop it on your optin form.
The great thing about OptinMonster’s templates is they’re already designed to increase conversions.
All you need to do is make it your own.
If you’re looking for ideas, check out this article on email popup best practices.
To grab your site visitor’s attention, focus on adding:
- Visually appealing image
- Strong headline
- Clear call to action
Let’s take a closer look at how to customize your Weebly popup.
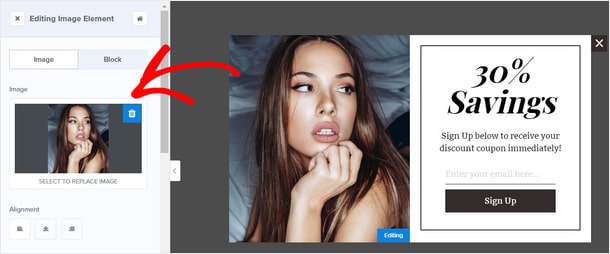
To edit your image, simply click on it. This will pull up the editing tools on the left.
From there, you can upload an image from your computer.
You can do the same to change anything about your popup, like the submit button, text and optin fields.
Hit Save at the top of your editor once you’re happy with your design.
We’ve only covered the basic changes here.
There’s so many ways you can customize your popup.
You’ll be able to add:
- Countdown timer
- HTML
- Additional optin fields
- Video
The result is a popup that truly reflects your brand.
Check out this article if you want popup design inspiration.
Next, you’ll configure the display rules of your popup.
Step 3: Configure Display Rules of Your Weebly Popup
With OptinMonster’s Display Rules, you can personalize your popups and make sure only the right people would see it.
You can target different offers to different site visitors instead of showing generic popup campaigns to everyone.
OptinMonster does this with targeting and trigger rules.
Targeting
- Show or hide campaigns on specific pages
- Create special offers for new or returning visitors
- Tailor popups based on the visitors referring site, like from a specific social network
Triggers
- Show campaigns after someone has scrolled a certain percentage of the page
- Display campaigns only after someone has already spent time engaging with your content
Your popups are far more effective when they’re timely and targeted.
Today, we’ll look at one of the powerful display rules, Exit Intent®.
Exit Intent®
Do you know that 70% of the visitors who leave your website won’t come back?
Exit-intent technology detects when people are about to leave your site. Right at the moment, you can present them with one final targeted offer.
Exit popups are proven to boost conversions.
SnackNation converts 31.85% of abandoning visitors using exit popups.
Head over to Display Rules.
Find and select Exit Intent®.
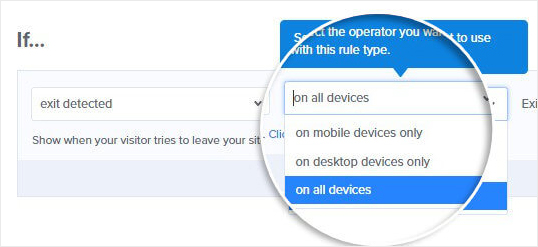
Choose on which device you want to show your popup:
Now, you’ll need to choose the sensitivity level. The default is Medium.
This will control how quickly your exit popup appears. The sensitivity level changes the trigger for mobile devices. Low and Medium will trigger the popup when the visitor scrolls up the page. High sensitivity will create a back button trigger.
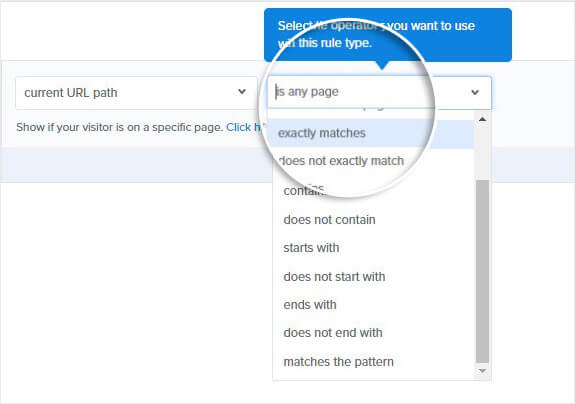
Finally, select which page you’d like to display your popup.
Check out this article for exit popup hacks that will grow your subscribers and sales.
Step 5: Integrate OptinMonster with Weebly
The last step is to integrate OptinMonster with your Weebly site.
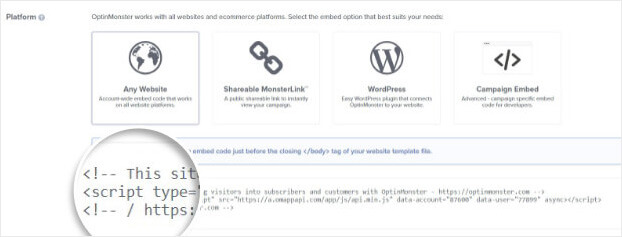
Syncing Optinmonster with Weebly is simple because all you need to do is paste the embed code on your site.
Head over to Publish at the top of your editor.
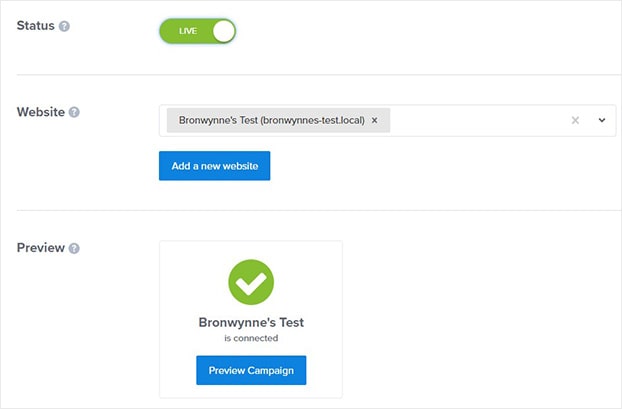
Toggle the Status switch to Live.
Scroll down to the bottom and copy the embed code.
Now, head over to your Weebly site.
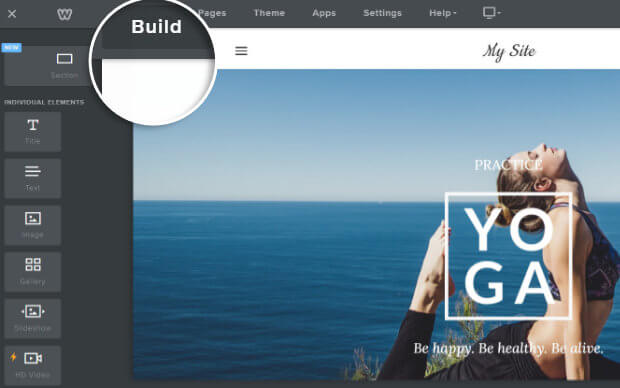
From the editor’s top menu, click Build.
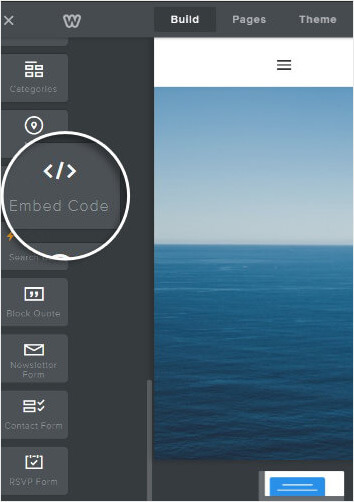
Drag the Embed Code block from the right column.
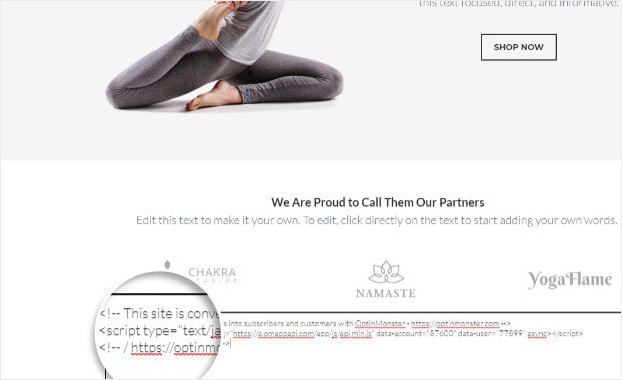
Place the block at the bottom of the page.
Go ahead and paste the code.
That’s it!
Now, your Weebly popup will be displayed to your site visitors.
We hope you enjoyed this article.
You’re on way to growing an engaged list of subscribers.
So, if you want to take your email marketing to the next level, check out these resources:
- Email Marketing Made Simple: A Step by Step Guide [+ Examples]
- 17 Tips for Writing Email Marketing Copy that Converts
Want to convert your site visitors into subscribers? Sign up for OptinMonster today!









Add a Comment