Do you want to create a Jilt popup to increase your subscribers and sales?
With a Jilt popup, you can transform your website into a lead generation tool.
By the end of this tutorial, you’ll know exactly how to build a Jilt popup that will grow your list.
Why Create a Jilt Popup
Jilt is an email marketing software built for online stores. With a Jilt popup, you can quickly grab your visitors’ attention and encourage them to subscribe to your list.
Out of the box, Jilt lets you create a basic popup form, but it lacks the targeting features offered by other popup tools like OptinMonster.
Without a doubt, if popups are not targeted, they’ll fail to grab your visitors attention and even annoy your website visitors.
That’s why you need a popop builder like OptinMonster.
OptinMonster is the best popup software because it lets you create stunning popups that are proven to drive more conversions. It comes with a drag and drop builder, 50+ beautiful popup templates, and 6 different types of optin campaigns, such as:
- Popup
- Floating bar
- Slide-in
- Fullscreen
- Inline
- Gamified
Then your list becomes one of your most valuable assets.
Here’s how OptinMonster lets you target and build an engaging email list:
- 50+ Prebuilt templates: stunning templates to grab your site visitor’s attention
- Triggers: display popup campaigns based on your site visitor’s behavior
- Targeting: show campaigns to the right people
- A/B test: use A/B testing to discover your top-performing campaigns
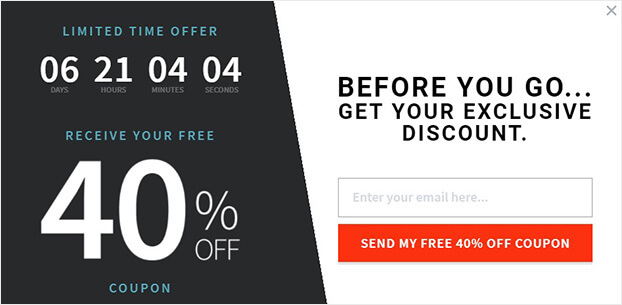
Today, we’ll create this Jilt popup in just 20 minutes:
Let’s get started.
How to create a Jilt popup
Before we begin, you’ll need an OptinMonster account.
Get OptinMonster here. It’s risk-free with our 14-day money-back guarantee.
Step 1: Create OptinMonster Campaign
First, we’ll need to log into our OptinMonster account.
From the dashboard, go ahead and select Create New Campaign.
After you’ve created your campaign, you’ll need to choose your campaign type.
What’s the best campaign type for you?
Different campaign types serve different purposes:
- Slide-in scroll box: appears at the bottom right corner of the web page as visitors scroll
- Floating bar: sticky header and footer that remains visible as the visitor scrolls
- Fullscreen: takes over the full screen, hiding the content behind it
There’s so much more.
The right campaign type depends on your goal. If you want to bring attention to a targeted offer or coupon, a fullscreen campaign would be a great choice. OptinMonster customers use scroll boxes to reduce cart abandonment with a perfectly timed discount.
For this tutorial, we’ll go with Popup.
Now, we’ll select a template.
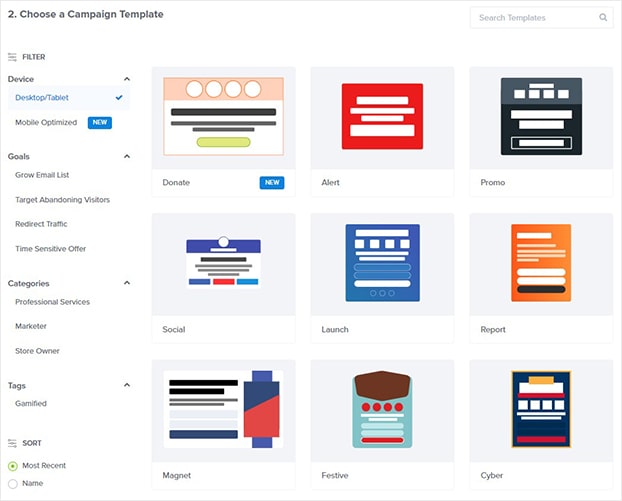
You can choose from over 50 templates:
All of OptinMonster’s templates are attractive and designed to increase conversions.
If you need help finding the best one, you can filter the templates by campaign goal:
- Grow email list
- Target abandoning visitors
- Redirect traffic
- Time sensitive offer
Today, we’ll offer our visitors a timed discount in exchange for their email addresses.
These campaigns deliver amazing results for our customers.
For example, Christmas Lite Show has reduced their shopping cart abandonment rate by 16.9% by using a built-in timer in their OptinMonster popup.
Why do limited-time offers work so well?
Using urgency is a sure-fire way to boost your conversions. As humans, we’re hard-wired to act fast when the clock is ticking.
We don’t like the feeling of missing out on a great opportunity.
Today, we’ll go with Apparel because it has everything we need to create a sense of urgency around our offer, including a built-in timer.
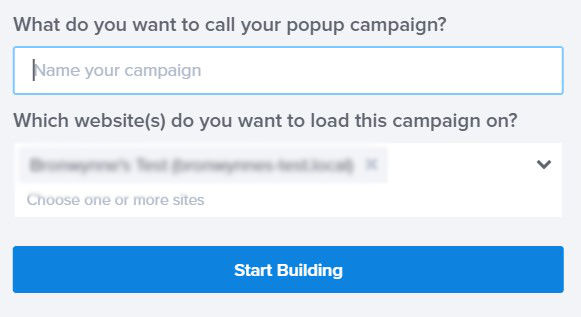
Now, you’ll need to name your campaign and click Start Building.
The next step is customizing your popup in the OptinMonster editor.
Step 2: Design Your Jilt Popup
You can design an eye-catching optin form in minutes with OptinMonster.
OptinMonster’s templates are made up of blocks or elements.
Customizing those blocks doesn’t get any simpler.
You click on an element to pull up the editing tools on the left. Or, drag and drop blocks onto the optin form.
That’s it.
Now, let’s remove the background.
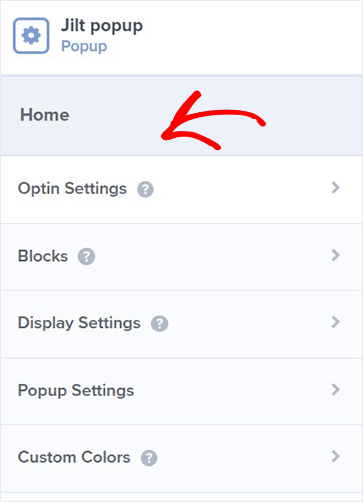
On the left, click on Optin Settings.
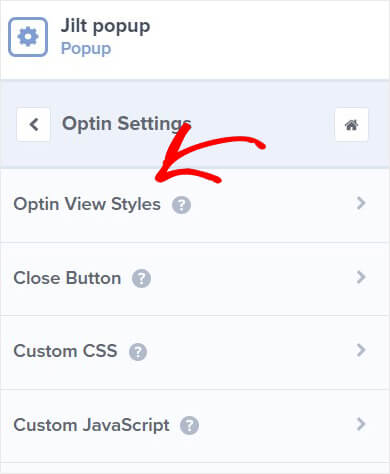
Then, click on Optin View Styles.
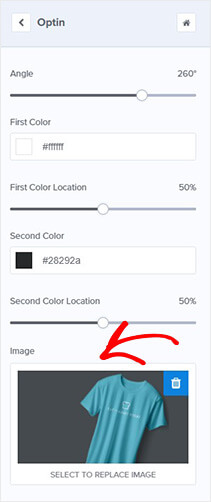
Next, delete the image.
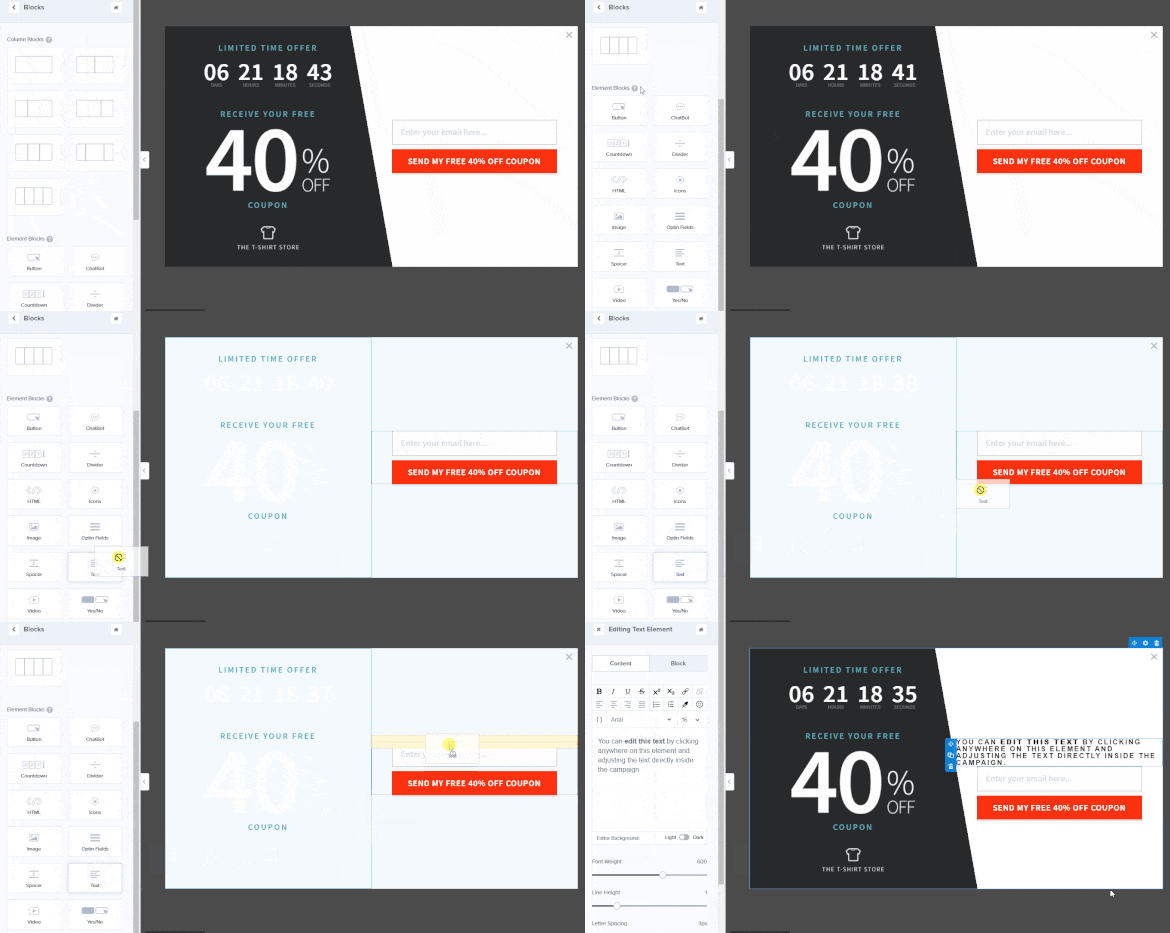
Now, add a text box to our optin form.
Click Add Blocks at the top of your editor.
Scroll to the text block, and drag it across to your Jilt popup.
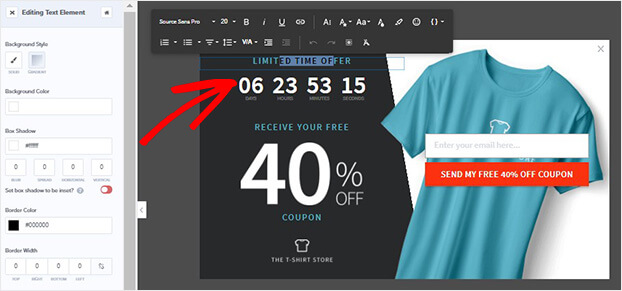
Editing text is incredibly easy in OptinMonster. All you need to is click on the text block and edit the text directly on the popup.
From there, you can edit:
- Color
- Font
- Alignment
- Font size
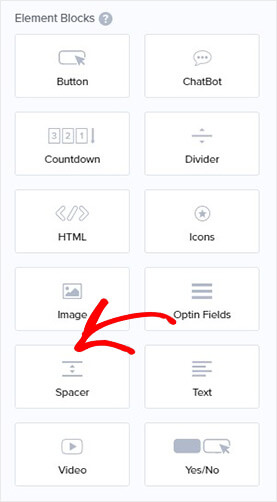
Now, let’s add some space between our optin field and our text block.
Again, click on Add Blocks at the top of the editor.
Next, drag the Spacer block and drop it on your form.
Here’s the popup we created:
Now, it’s time to decide where and when to display your popup.
Step 3: Display Jilt Popup
Are you worried your popups will irritate your site visitors?
Here’s where a well-timed popup comes in handy.
With OptinMonster, you can use different targeting and triggering features to display your popups at just the right time.
Triggers
Triggers determine when your popup is shown:
- Scroll trigger: show your Jilt popup when users have scrolled down a certain percentage of the page
- Timed display control: show your popup when users have already spent a specified amount of time on your site
Targeting
Targeting lets you control who sees your popup:
- Geo-location: show campaigns based on your visitor’s physical location
- New or returning visitors: create special offers for new visitors
While there are tons of different targeting and triggering features, in our popup, let’s use the exit-intent display rule:
Exit intent
Exit intent triggers a popup when your visitor is about to leave your site.
Did you know 70% of people leave a site without taking any action?
With an exit popup, you’ll get one last chance to collect their email addresses by presenting your best offer.
Urban Southern increased their sales by 400% by using OptinMonster’s coupon popups with exit intent!
Head over to Display Rules.
Find and select Exit Intent®.
Check out this article to discover exit popup hacks to increase your subscribers and revenue.
Step 4: Integrate Jilt With OptinMonster
Connecting Jilt with OptinMonster is simple.
Click Integrations at the top of your editor.
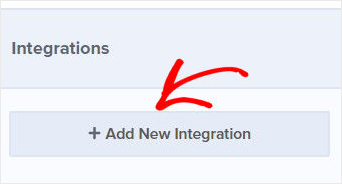
Next, select Add New Integration.
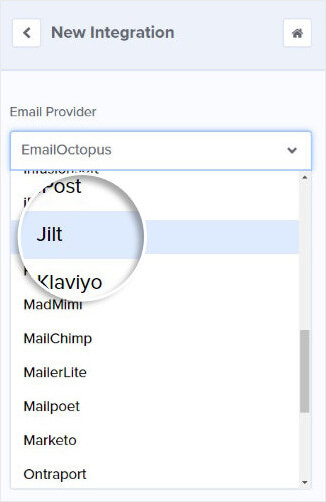
From the Email Provider dropdown, choose Jilt.
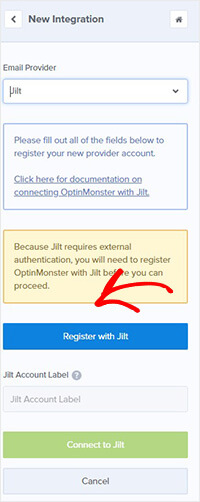
Click Register with Jilt.
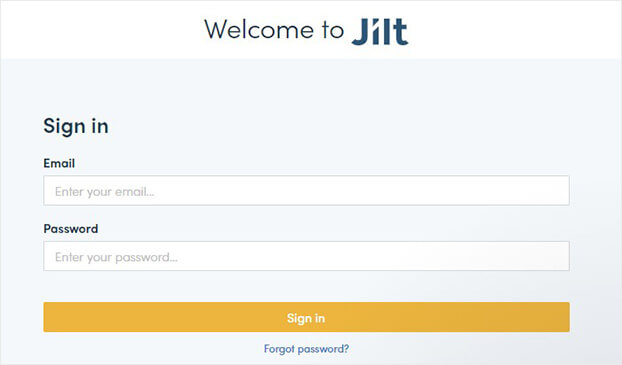
Enter your details and sign in.
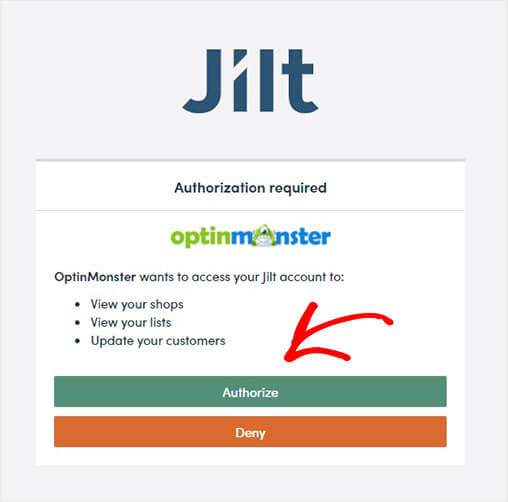
On the next screen, you’ll need to give OptinMonster permission to connect to your Jilt account.
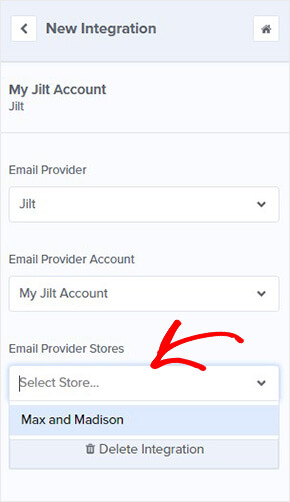
Finally, select your store name.
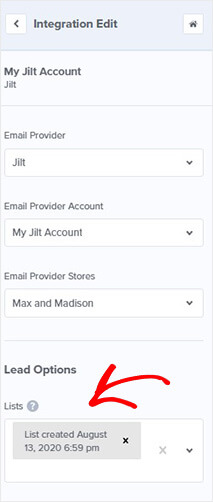
Select the list you want to add your new subscribers to.
The next step is to publish your campaign on your online store.
We hope you enjoyed this article on creating a Jilt popup with ease.
If you want to increase leads from your online store, you’d be interested in these articles:
- 11 eCommerce Popup Examples That Actually Convert
- 15 Easy eCommerce Lead Generation Tips To Explode Your Sales
- 15 Smart Ecommerce Personalization Examples That Boost Sales
Ready to convert your site visitors into subscribers? Sign up for OptinMonster here.








Add a Comment