Do you want to create a MailPoet popup to grow your email list?
MailPoet makes it easy to build an email list on your WordPress site. And with a popup, you can convert your website visitors into leads, FAST.
In this tutorial, we’ll show you how to easily create a MailPoet popup that boosts your subscribers instantly.
What Is a MailPoet Popup
MailPoet is an email newsletter plugin for WordPress.
Using MailPoet, you can create and manage email campaigns straight from your WordPress dashboard.
By default, MailPoet doesn’t let you create a stunning popup for your site.
And here’s where OptinMonster comes in.
OptinMonster is the best WordPress popup plugin to grow your MailPoet list. You’ll be able to easily build eye-catching popups with OptinMonster’s drag and drop builder and wide range of templates.
Here’s why OptinMonster is so effective at filling your email list with the right subscribers:
- Beautiful templates: grab your site visitor’s attention with stunning popups
- Campaign triggers: show your campaigns at the right time when your visitors are more likely to engage
- Targeting: display your popups to the right site visitors based on different rules, such as geographical location, device, and so on
The best part is that it’s incredibly easy to create a popup with OptinMonster. No coding or design skills required.
Adam Enfroy switched to OptinMonster because he was tired of having to add custom code to design his popups. With OptinMonster, he added 11,000 subscribers to his list in just one year!
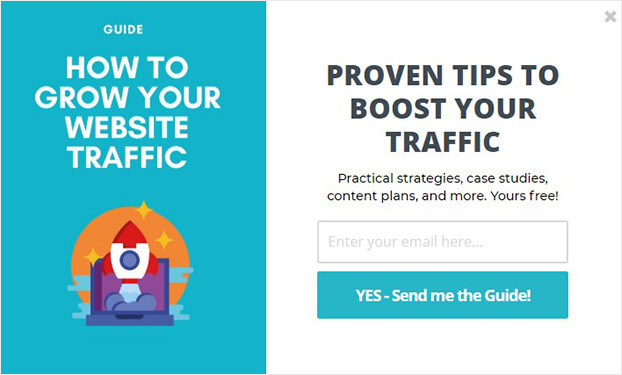
Today, we’ll create this popup:
Ready? Let’s get started.
How to Create a MailPoet Popup
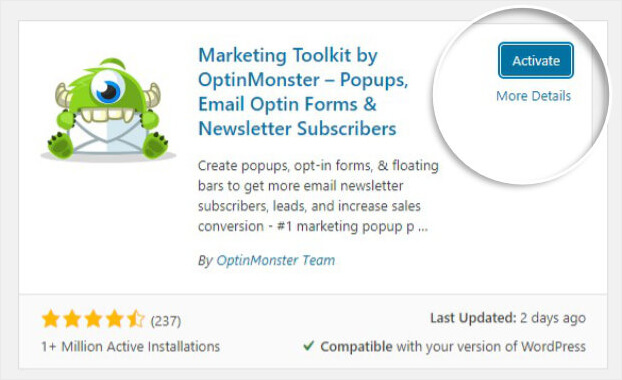
Before we begin, you’ll need to install and activate the OptinMonster WordPress plugin.
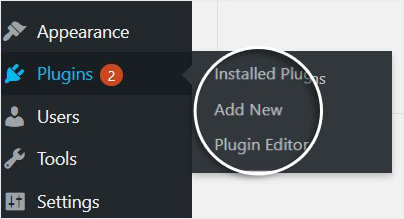
Now, all you need to do is head over to your WordPress dashboard.
Select Plugins » Add New.
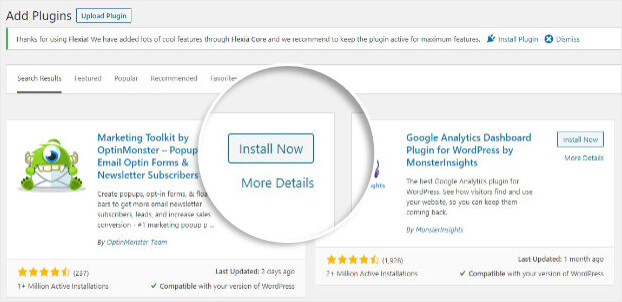
Search for OptinMonster and select Install Now.
Next, click Activate.
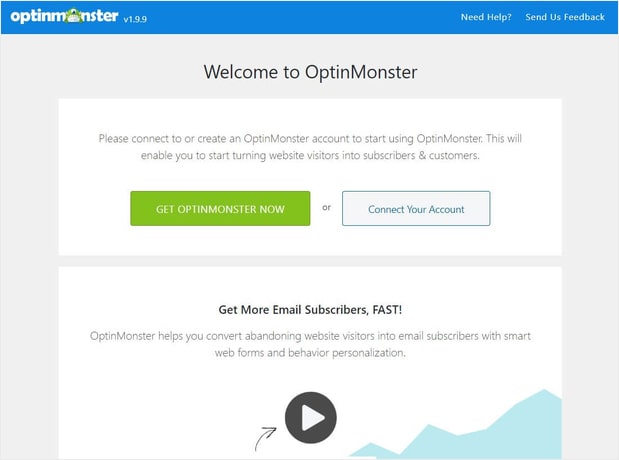
Once you’ve activated the plugin, you’ll need to connect your OptinMonster account to your WordPress site.
Now, you’ll have two options:
- Sign up for OptinMonster
- Connect your OptinMonster account
If you don’t have an account, click Get OptinMonster Now. Come back once you’ve signed up, and click Connect Your Account.
If you already have an account, select Connect Your Account.
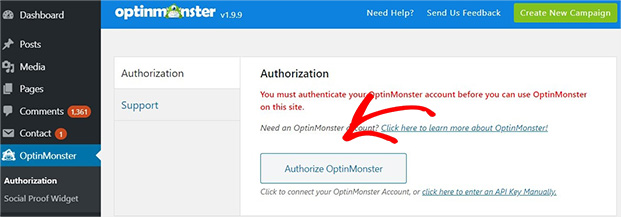
On the next screen, click Authorize OptinMonster.
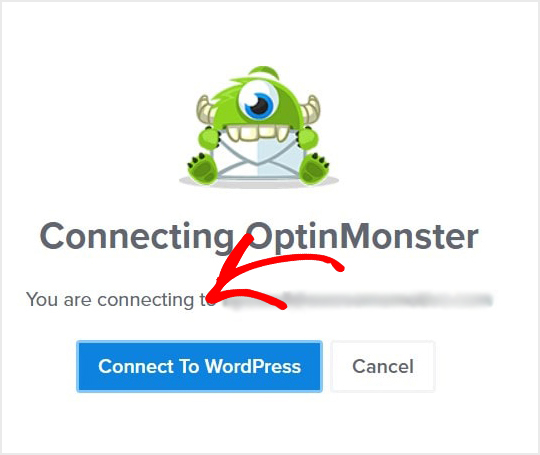
Finally, select Connect to WordPress.
That’s it.
Step 1: Create a MailPoet Popup With OptinMonster
First, log into your OptinMonster account.
From your dashboard, select Create New Campaign in the top-right corner.
Now, select your campaign type.
For this tutorial, we’ll go with Popup.
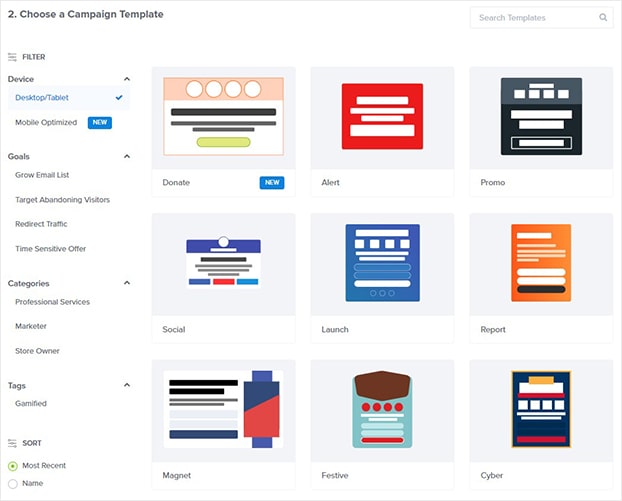
Now, you’ll need to select a template. You can choose from over 50 templates.
All work perfectly across mobile, tablet, and desktop.
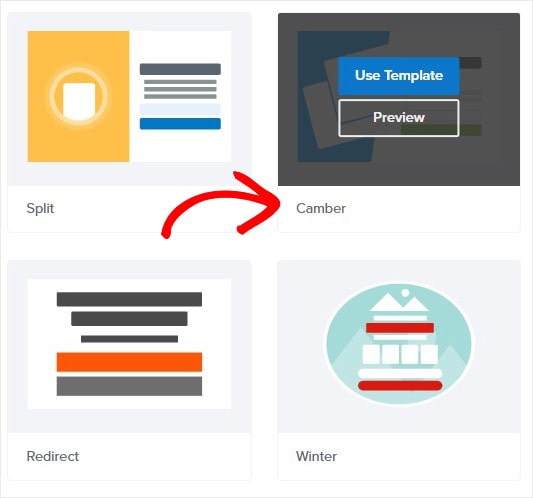
Today, we’ll pick the template Camber.
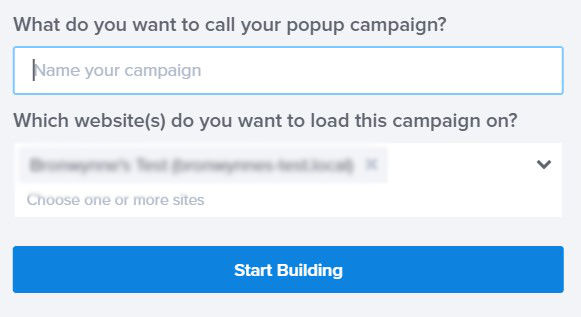
Next, you’ll need to name your campaign and click Start Building to enter the OptinMonster editor.
Step 2: Design Your MailPoet Popup
Designing your MailPoet popup in the OptinMonster builder is so simple.
Your optin form is made up of blocks or elements. To change any element, all you need to do is click on it.
And adding a new block is as simple as dragging the element you want and dropping it onto your form.
Let’s see how that works.
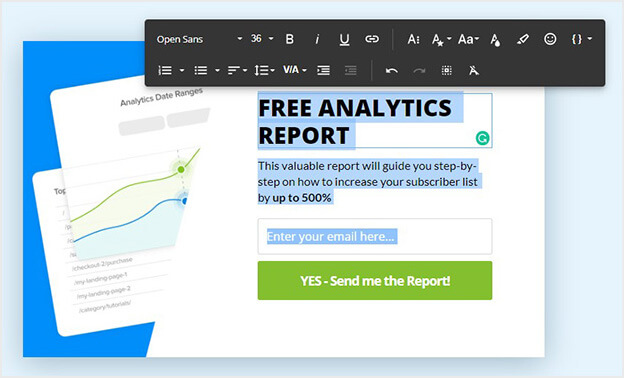
We’ll start with the text.
Today, we’re going to create copy that attracts our reader. So, we’ll offer a benefit that solves a common reader problem. In exchange for the content we’re providing, the reader gives us permission to enter their inbox.
Not sure what to offer your site visitors? Consider creating concrete buyer personas to help you identify your reader’s pain points.
To change our text, click on the text, and edit it.
From here, you can change the color, alignment, and font.
Once you’re happy with your copy, move onto the image.
Creating a visually stunning popup will help you grab your audience’s attention. And that’s why the right images and graphics are so important.
If you need ideas, check out this article for popup design inspiration.
Fortunately, it’s easy to find or design your own visuals online.
Here’s an article with a list of places to find images for better conversions. You can try creating your own with visual content creation tools.
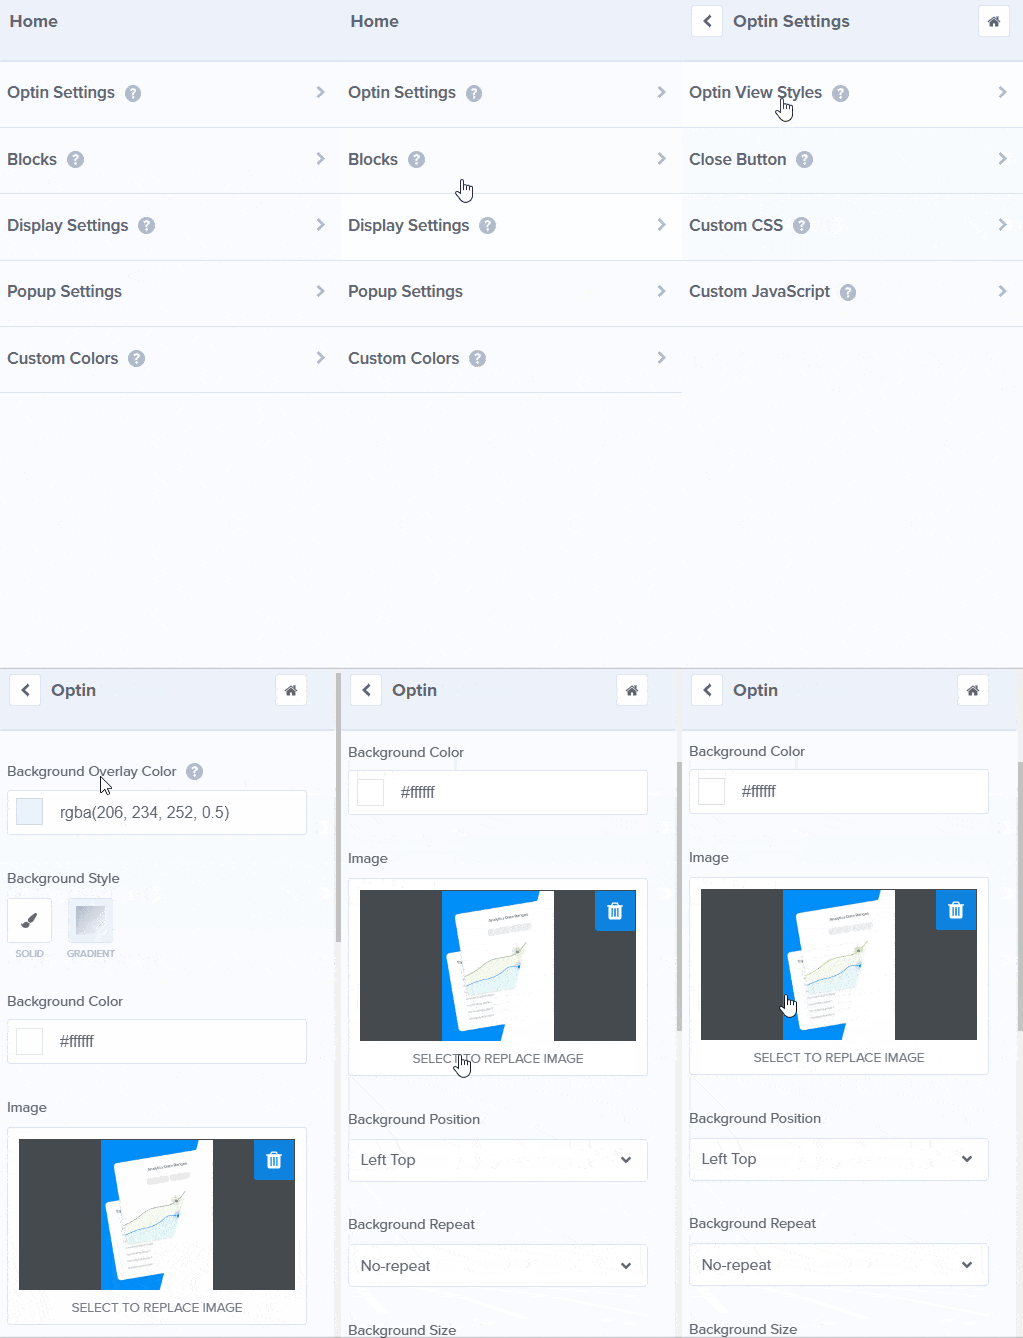
To change the image in the Camber template, simply head over to the editing panel on the left. Click on Optin Settings » Optin View Styles.
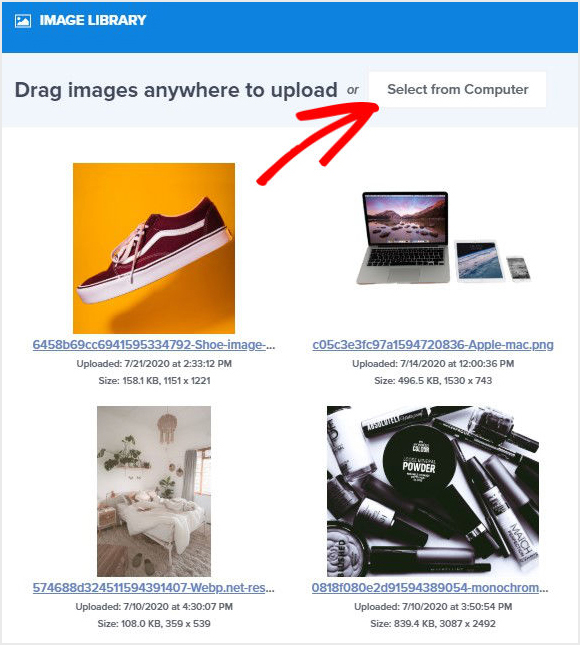
The next screen is the image library. From here, click Select from Computer to upload your image.
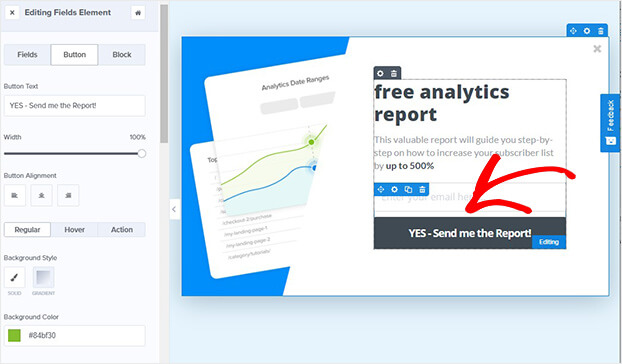
You can customize the color and text of the submit button.
Again, simply click on the button and, the editing tools appear on the left.
Now, you can change the color of the button. Plus, adjust the fonts, size, and color of the CTA.
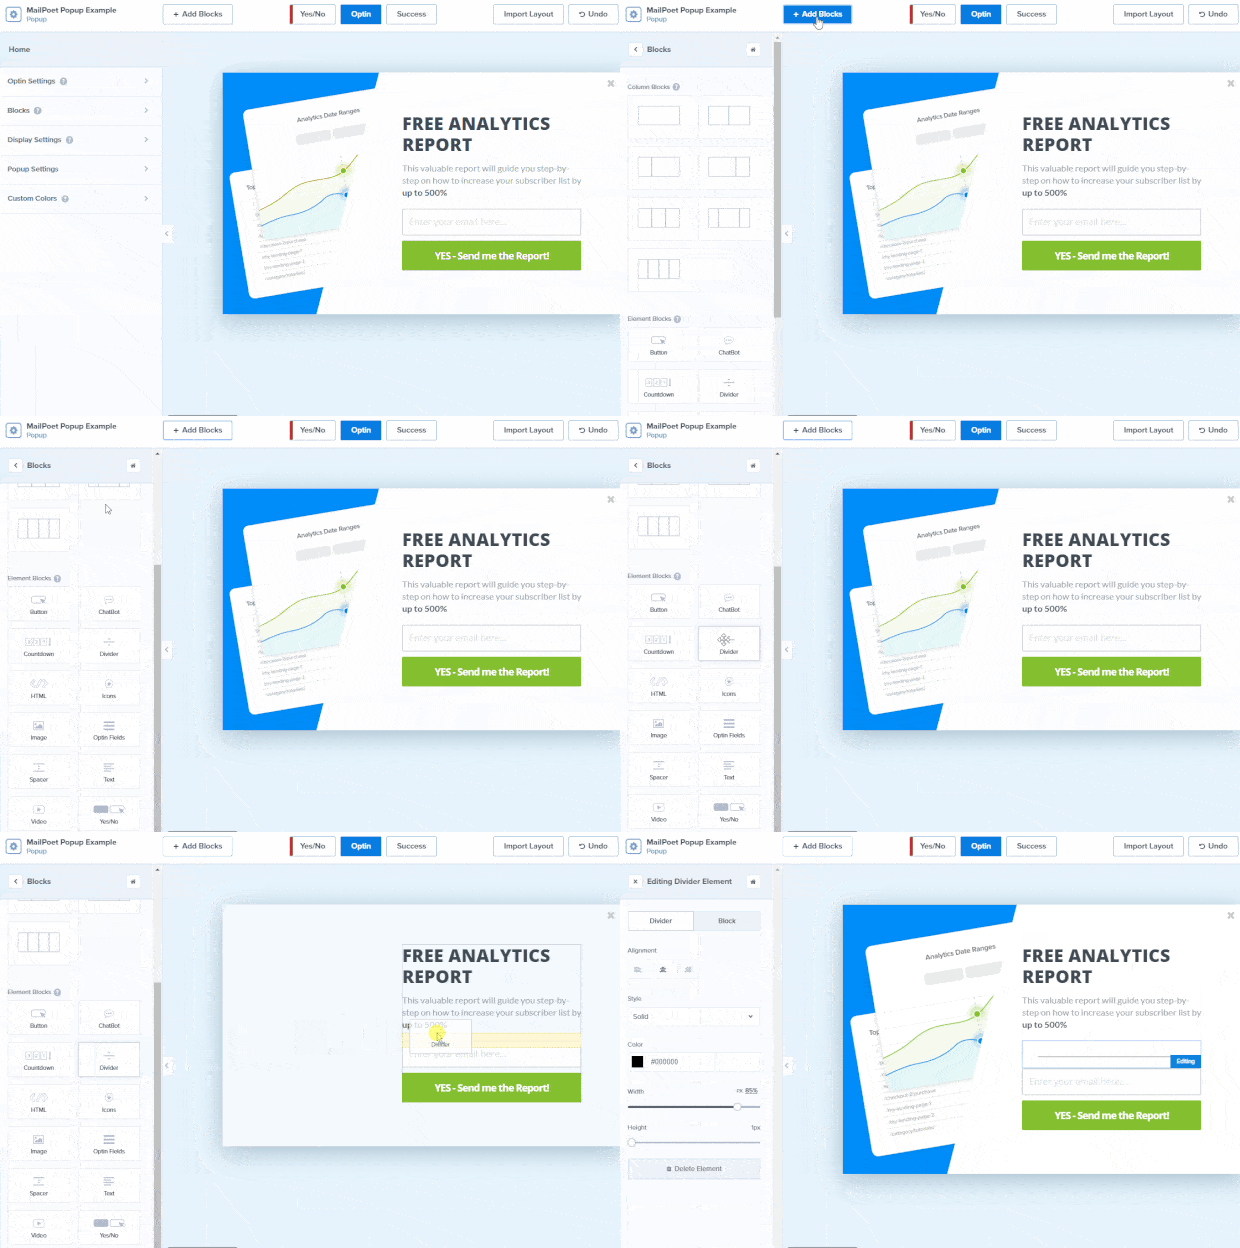
Want to add a block to your popup?
All you need to do is click Add Blocks at the top of your editor.
From here, you can add:
- Additional optin fields
- Spacer
- Image
- Video
And more.
Once you’re happy with the design of your popup, hit Save at the top of your editor. You can save your work at stage.
To boost conversions, aside from building a stunning campaign, you’ll need to make sure you’re showing the popup to the right people at the right time when they’re more likely to be converted.
Let’s check out how to configure targeting rules.
Step 3: Display MailPoet Popup
One of the advantages of OptinMonster is that you get access to advanced targeting.
This means you can control exactly who sees your popups and when.
So, instead of generic campaigns, you’ll be able to build specific popups for people based on:
- Which source referred them to your site, so you can create a greeting for visitors from social media
- Whether they’re new or returning visitors, allowing you to offer tailored discounts
- Their physical location
And that’s not the only way you to build popups that convert.
OptinMonster uses behavior personalization technology to present a targeted popup that matches your site visitor’s interests.
For example, you could show a coupon code for the exact product someone’s looking at as a popup. Or, display a popup to a reader who’s been browsing your site for more than 30 seconds.
While there are several other rules and triggers, for this tutorial, we will look at one of the most powerful triggers, Exit-Intent®.
Exit-intent is triggered when it detects the user is about to leave your site by tracking their cursor.
To learn more about using exit-intent, check out this post on exit popup hacks that will grow your subscribers and revenue.
Head over to Display Rules.
Find and select Exit-Intent.
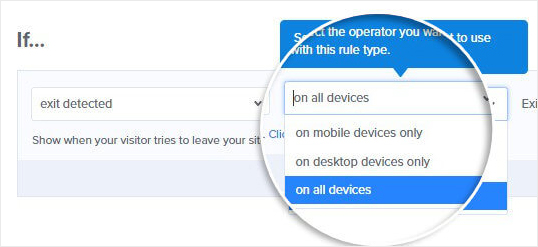
Now, you’ll need to decide on which devices you want to display your exit popup:
- Mobile devices
- Desktop devices
- On all devices
We’ll go with On all devices.
Next, you’ll select the sensitivity level for your popup.
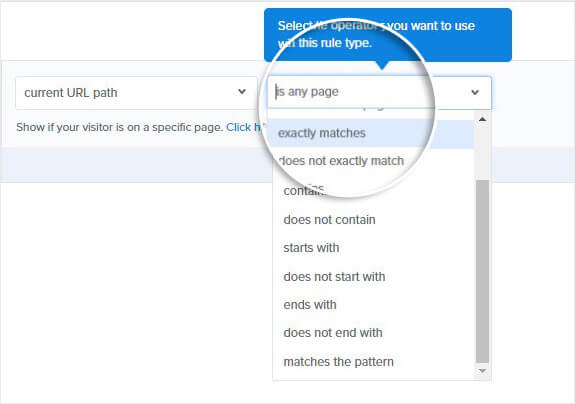
Next, you can decide where you want to display your exit popup.
This is important because the level of sensitivity will determine when your popup is displayed. And this trigger is different for mobile and desktop.
On desktop, exit-intent is triggered when a visitor’s mouse moves towards the browser bar. For mobile, exit-intent popups are triggered when your visitor scrolls up the page or clicks the back button.
Learn more about exit-intent sensitivity in this article.
Step 4: Integrate OptinMonster With MailPoet
Connecting OptinMonster with WordPress is easy.
If you haven’t already, make sure you install and activate the MailPoet WordPress plugin.
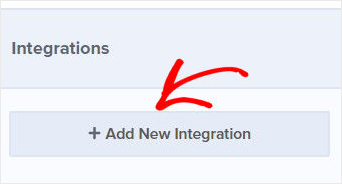
First head over to Integrations at the top of your editor.
Click Add New Integration.
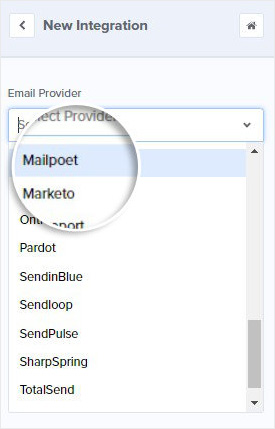
From the Email Provider dropdown menu, select MailPoet.
Add a label to make it easy to identify your integration.
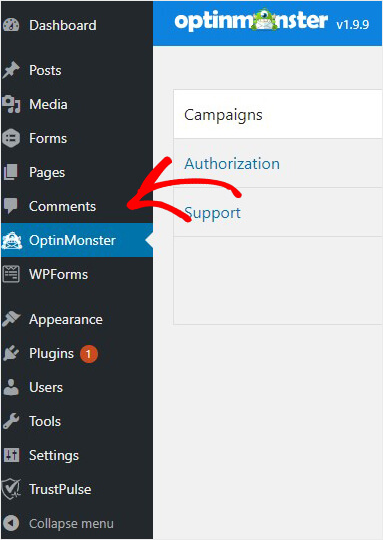
The next step is to head over to WordPress. From your admin dashboard, click OptinMonster » Campaigns.
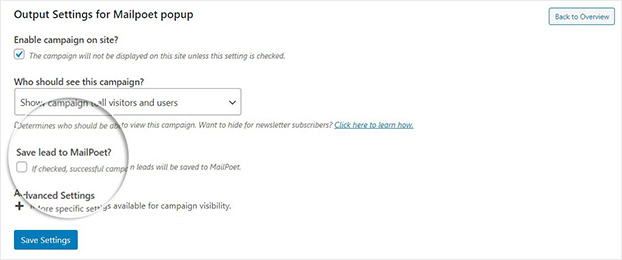
Click Edit Output Settings for the campaign.
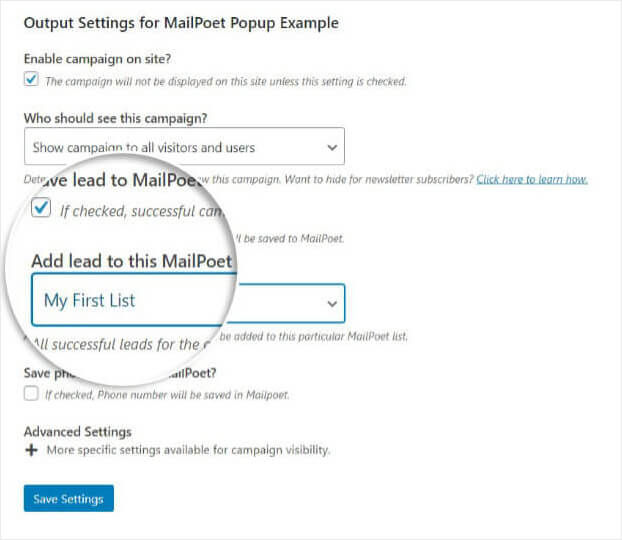
On the next screen, select Save Leads to MailPoet.
Next, choose the list your new subscribers will be added to.
Go ahead and click Save Settings.
That’s it! Now, your visitors will see this popup on your WordPress site:
We hope this article was helpful.
Once your popup starts adding more subscribers, you’ll want to keep your subscribers engaged.
Here are a few resources:
- 50 Email Segmentation Tips You Need to Use Now
- 27 Awesome Newsletter Ideas That Will Keep Subscribers Engaged
Ready to convert your site visitors into subscribers? Get OptinMonster today.











Add a Comment