Who knew that 280 characters could pack such a marketing wallop? In this article, we’ll teach you how to create a Follow Us on Twitter popup which is the best way to grow your Twitter presence by using the traffic already coming to your site.
Twitter started out almost as a stream of consciousness, microblogging site but it has grown into a marketing powerhouse where brands like Wendy’s and Skittles, among others, are embracing the casual atmosphere to engage customers in a way traditional marketing simply can’t. Or won’t.
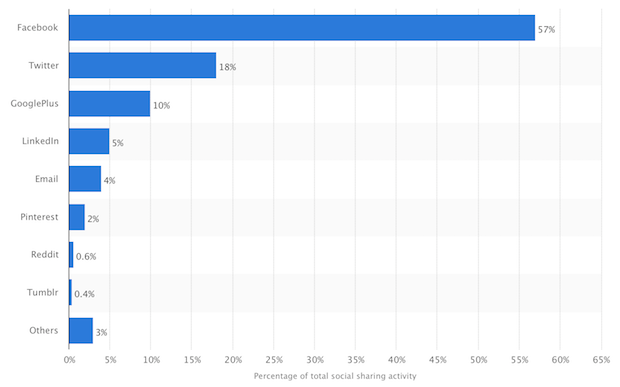
While Facebook is certainly the social media matriarch, accounting for 57% of global content sharing activities, social media platforms like Twitter, Instagram, and even Snapchat shouldn’t be ignored.
Twitter still beats out email for total social sharing activities at 18%, after all.
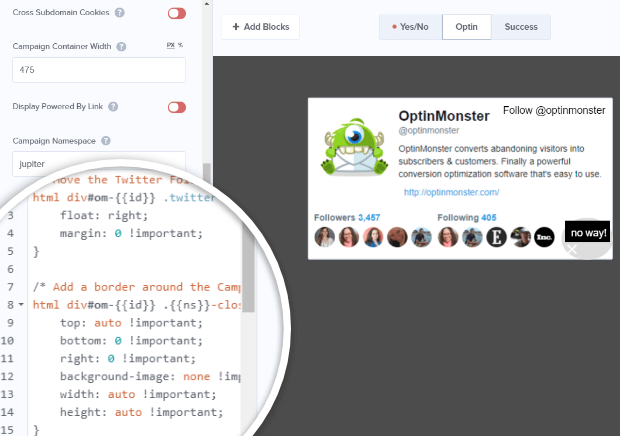
Here’s what our popup will look like at the end of this tutorial:
Ready? Let’s get started.
Step 1. Create Your Campaign
Login to your OptinMonster dashboard, and click on Create Campaign.
Choose a campaign type. For this tutorial, we’ll use one of our highest converting campaign types, a Popup.
Choose a template. Instead of one of the pre-designed templates, we’ll build one from scratch using the Canvas template.
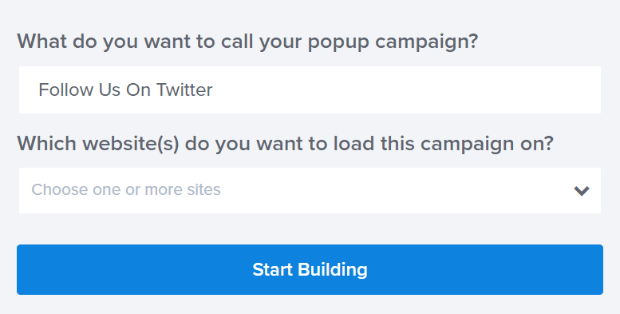
Name your campaign and select the website where you want it to load, then press the Start Building button.
This will take you to the OptinMonster campaign builder for the next step.
Step 2. Edit Your Campaign
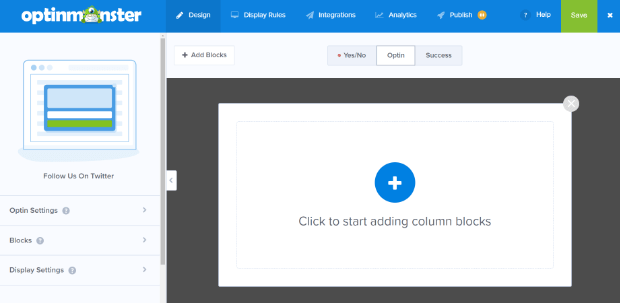
When you get to the campaign builder, you’ll see a blank campaign. Click on the big, blue plus sign to add a new Column Block.
Let’s add the single box. To add it, just drag and drop to the campaign preview.
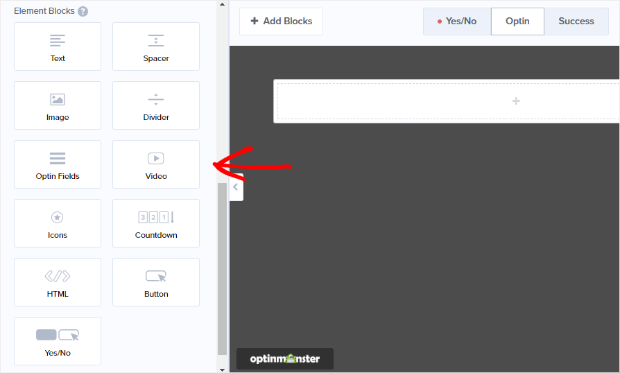
Once you’ve dropped the Column Block into your campaign you’ll see Element Blocks are available.
We’re going to add the HTML Element Block. Once again, just drag and drop the Element Block to your campaign.
Step 3. Get the Twitter Code
Leave the campaign builder open, and open the Twitter Publish tool in a new browser tab or window. For this example, we’re going to get the code for a large “follow” button that shows our username.
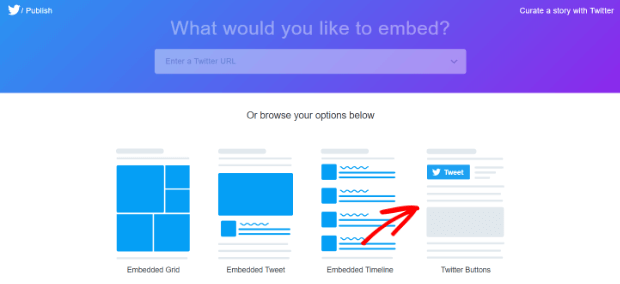
Start by selecting the Twitter Buttons option.
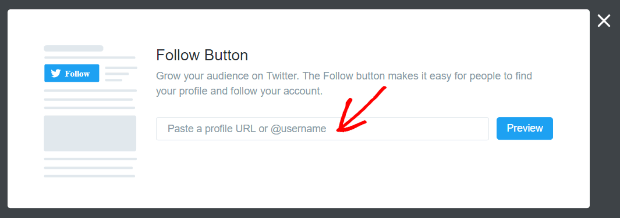
Select Follow Button from the options that appear.
Add the Username you want to create the button for and click the blue Preview button.
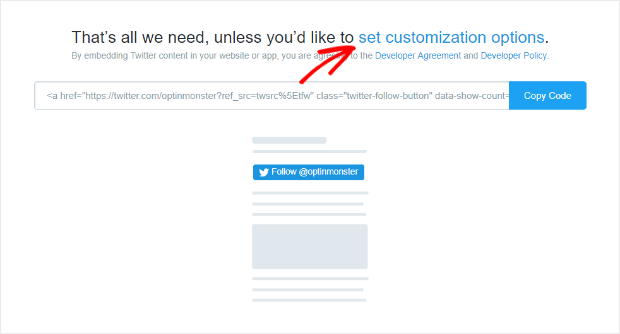
Since we want to use a large button, let’s go ahead and click on set customization options.
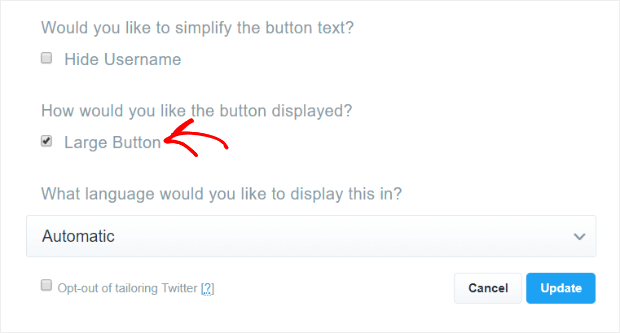
Select the checkbox next to Large Button and click the blue Update button.
Click the blue Copy Code button.
Related ContentHow to Make Money on Twitter: 9 Twitter Monetization Tips
Step 4. Add the Twitter Follow Button Code to Your Campaign
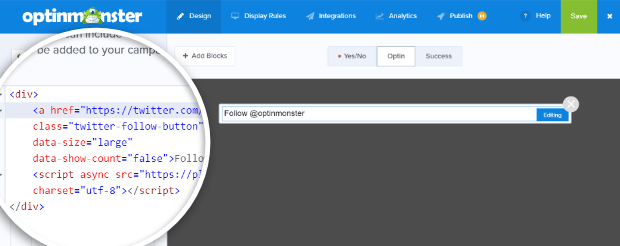
Go back to the campaign builder, and paste the code you copied from Twitter. If you want, you can center your button by adding <center> </center> around everything inside the div codes.
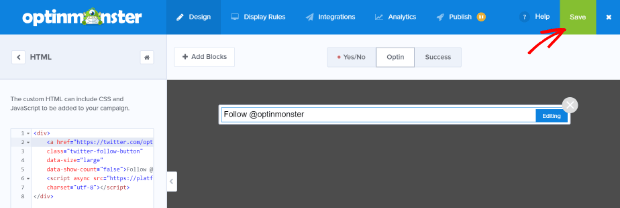
Save your campaign.
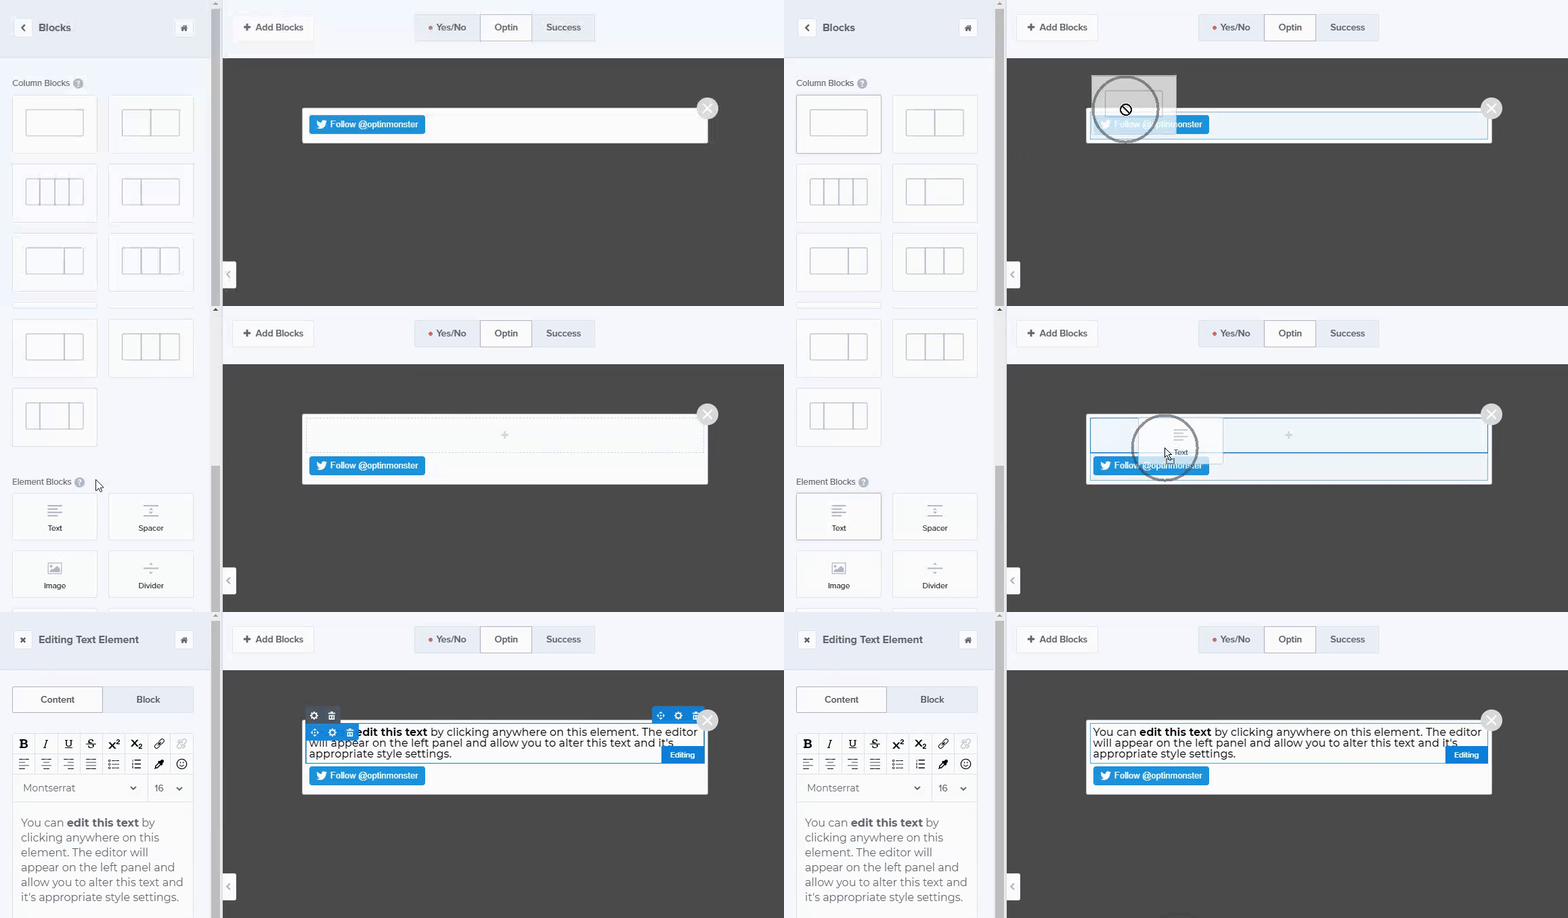
So far we only have a button. Let’s add some text to give folks a reason to follow us instead of just showing them a button with no context.
To do this, we’re going to add a new block by clicking the + Add Blocks button.
Now, just like the beginning of this tutorial, drag and drop the blocks and elements you want into your campaign.
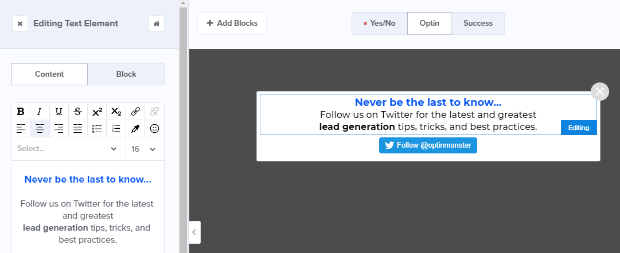
Edit the text however you like to make it appealing to your audience.
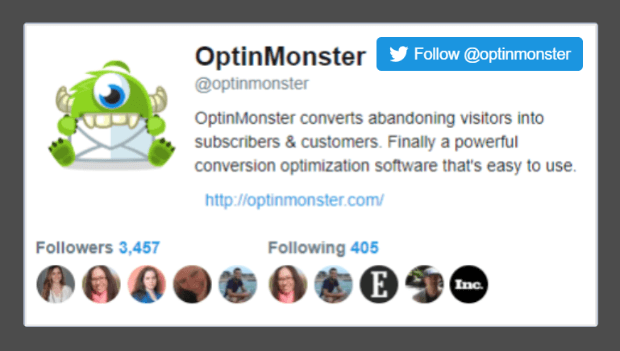
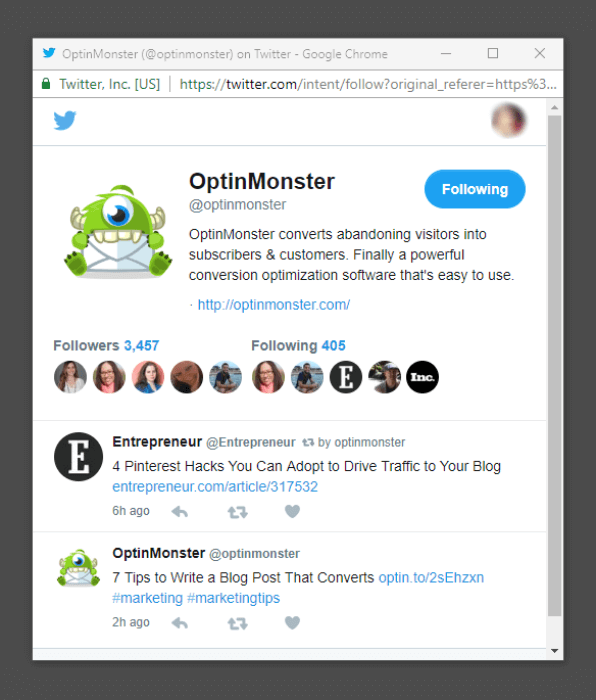
When you click the follow button you’re greeted with a Twitter profile summary and the option to follow or an acknowledgment that you already are following the account.
Pretty cool, but if you want to get a little fancy you can add some custom CSS to add some interest to the follow button.
Step 5. Style the Campaign with Custom CSS
If you want to skip this step, no problem. You’ve added a button and some text which is plenty interesting. Just continue on to Step 6. Otherwise, let’s dive in.
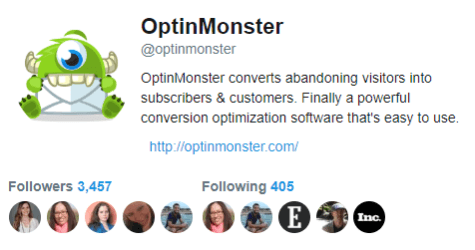
First, we need an image. We’re going to use a screenshot of our Twitter profile summary and edit it with our favorite image editing program to remove the blue “Following” graphic and crop the image to show only what we want it to display. The image we’re using is 475 px wide.
Once you have the image the way you want it, upload it to your web server so you can use it in the CSS style.
In addition to the background image, we’re going to make some other changes to the follow button: reposition the button so it appears on the right of the popup screen, add a border, and change the styling for the close button. Here’s the CSS template for your use, but be sure to update the background-image URL to the correct one.
/* Move the Twitter Follow Button to the right side of the Campaign */
html div#om-{{id}} .twitter-follow-button {
    float: right;
    margin: 0 !important;
}

/* Reposition the close link */
html div#om-{{id}} .{{ns}}-close:before {
    display: block;
    background-color: #000;
    color: #fff;
    padding: 10px 5px 5px 10px;
}

/* Add a border around the Campaign and the background image of our Twitter profile summary */
html div#om-{{id}} .Campaign__content {
    border: 1px solid #eaeaea;
    background-image: url('http://www.yoursite.com/image.jpg') !important;
    background-size: 100% !important;
    background-repeat: no-repeat !important;
    height: 250px;
    width: 475px;
}
To add the CSS to your campaign go to Design » Optin Settings » Custom CSS.
Once again, Save your campaign.
Step 6. Set Your Display Rules
Now we’re going to choose when the “Follow Us On Twitter” popup will display.
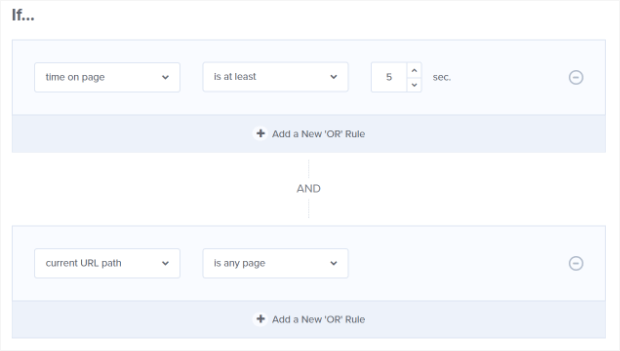
Go to Display Rules. Time on page AND current URL path is any page are selected by default to ensure that your campaign will display on any page after publishing even if you forget to enable a display rule.
But a better option is to show the “Follow Us On Twitter” popup only to visitors who’ve already shown they’re interested.
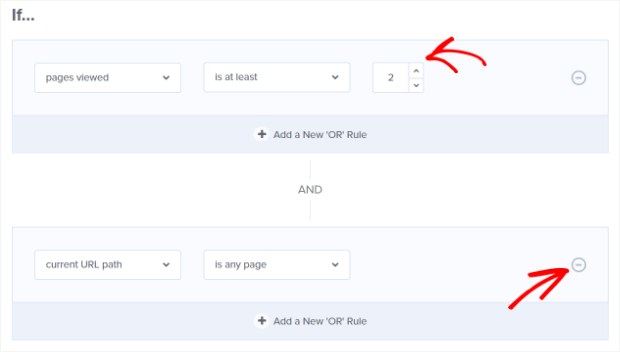
To do this, change the first rule to pages viewed is at least and set a number of pages. We suggest at least 2 because people who have looked at multiple pages are definitely interested in your content. You can delete the second rule by clicking on the minus sign to the right of the rule.
Save your campaign. Always.
There are many other display rule options you can use. For example, you can use our signature Exit-Intent® Technology to show the “Follow Us On Twitter” popup to visitors who are about to leave.
To enable this, change your rule to show if exit detected.
You can also choose to show a “Follow Us On Twitter” popup depending on specific visitor behavior. For example, if you have a blog post specifically about Twitter, you can use our advanced page-level targeting to display the Twitter Follow popup on that page.
These advanced targeting options let you show the right version of the right popup to the right visitors at the right time, increasing the chances that they’ll head over to your Twitter feed and follow you.
Step 7. Save and Publish Your Campaign
When you’ve finished editing your campaign Save it and head back over to the Publish tab.
You’ve already used the Shareable MonsterLink™, but you can add your Twitter campaign to any website with the account-wide or campaign-specific embed code. You can also easily add the campaign to a WordPress website.
This is a popular option, as so much of the web runs on WordPress. Here’s how you do that.
How to Add a Twitter Follow Button to WordPress
When you start using the OptinMonster app, you install our connector plugin. That’s what allows all your campaigns to display.
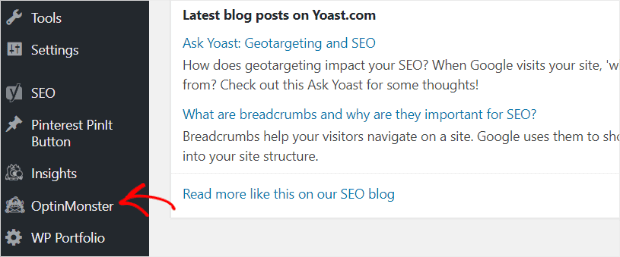
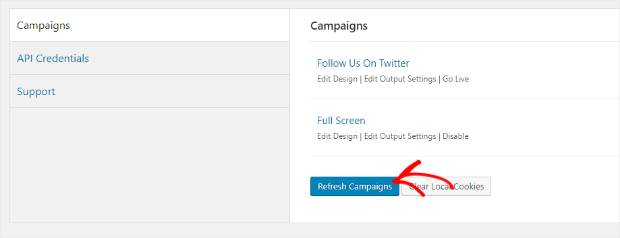
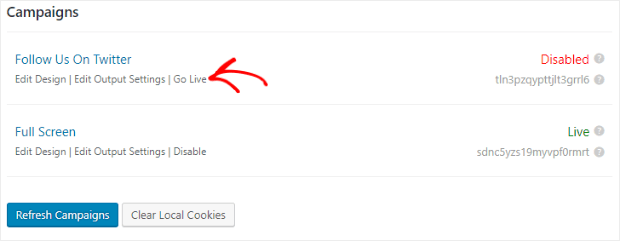
When you make a new campaign live, go to your WordPress dashboard, and click on the OptinMonster link in the menu.
If your new campaign isn’t listed click on the Refresh Campaigns button.
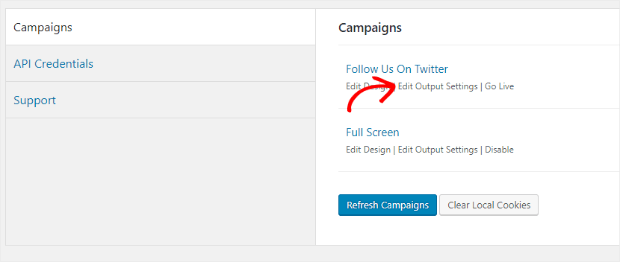
Once it shows, you can click on the Edit Output settings to tweak campaign display even more.
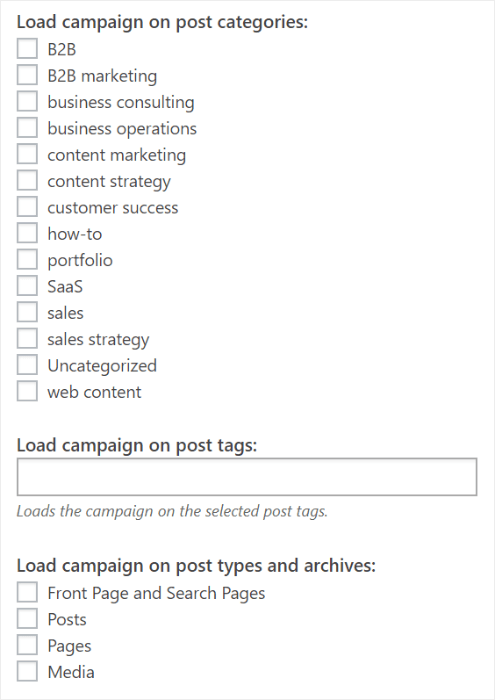
For example, you can include and exclude display not just on pages but also on certain blog categories.
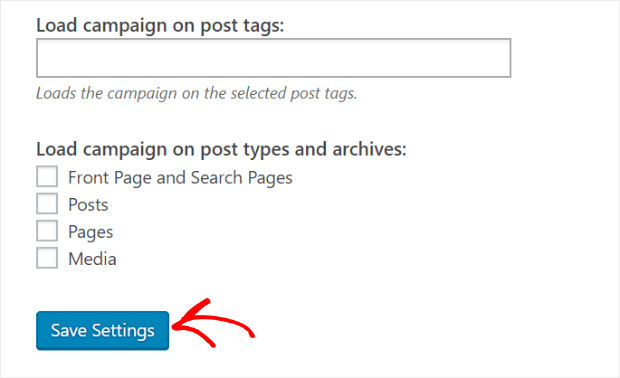
When you’re done, click Save Settings so your changes will take effect.
Finally, click Go Live.
That’s it! Now you can easily expand your social media network with a high converting Follow Us On Twitter popup.
Not using OptinMonster yet? Get started today and convert more visitors into subscribers and customers than ever before!












Add a Comment